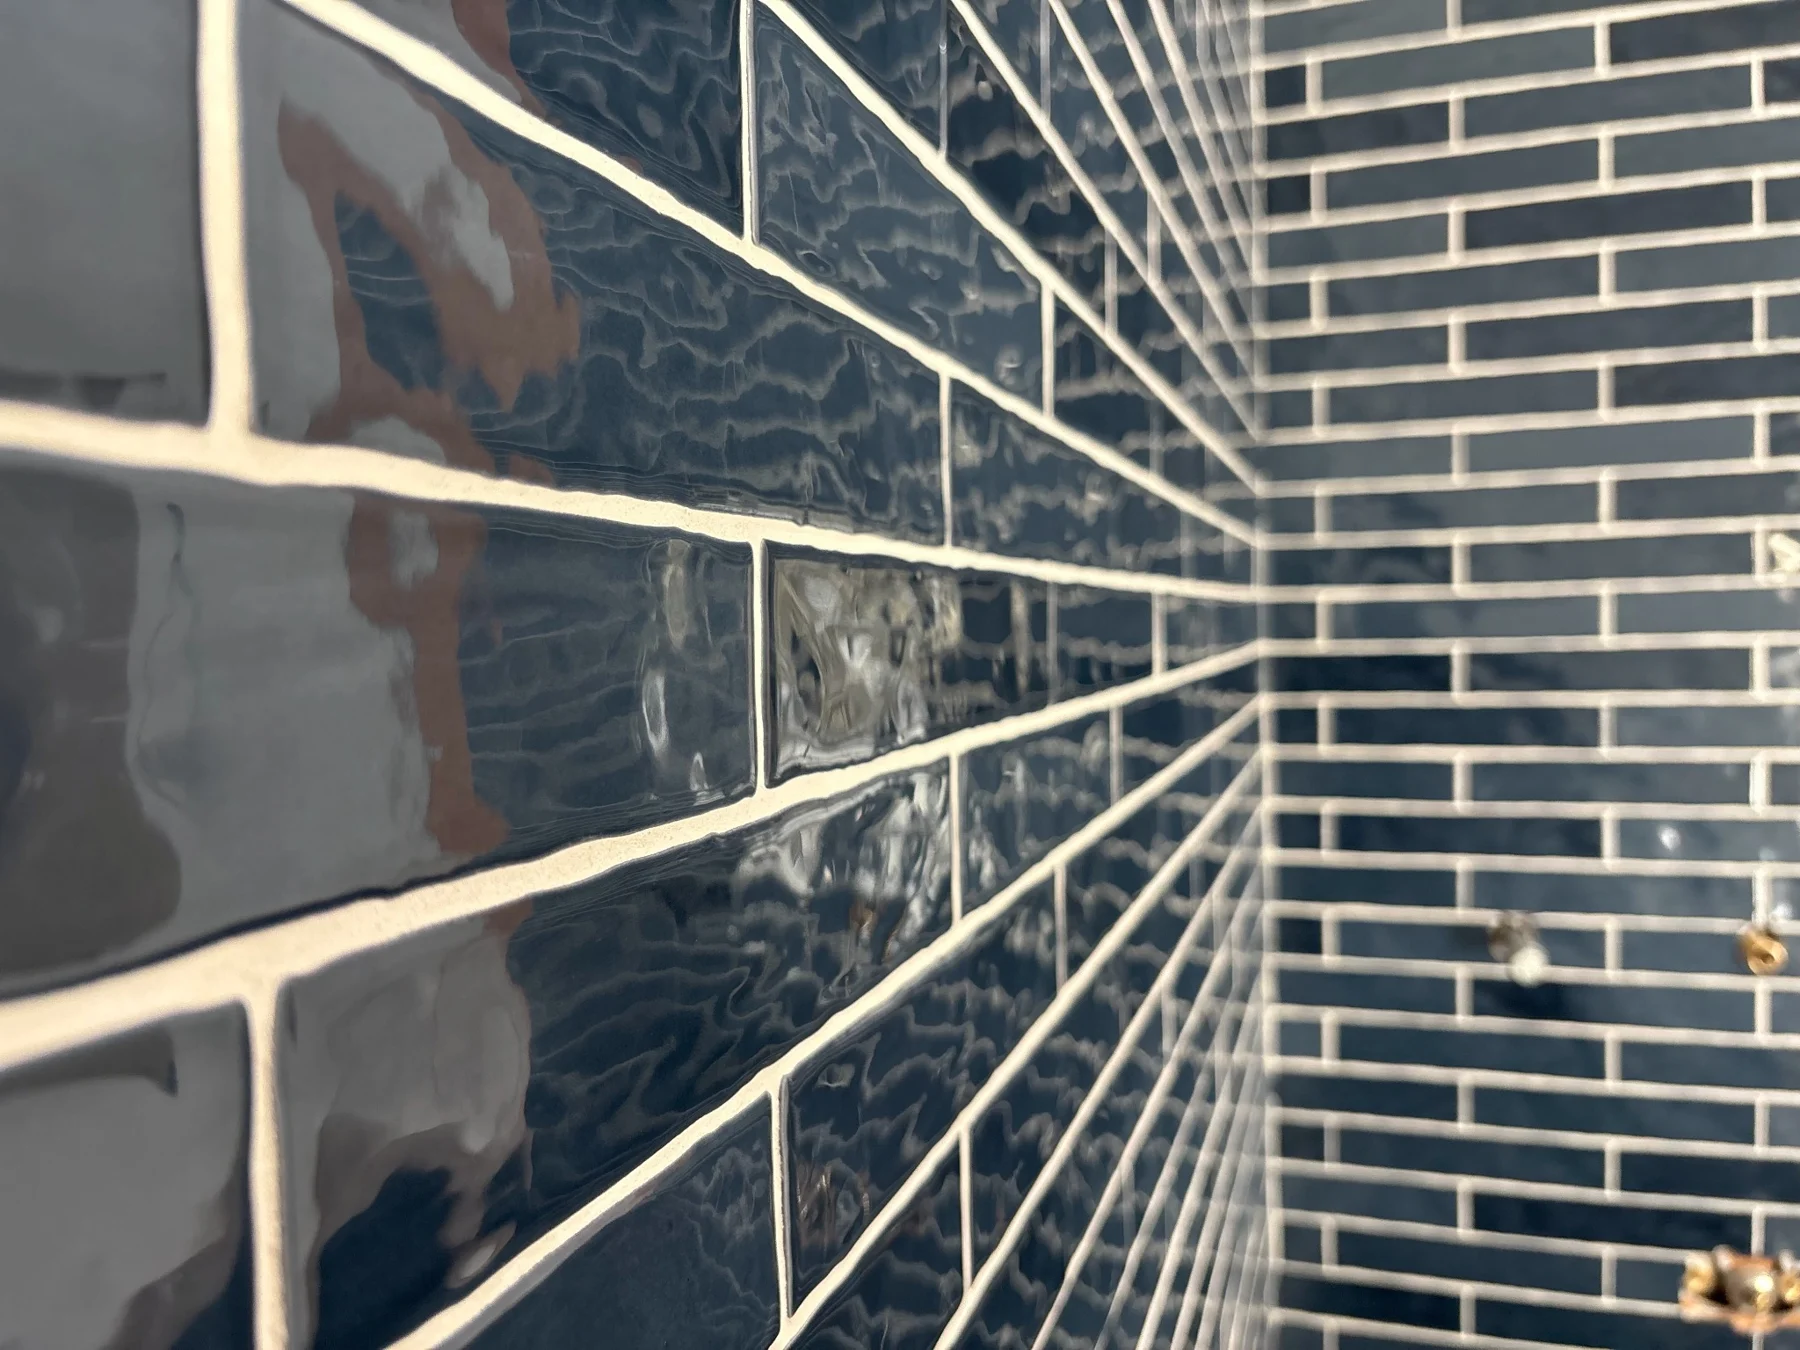
Prepare the wall
- Wall plane & finished dimensions
- Openings and fixture positions

Decorative wall tile, mosaic panels, and detailed feature installations.
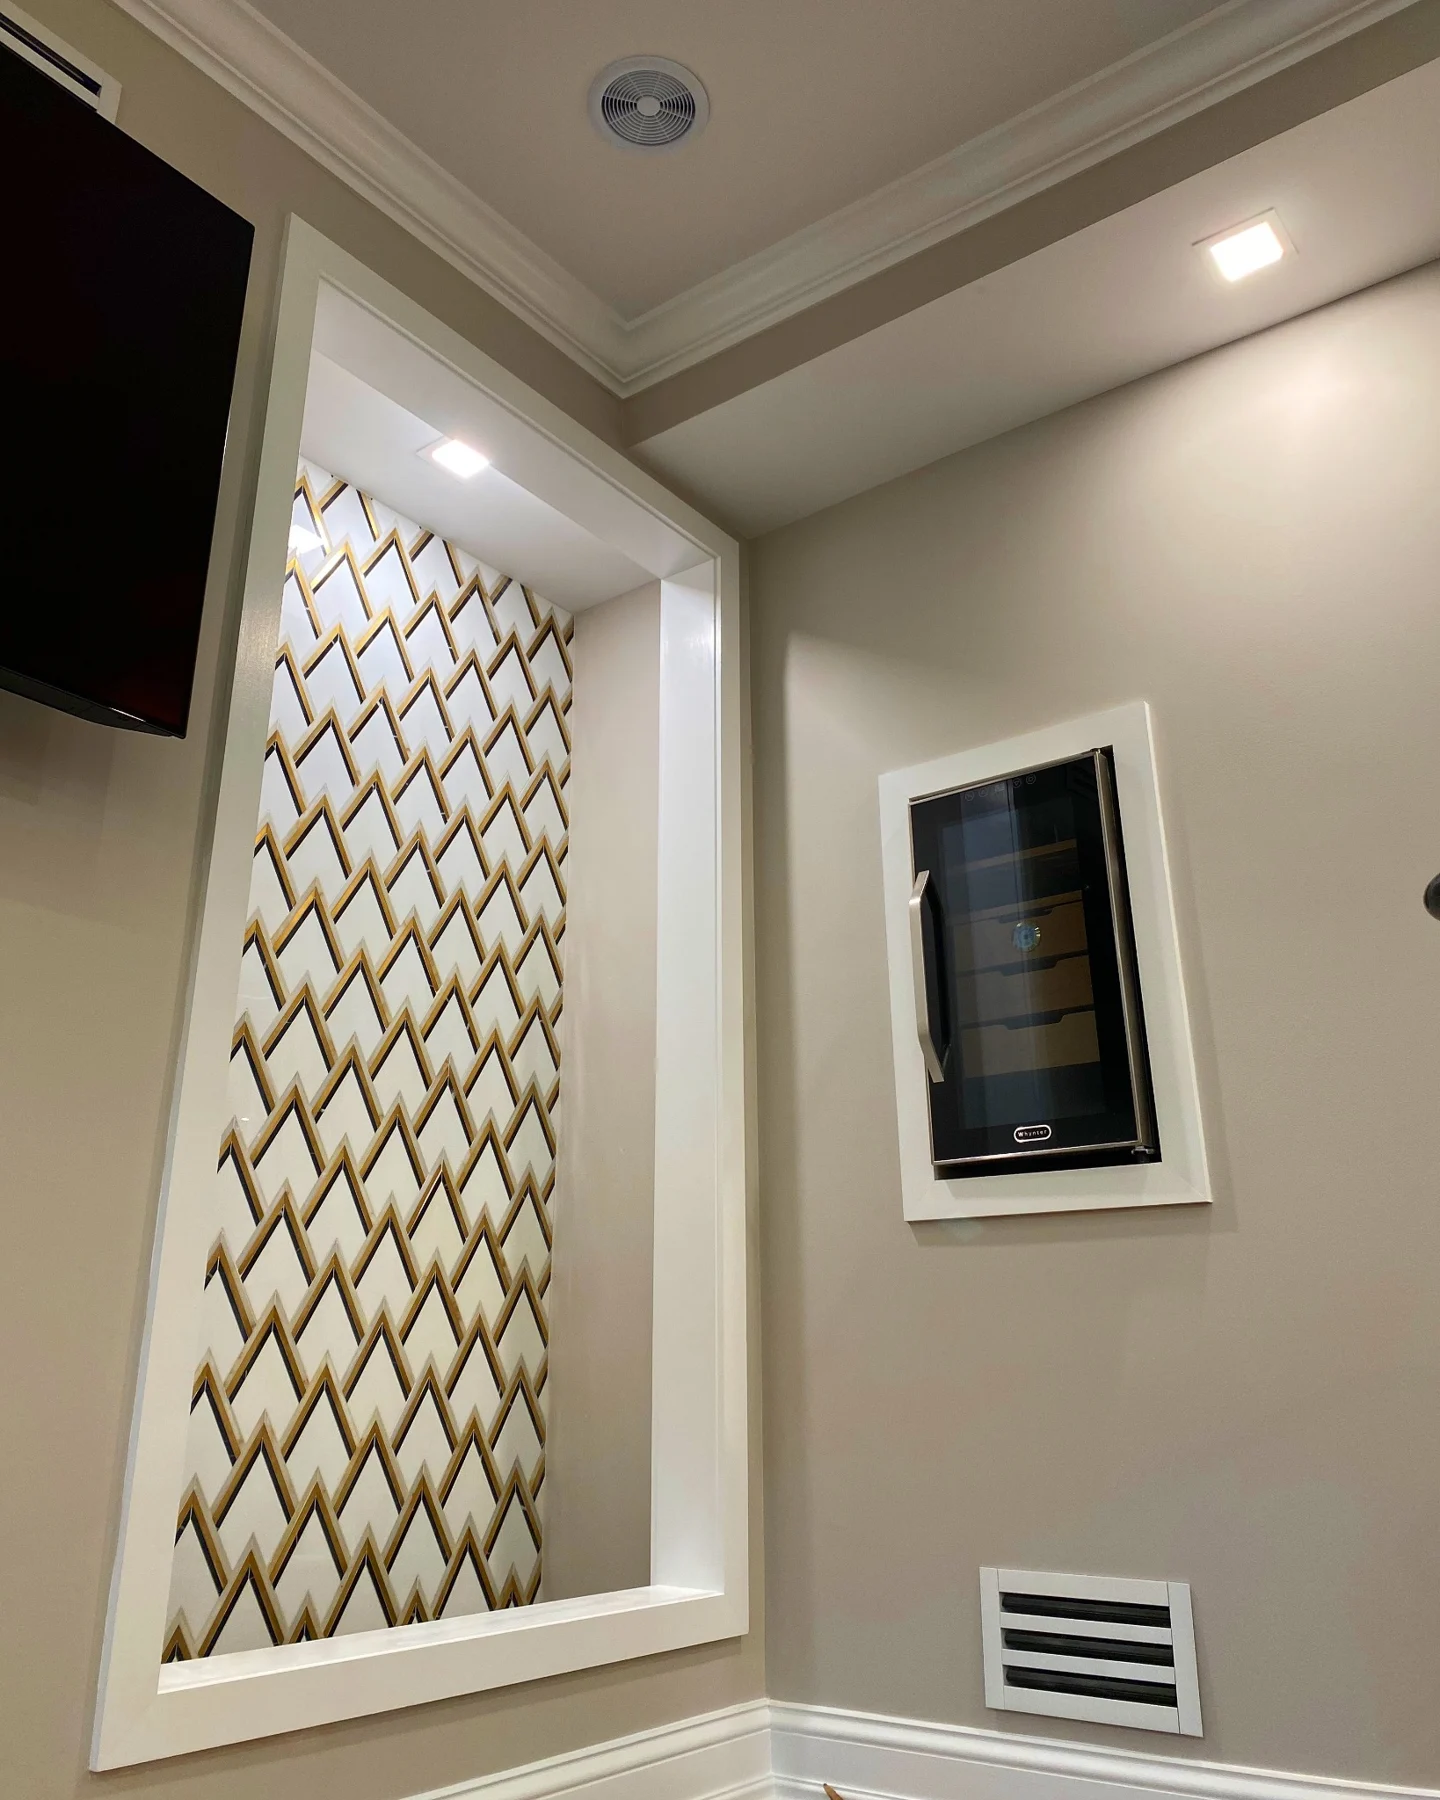
Portfolio example. Material specifications vary by project.
Explore the installation requirements, preparation details, and information that help define your feature walls project.
Decorative tile walls, mosaic panels, bars, and feature installations. Plumb surfaces, planned pattern repeats, consistent joints, and coordinated edge profiles.
Wall tile exposes every out-of-square corner and uneven course. The starting grid, tile thickness, pattern repeat, outside edges, and penetrations need a plan before setting begins. Precision installs decorative surfaces with these details built into the scope.
Feature walls need a suitable substrate and a clear layout grid. A wall can look straight before tile while still showing uneven joints once a geometric pattern is installed. Check the wall plane and the boundaries where tile meets ceilings, cabinets, and neighboring walls.
Identify the main sightline and the intended pattern center. Decide how the repeat should terminate at both ends and around openings. A balanced layout may require adjusting the starting point rather than simply beginning with a full tile at one corner.
The tile thickness, backing, and weight influence the installation requirements. Share the actual product information and the intended wall construction. The base and setting system must be appropriate to the selected material.
Mosaic sheets need individual alignment within the larger wall layout. The joint between sheets should read consistently with the joints inside each sheet. Decorative insets can introduce another thickness or backing that needs to be accounted for in preparation.
Provide the dimensions of borders, panels, and feature bands. Identify whether the pattern is intended to center on a fixture, mirror, cabinet, or the wall itself. These are different reference points and should not be left ambiguous.
Grout selection should be reviewed with the material’s finish and joint requirements. A contrasting grout makes the pattern more pronounced; it also makes uneven spacing easier to see. Confirm the desired appearance with a suitable sample or layout review.
The perimeter of a feature wall is part of the scope. Specify exposed ends, outside corners, window returns, and transitions to painted surfaces. Where a profile is used, its depth and finish need to suit the tile and the final assembly.
Coordinate outlets, lighting, plumbing penetrations, and mounted fixtures before setting. The responsible trades should establish their requirements so cuts and openings can be planned. A feature wall should not be completed around provisional locations that are still likely to move.
Include the work height, access, and protection needed around finished cabinetry or floors. Installation at a bar, entry, or living room may require a different site setup from work in an unfinished room. These details belong in the estimate request.
A feature wall can change the character of a room without making every surface compete for attention. It may introduce texture, pattern, contrast, or a material that feels distinct from the surrounding finishes.
Begin with the role you want the wall to play. Is it the focal point seen on entering the room? A background to a bar or shelving arrangement? A quieter continuation of another material? The answer helps connect the tile selection to the overall composition.
Share a photograph that includes the surrounding room. A close-up of the intended tile is useful, but the wall’s proportions, lighting, furnishings, and adjacent finishes are part of how the finished surface will be experienced.
A geometric pattern or decorative mosaic has its own visual rhythm. That rhythm needs to be considered against the dimensions and interruptions of the actual wall. Openings, shelves, outlets, and outside corners can all affect the arrangement.
Include the product dimensions and a straight-on image or elevation. Identify the area that should carry the strongest visual emphasis and any alignment that matters to the design. If the pattern is intended to be centered, show what it should be centered on.
A reference image communicates an idea, not a guaranteed layout. The actual wall may have different proportions. The useful conversation is about preserving the character of the reference while resolving the details of your space.
A bar, beverage station, pantry, or other secondary space can be an opportunity for a more expressive finish. These areas may relate to the main kitchen while allowing a different texture or pattern to stand out.
Identify the complete tile boundary, including the relationship to counters, cabinets, shelves, and lighting. If components are not yet installed, share the relevant drawings and dimensions. The installation scope should not rely on guessing where a future shelf or cabinet will meet the tile.
When several feature areas are included in one project, label each clearly. A separate photograph, selection, and approximate measurement for each location helps organize the conversation and keeps smaller details from being lost within a larger renovation package.
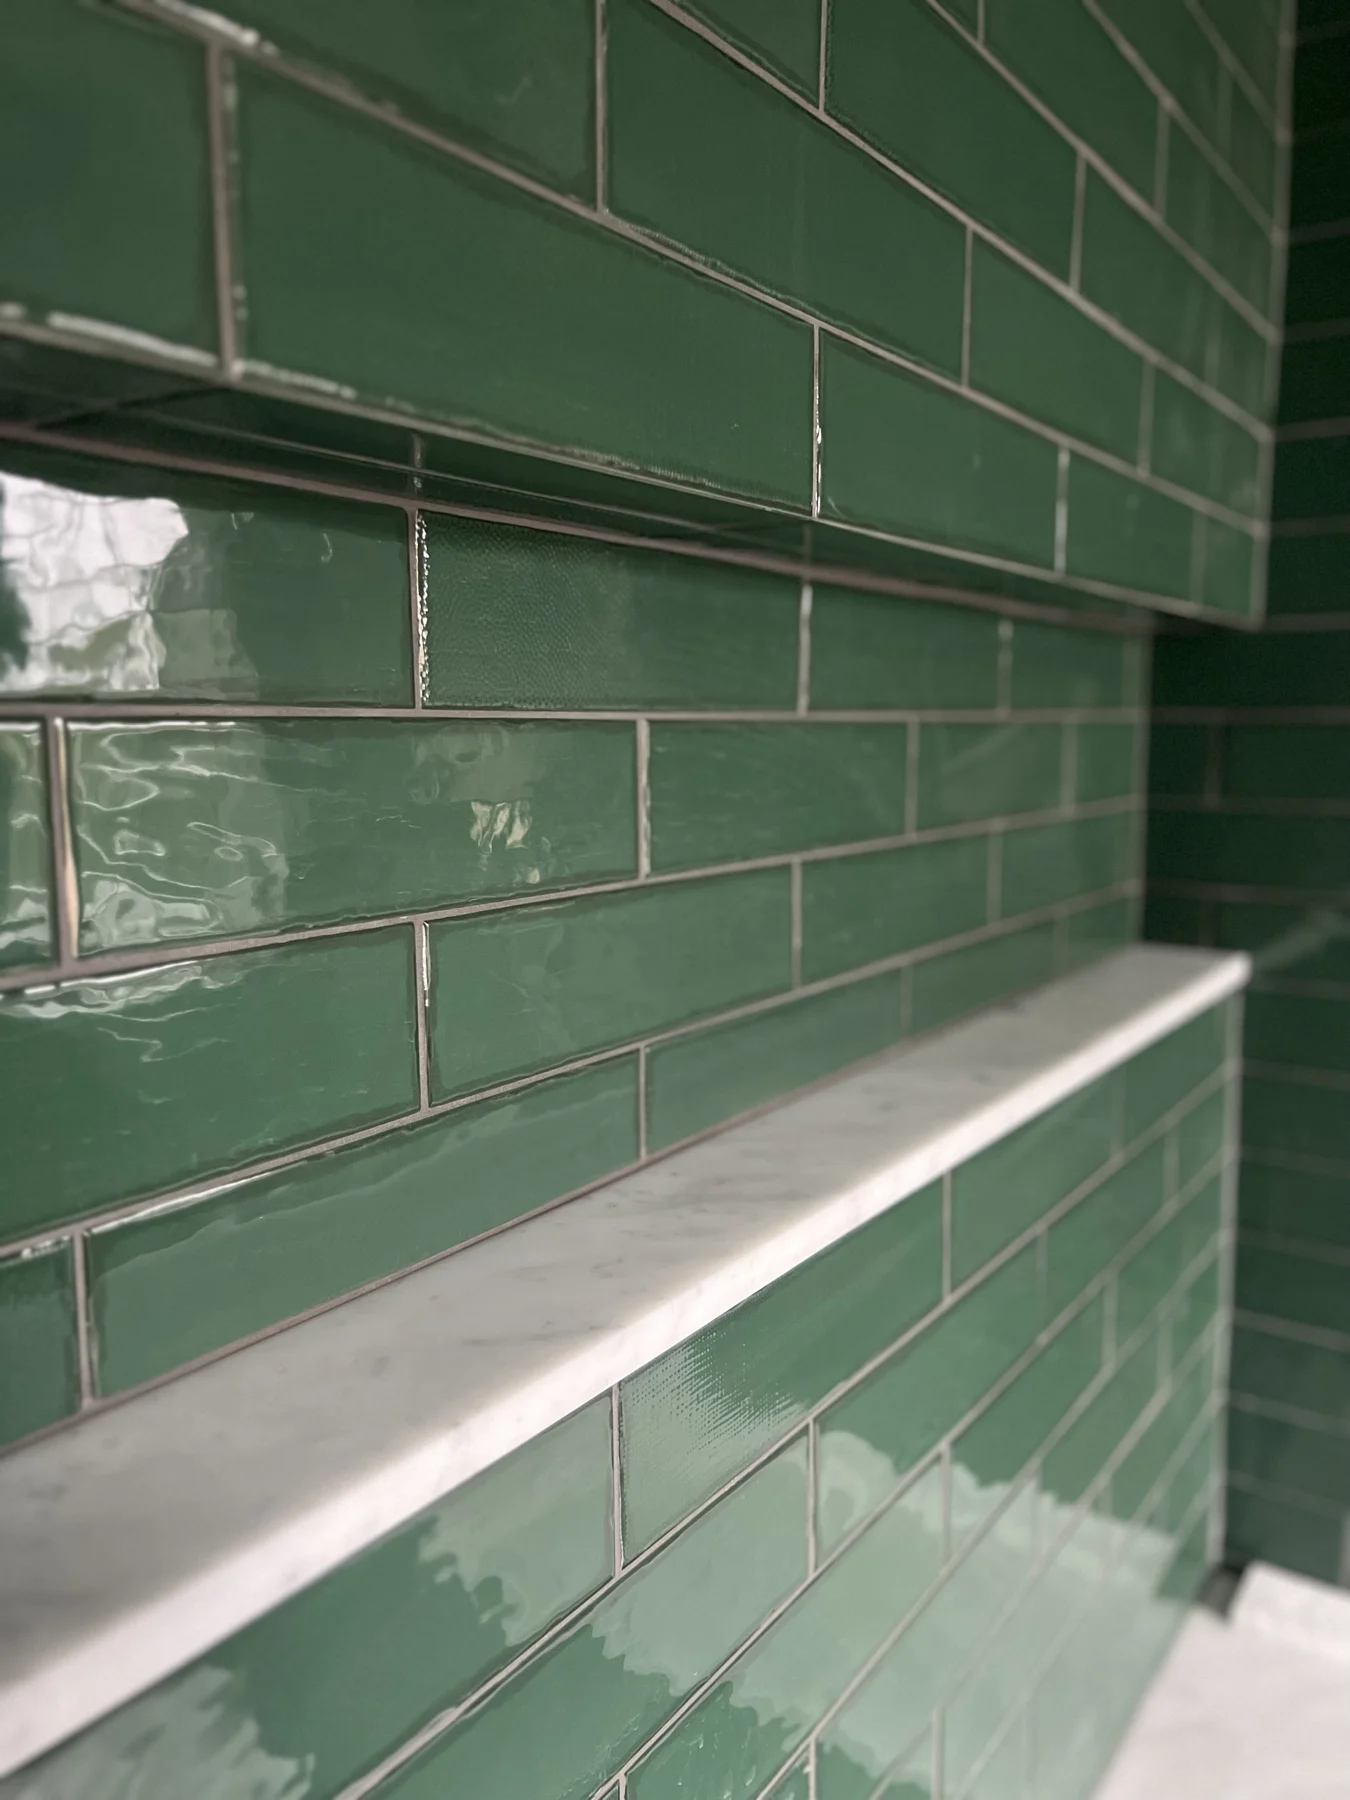
The way a feature wall ends is often as important as the tile itself. An exposed side, a return into an opening, a junction with a painted wall, or a meeting with cabinetry can become a visible part of the design.
Mark those conditions in the inquiry. Share the appearance you want and any detail already specified by the designer or architect. If no edge treatment has been selected, identify it as a decision to be discussed.
The final approach needs to suit the material, application, and construction. Avoid assuming that an edge shown in a reference photograph is automatically appropriate for another tile. The design intent should be clear while the actual detail is reviewed for the project.
Texture is experienced through light as well as through the material itself. A surface beneath a shelf, a wall beside a window, and a feature illuminated from above may read differently even with the same tile.
Include information about existing and planned lighting when it is relevant to the composition. Photographs taken from several viewpoints can help show how the wall sits in the room. If a specific visual effect depends on lighting, discuss that with the appropriate design professional.
The installation review benefits from understanding the intended setting. Tile does not exist in isolation, and the supporting design decisions can influence which details become most noticeable once the room is complete.
Describe the current surface, any demolition already planned, and the approximate dimensions. Include the tile selection, desired pattern, finish height, and boundaries. Identify fixtures or components that will be installed before or after the tile.
For a new-construction or trade project, provide the current elevation and relevant finish-schedule reference. For an existing home, a clearly labeled photograph can be an effective starting point. If the material is still being selected, explain the effect you want rather than using a general phrase such as “something luxurious.”
Specific references make the conversation more productive: the geometric pattern, the quiet texture, the strong contrast, or the way a feature is framed. Those details help translate inspiration into a defined project discussion.
Absolutely. Include it with photographs of the actual room so the design intent can be discussed in context.
Describe the existing surface and any demolition already planned. Preparation responsibilities should be agreed as part of the written project scope.
Precision Tile Installations is located in Dix Hills, New York. We serve Northport, Roslyn, Garden City, and surrounding Nassau and Suffolk County communities on Long Island.
Send the town, rooms and surfaces included, approximate quantities, tile selections, site photographs, and target timing. Include preparation, demolition, edge details, and drawings where available.
Watch the finished surfaces and hands-on installation details. Each clip includes a description of the work shown.
A wider view of the textured mosaic wall and its gradual change in tone.
A close look at the changing grout tones across textured wall tile.