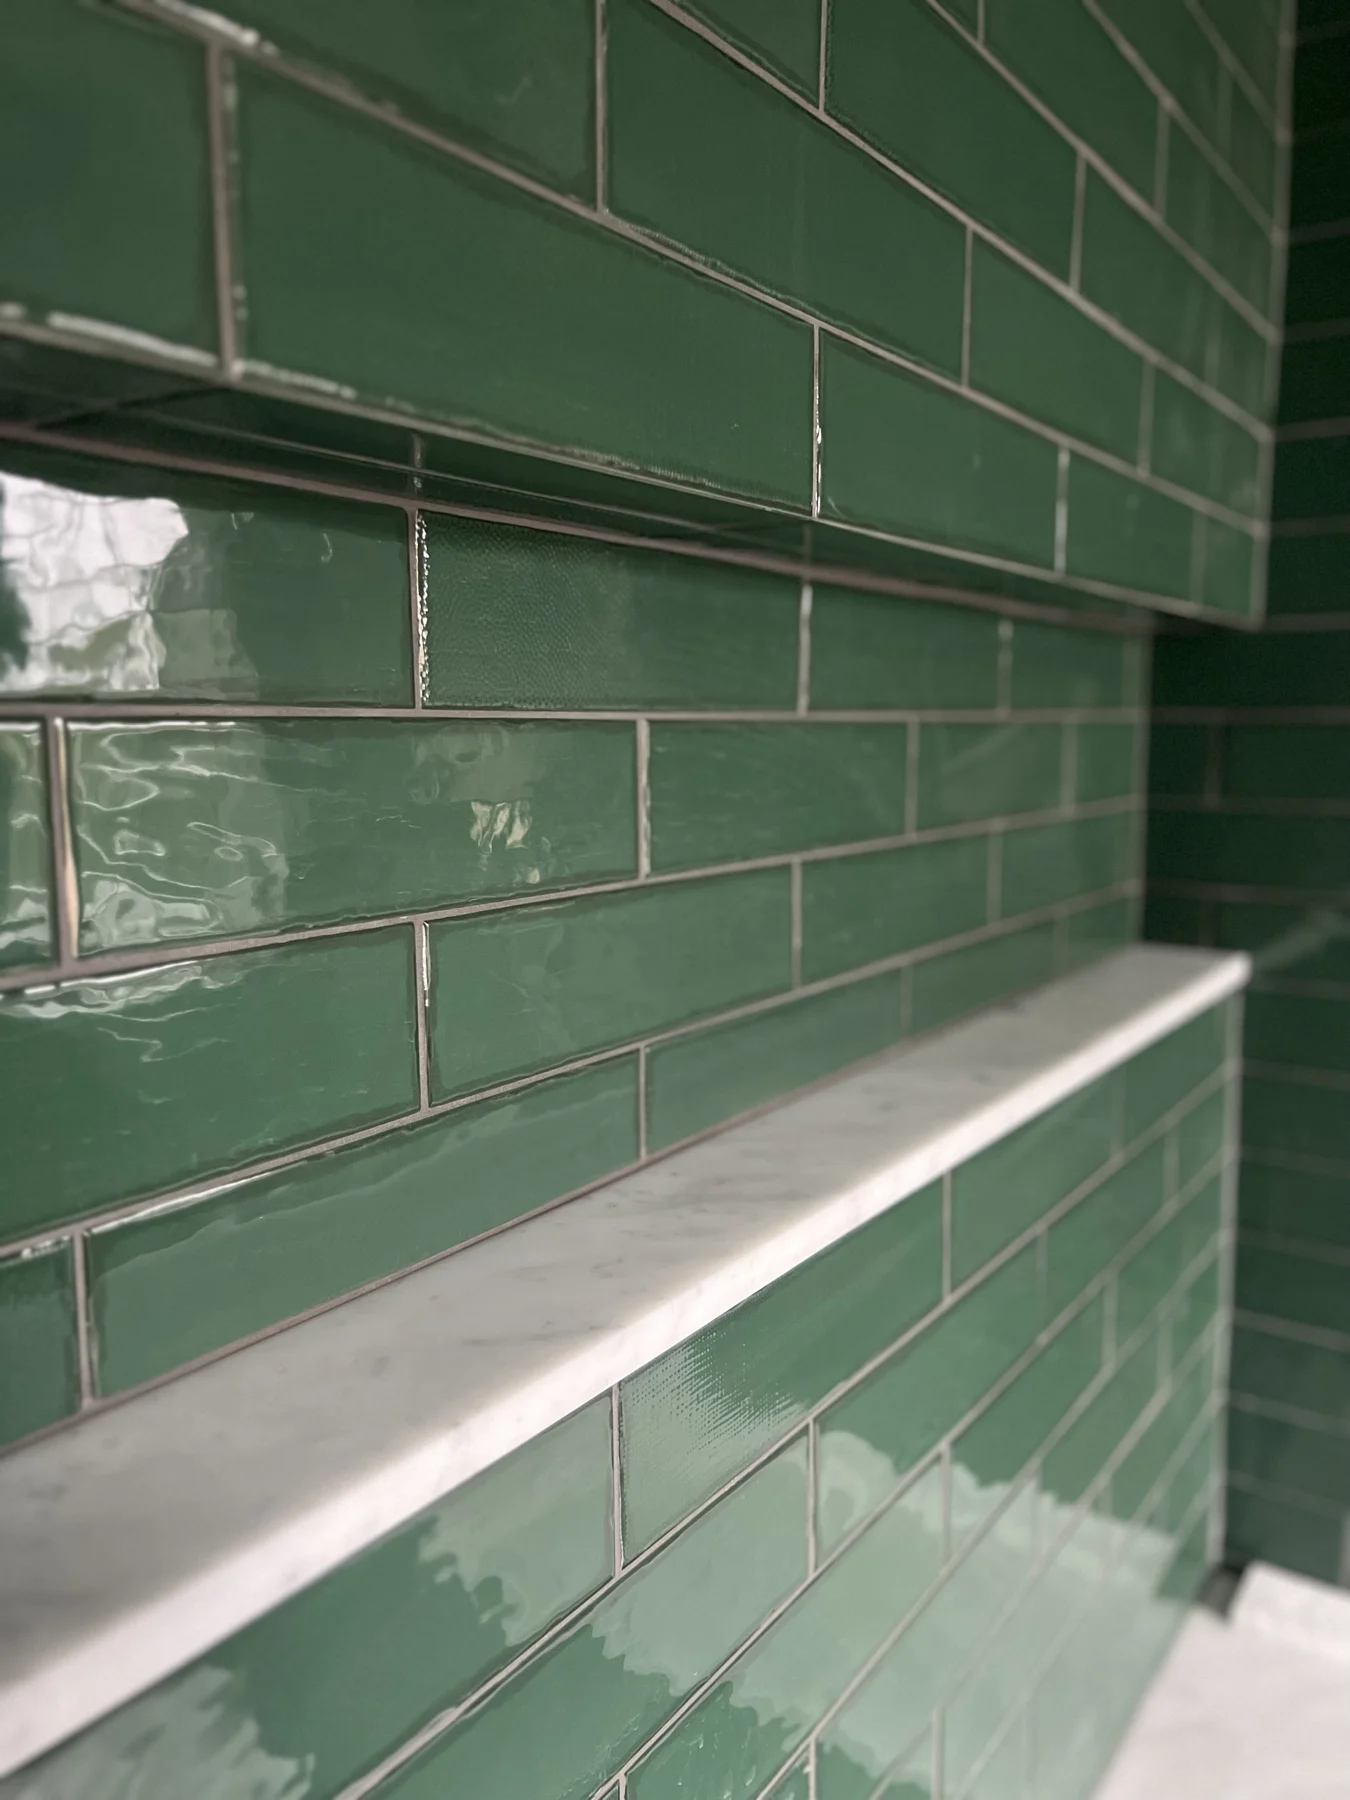
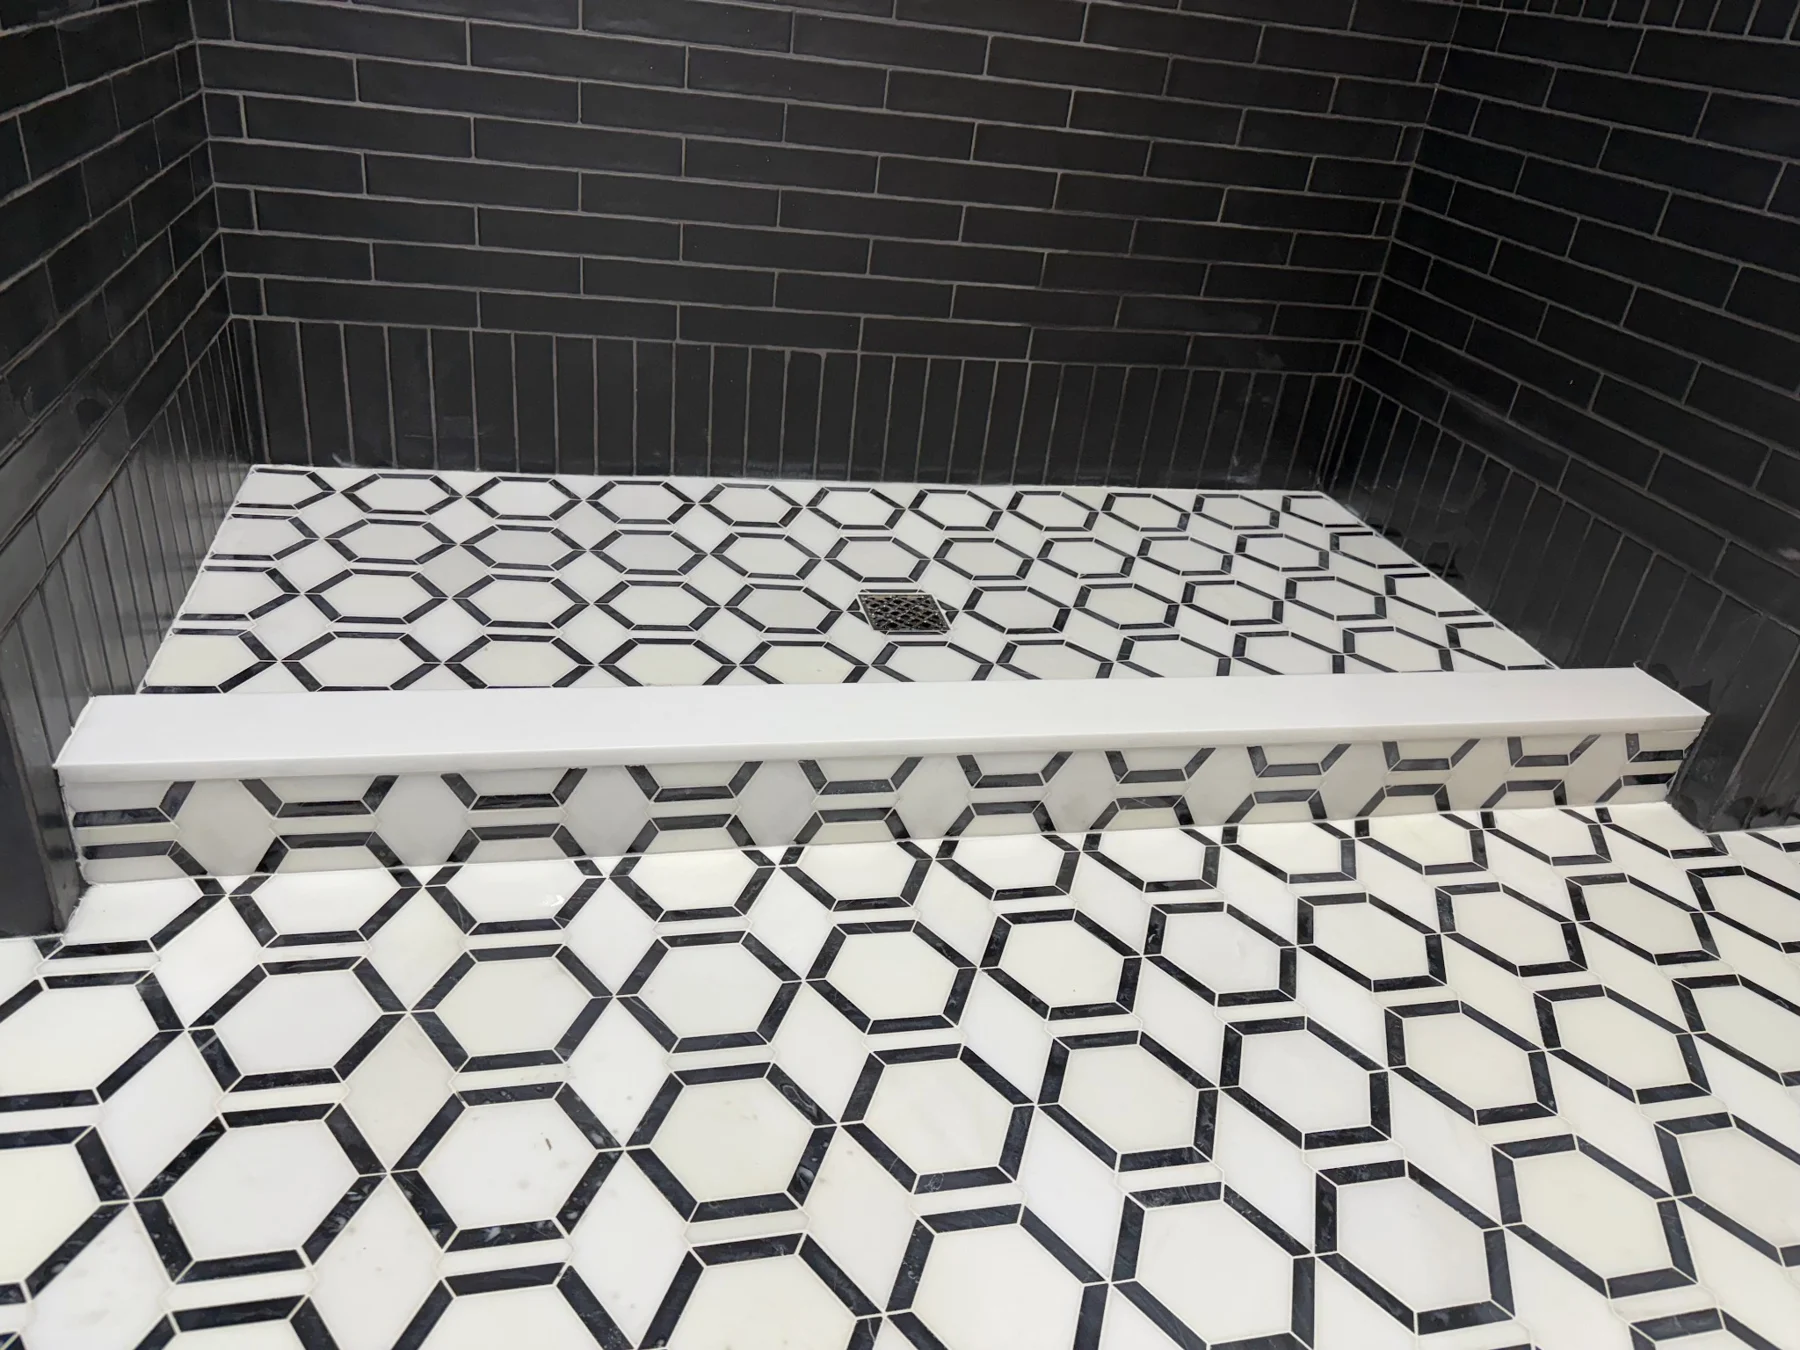
Identify the problem
- Damage location & repair history
- Possible movement or moisture issues

Assessment and repair of damaged tile, loose pieces, and failed joints.
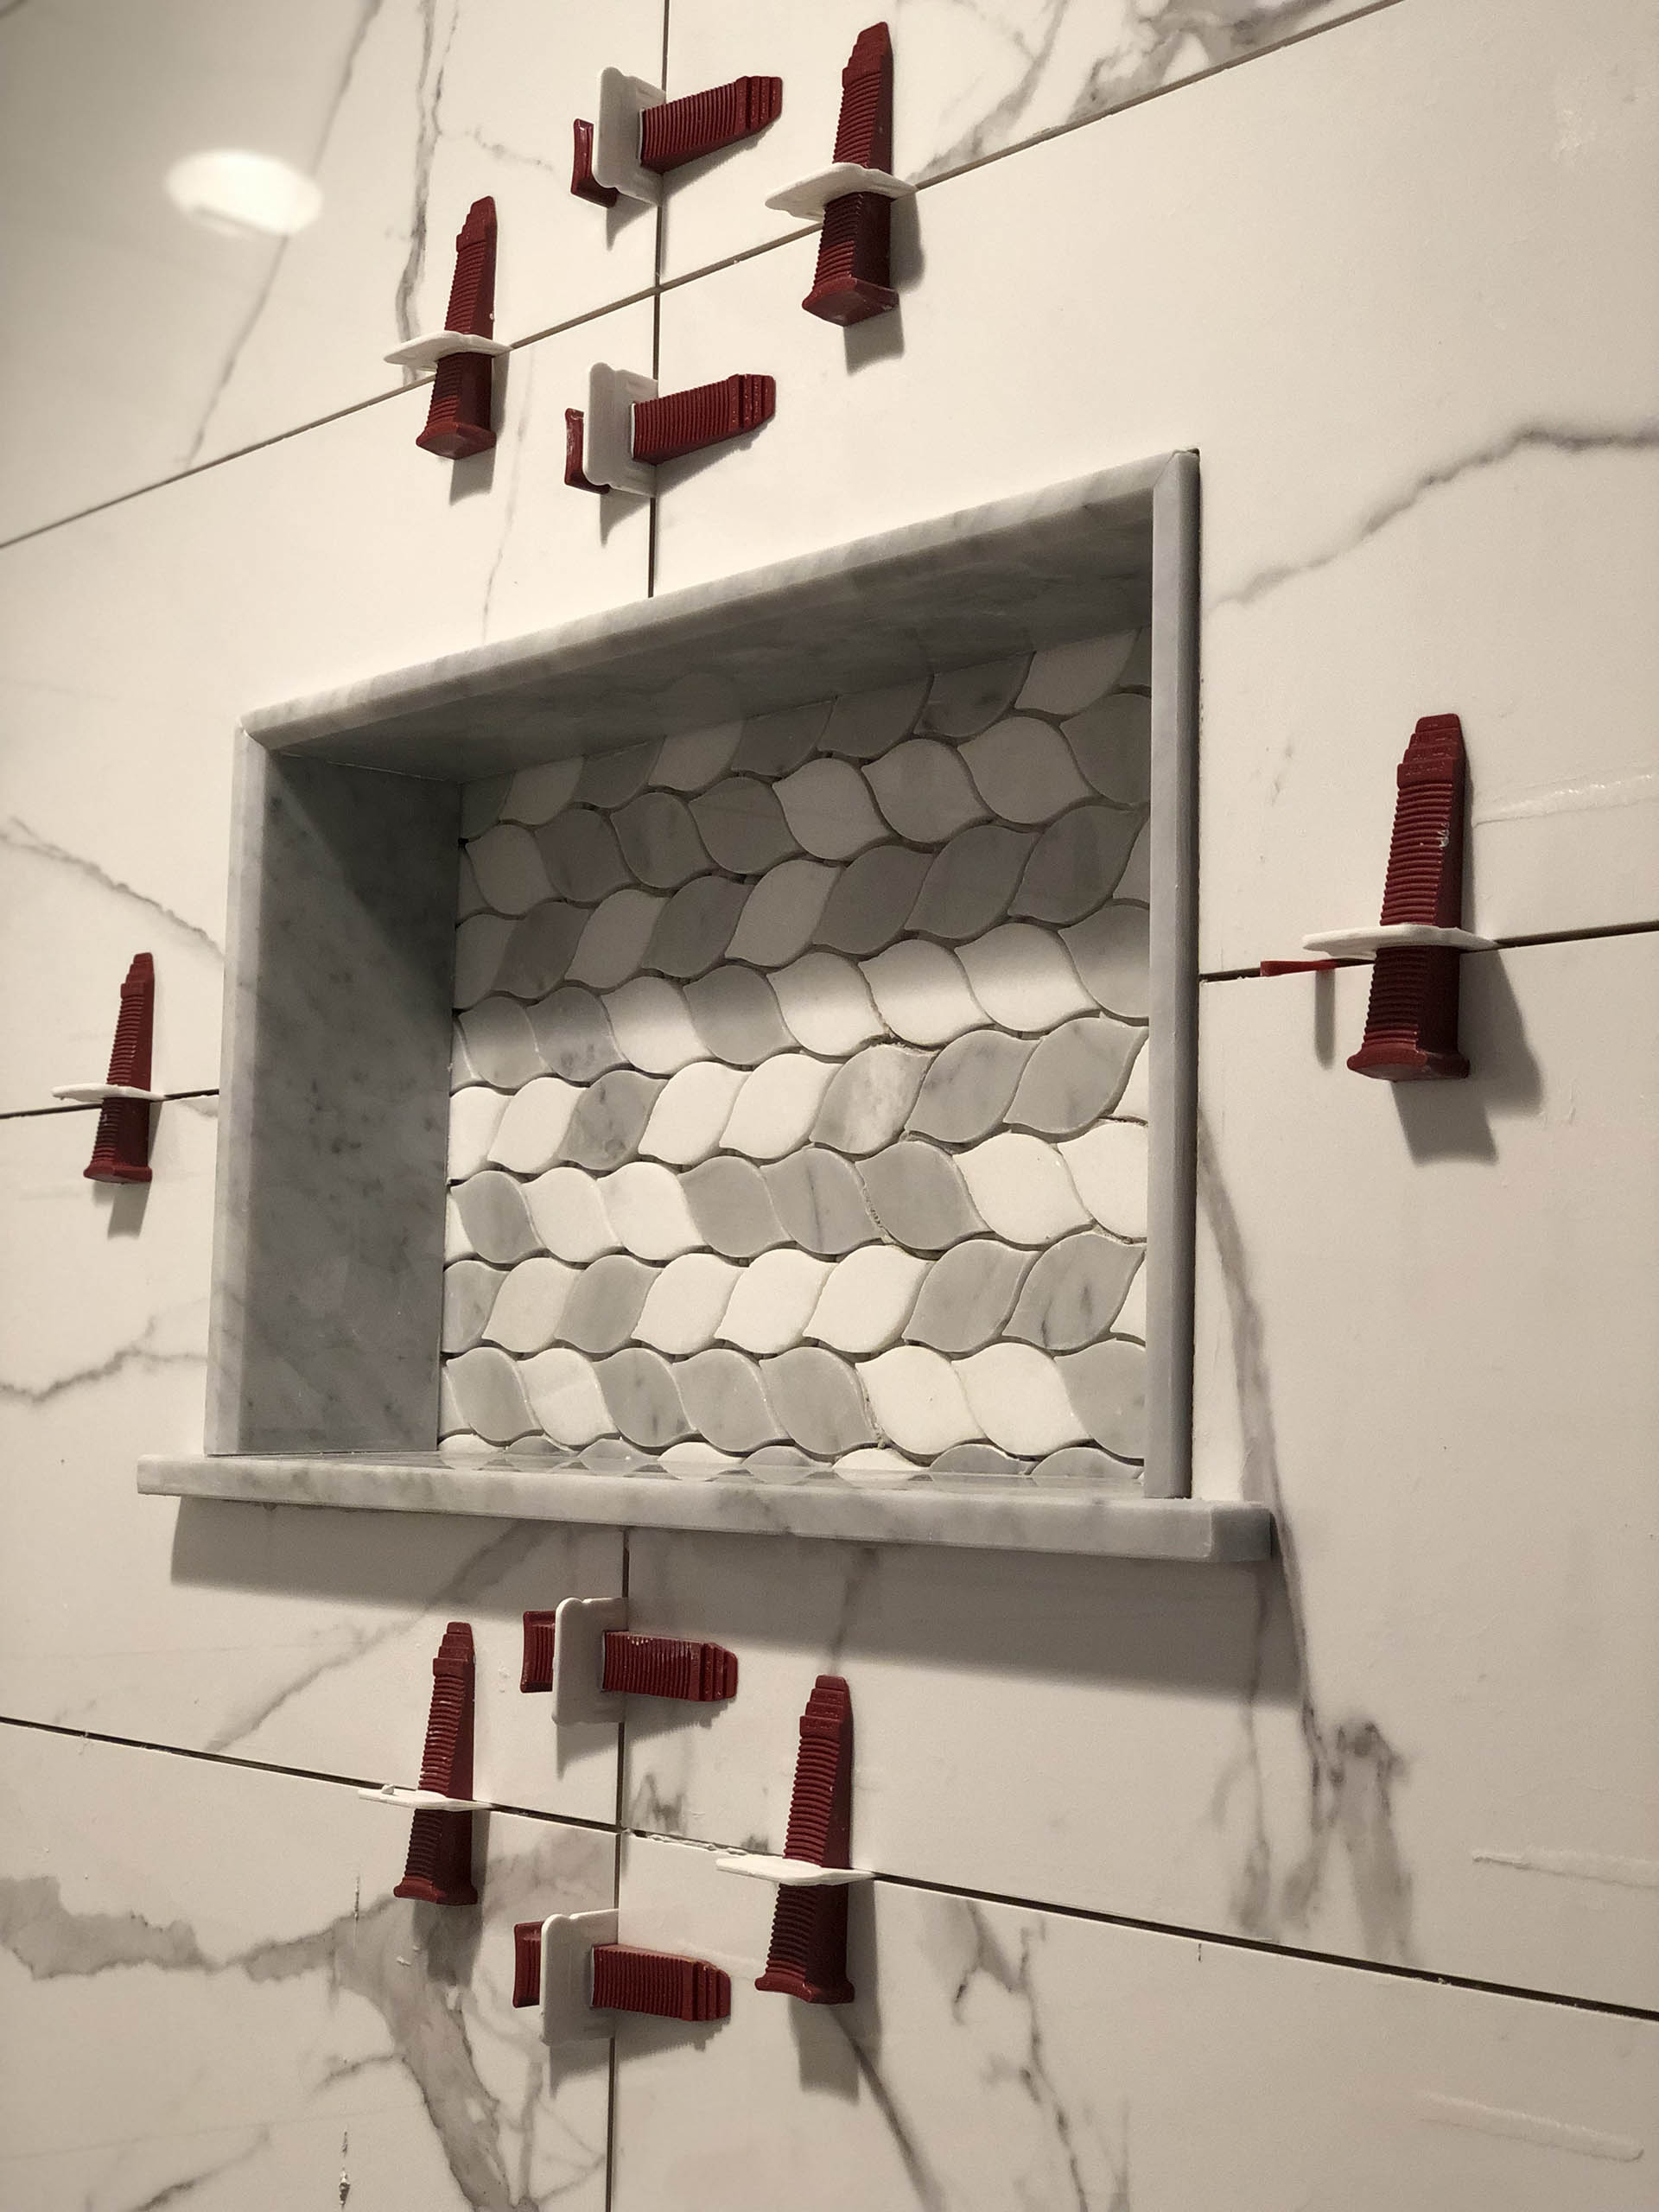
Portfolio example. Material specifications vary by project.
Explore the installation requirements, preparation details, and information that help define your repairs project.
Assessment and repair of damaged tile, loose pieces, worn grout, and unfinished edges. Identify the cause, check replacement material, and define what can be repaired.
A cracked tile may be a surface issue or a sign of movement underneath. A failed joint may need more than new grout. Precision reviews the visible damage, surrounding installation, spare material, and underlying conditions before recommending a localized repair scope.
A repair starts by separating the visible damage from its possible cause. A single chipped corner, repeated cracks across several tiles, and loose pieces along a doorway may point to different issues. Describe when the damage appeared and whether it has changed.
Photographs are useful for initial review, but they cannot establish the condition of a concealed substrate or waterproofing layer. Removal may reveal additional work. A localized replacement should not be presented as a guaranteed cure for an unresolved movement or moisture problem.
Include the room, material, approximate age if known, affected area, and any previous repair attempts. If the same joint keeps cracking or the same tile has been replaced before, make that part of the initial description.
Matching spare tile is the best starting point for a replacement. Provide packaging, manufacturer information, dimensions, thickness, and the number of spare pieces. A current product with the same name may still differ from the installed batch in shade or size.
Grout matching also depends on the existing color, age, condition, and selected replacement product. The objective is a practical match, but a new repair may remain visible. Review those expectations before deciding how much of the installation to replace.
Removing damaged tile can affect surrounding pieces and underlying layers. In wet areas, the repair scope must consider the waterproofing assembly beneath the tile. The smallest visible repair is not always the smallest reliable repair scope.
A failed joint needs the appropriate repair for its location. Field grout, perimeter joints, and changes of plane are not interchangeable. Replacing flexible joint material with rigid grout can leave the original issue unresolved.
Identify whether the request concerns grout deterioration, sealant failure, staining, loose tile, or an edge profile. These conditions may require different materials and preparation. Cleaning or cosmetic work should be distinguished from repair of the installation itself.
For stone, confirm the material and existing treatment before selecting repair or cleaning products. The scope should state what is being repaired, what remains outside the work, and any limitations caused by unavailable matching material or concealed conditions.

A cracked tile, loose piece, damaged edge, or finish concern can have more than one possible explanation. The first step is to describe what you see and where it occurs, without assuming that the visible surface tells the whole story.
Send one close-up and one wider photograph. Explain when you noticed the issue, whether it has changed, and whether any related work has recently taken place. If several areas are affected, show their relationship rather than sending isolated images with no context.
Photos can help establish the next question, but they cannot reveal every concealed condition. A repair inquiry is an opportunity to discuss the issue and determine what information or assessment is needed before a scope is agreed.
A localized repair may depend on the availability of suitable replacement material. Spare tiles, packaging, purchase records, supplier details, or product information can all be valuable. A photograph of the front and back of a spare piece may help identify what is available.
Do not assume that a similar-looking tile will produce an exact match. Format, finish, color, pattern, and the relationship to the surrounding installation can influence the result. Matching suitability needs to be reviewed for the actual project.
Tell us how many spare pieces you have and whether they are intact. If no spare material is available, include any information you know about the original selection. The initial discussion can then address the repair options with the material situation in view.
Sometimes the inquiry concerns one visibly damaged piece. In other cases, several affected areas or uncertain underlying conditions may require a broader conversation. The appropriate scope cannot be determined solely by counting the visible defects in a photograph.
Describe the extent of the issue and the surrounding space. Is it on a floor, shower wall, backsplash, fireplace, or feature wall? Are there several similar concerns? Has anyone already investigated or attempted a repair? Include that history without assuming it establishes the cause.
The aim is a clearly defined next step. A repair should be discussed in relation to the condition of the existing installation and the intended result, rather than presented as a guaranteed cosmetic solution before assessment.
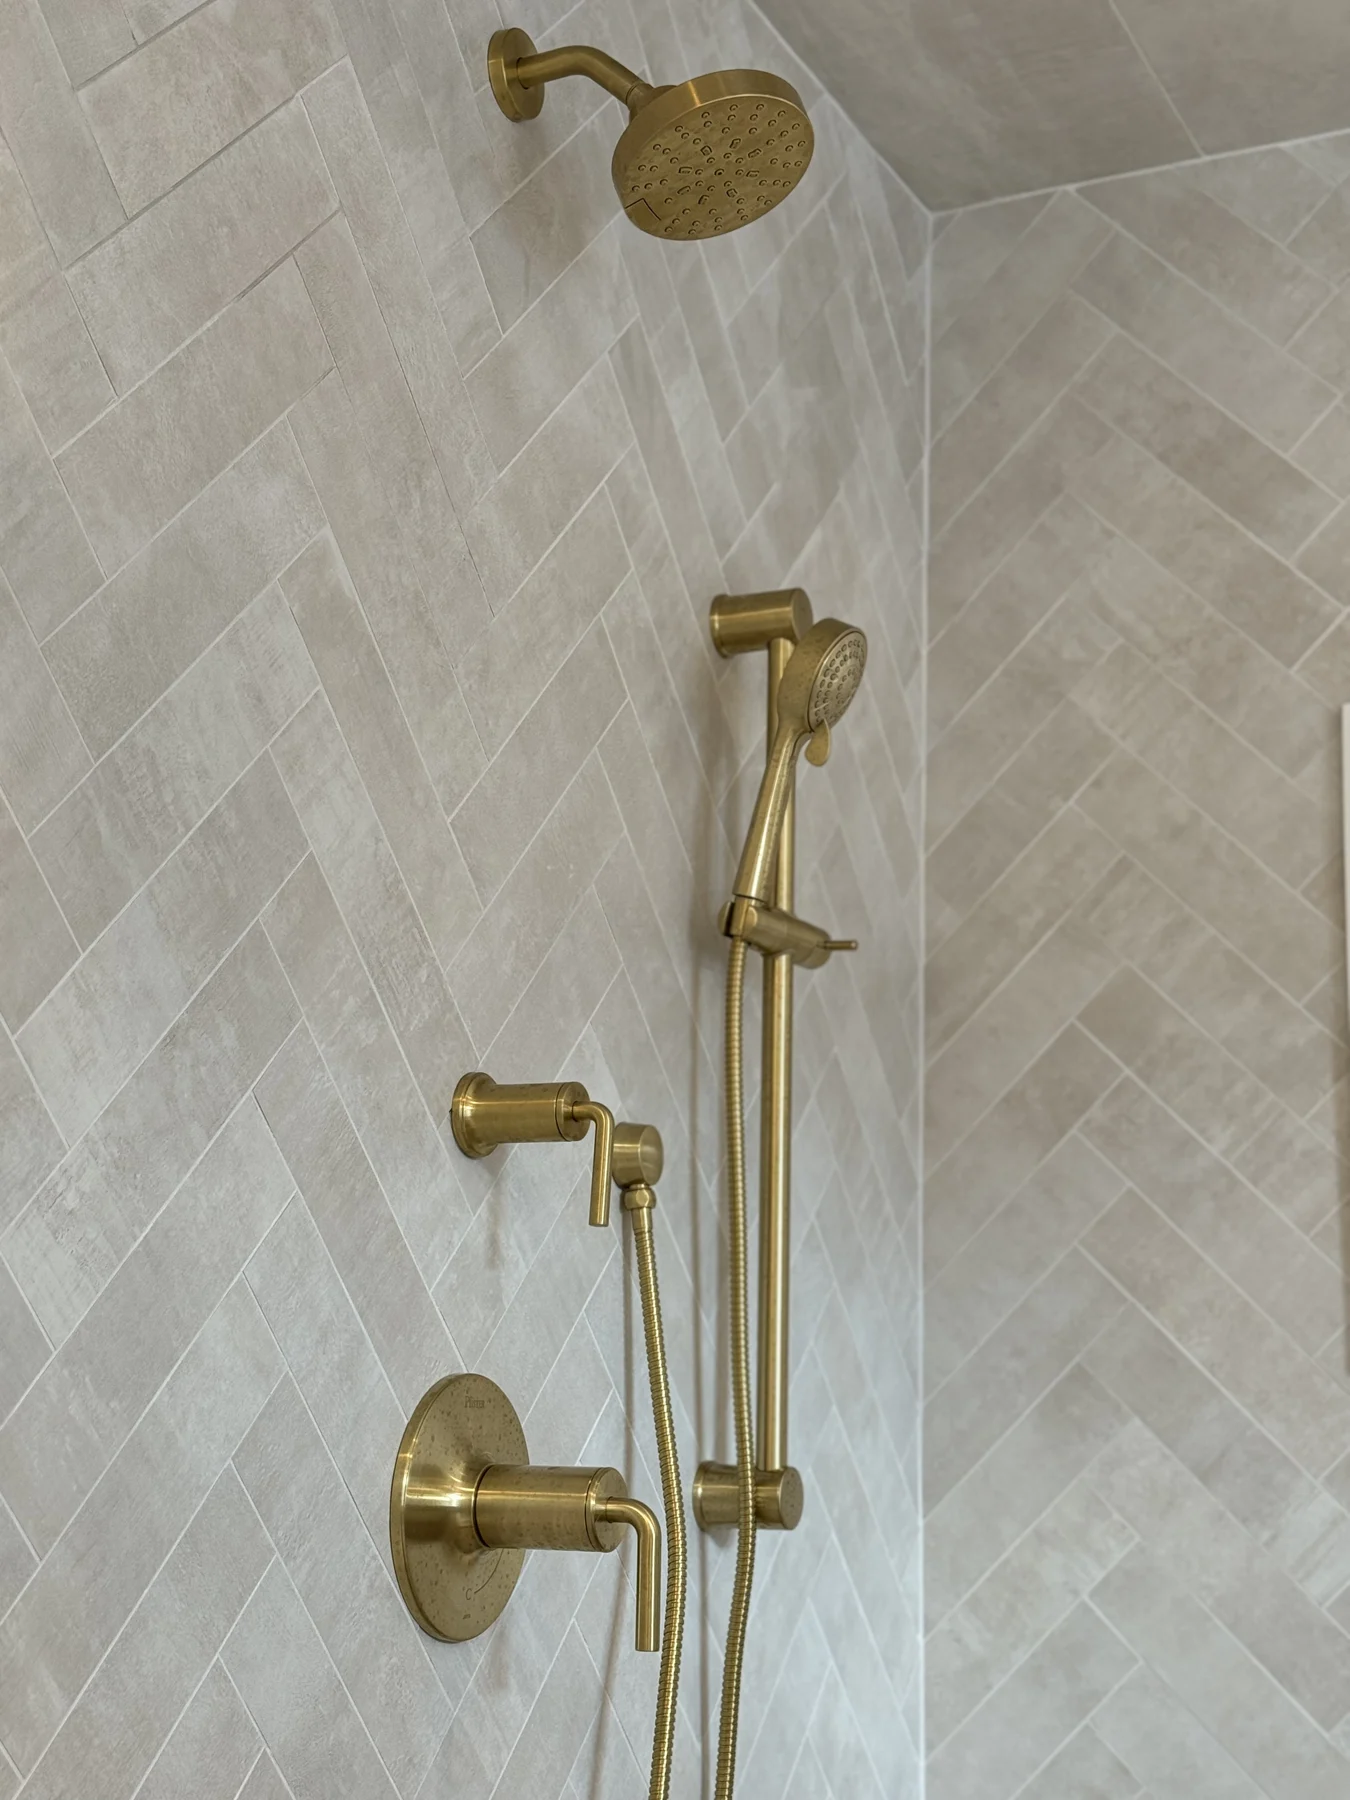
If the concern involves grout, a joint, or the appearance of a finish, describe the location and what has changed. Include photographs that show both the detail and the larger surface. If cleaning products or previous treatments are relevant, provide that information.
Different materials and assemblies can require different approaches. Avoid experimenting with an unverified treatment simply because it is described as suitable for tile in general. Product-specific care information and an appropriate assessment should guide any proposed work.
The inquiry can distinguish a visual concern from a question about the condition of the installation. That distinction helps identify what needs to be reviewed before describing the work as cleaning, restoration, repair, or replacement.
A repair often takes place in a room whose overall design you want to preserve. The surrounding tile, fixtures, cabinets, and adjoining finishes are part of the context. Share those details so the conversation is about the actual space rather than an isolated piece of material.
If the room will remain in use, explain the access requirements and any limitations affecting the work area. If other renovation work is planned, include the sequence and the parties involved. A repair may need to be coordinated with a larger project.
The desired appearance should be discussed honestly. Existing materials, age, availability, and concealed conditions can limit what is achievable. Clear expectations are more useful than a promise of an invisible repair before the project has been assessed.
Provide the town, location of the issue, close-up and wide photographs, when it appeared, and any known history. Tell us whether matching spare tile is available and include product information if you have it.
Explain the result you are seeking. You may want to address a single damaged piece, understand several loose tiles, repair an exposed edge, or discuss a more extensive restoration. If the cause is uncertain, say so rather than assigning one.
The repair inquiry path asks about the issue and spare-tile availability because those details help establish the starting point. Final suitability and pricing depend on the agreed scope and the conditions that can be assessed.
It depends on the tile and whether replacement stock is available. Spare pieces, packaging, supplier details, and clear photographs are all helpful.
Photos help determine the next step. Concealed conditions or an uncertain cause may require an on-site assessment before pricing can be confirmed.
Precision Tile Installations is located in Dix Hills, New York. We serve Northport, Roslyn, Garden City, and surrounding Nassau and Suffolk County communities on Long Island.
Send the town, rooms and surfaces included, approximate quantities, tile selections, site photographs, and target timing. Include preparation, demolition, edge details, and drawings where available.