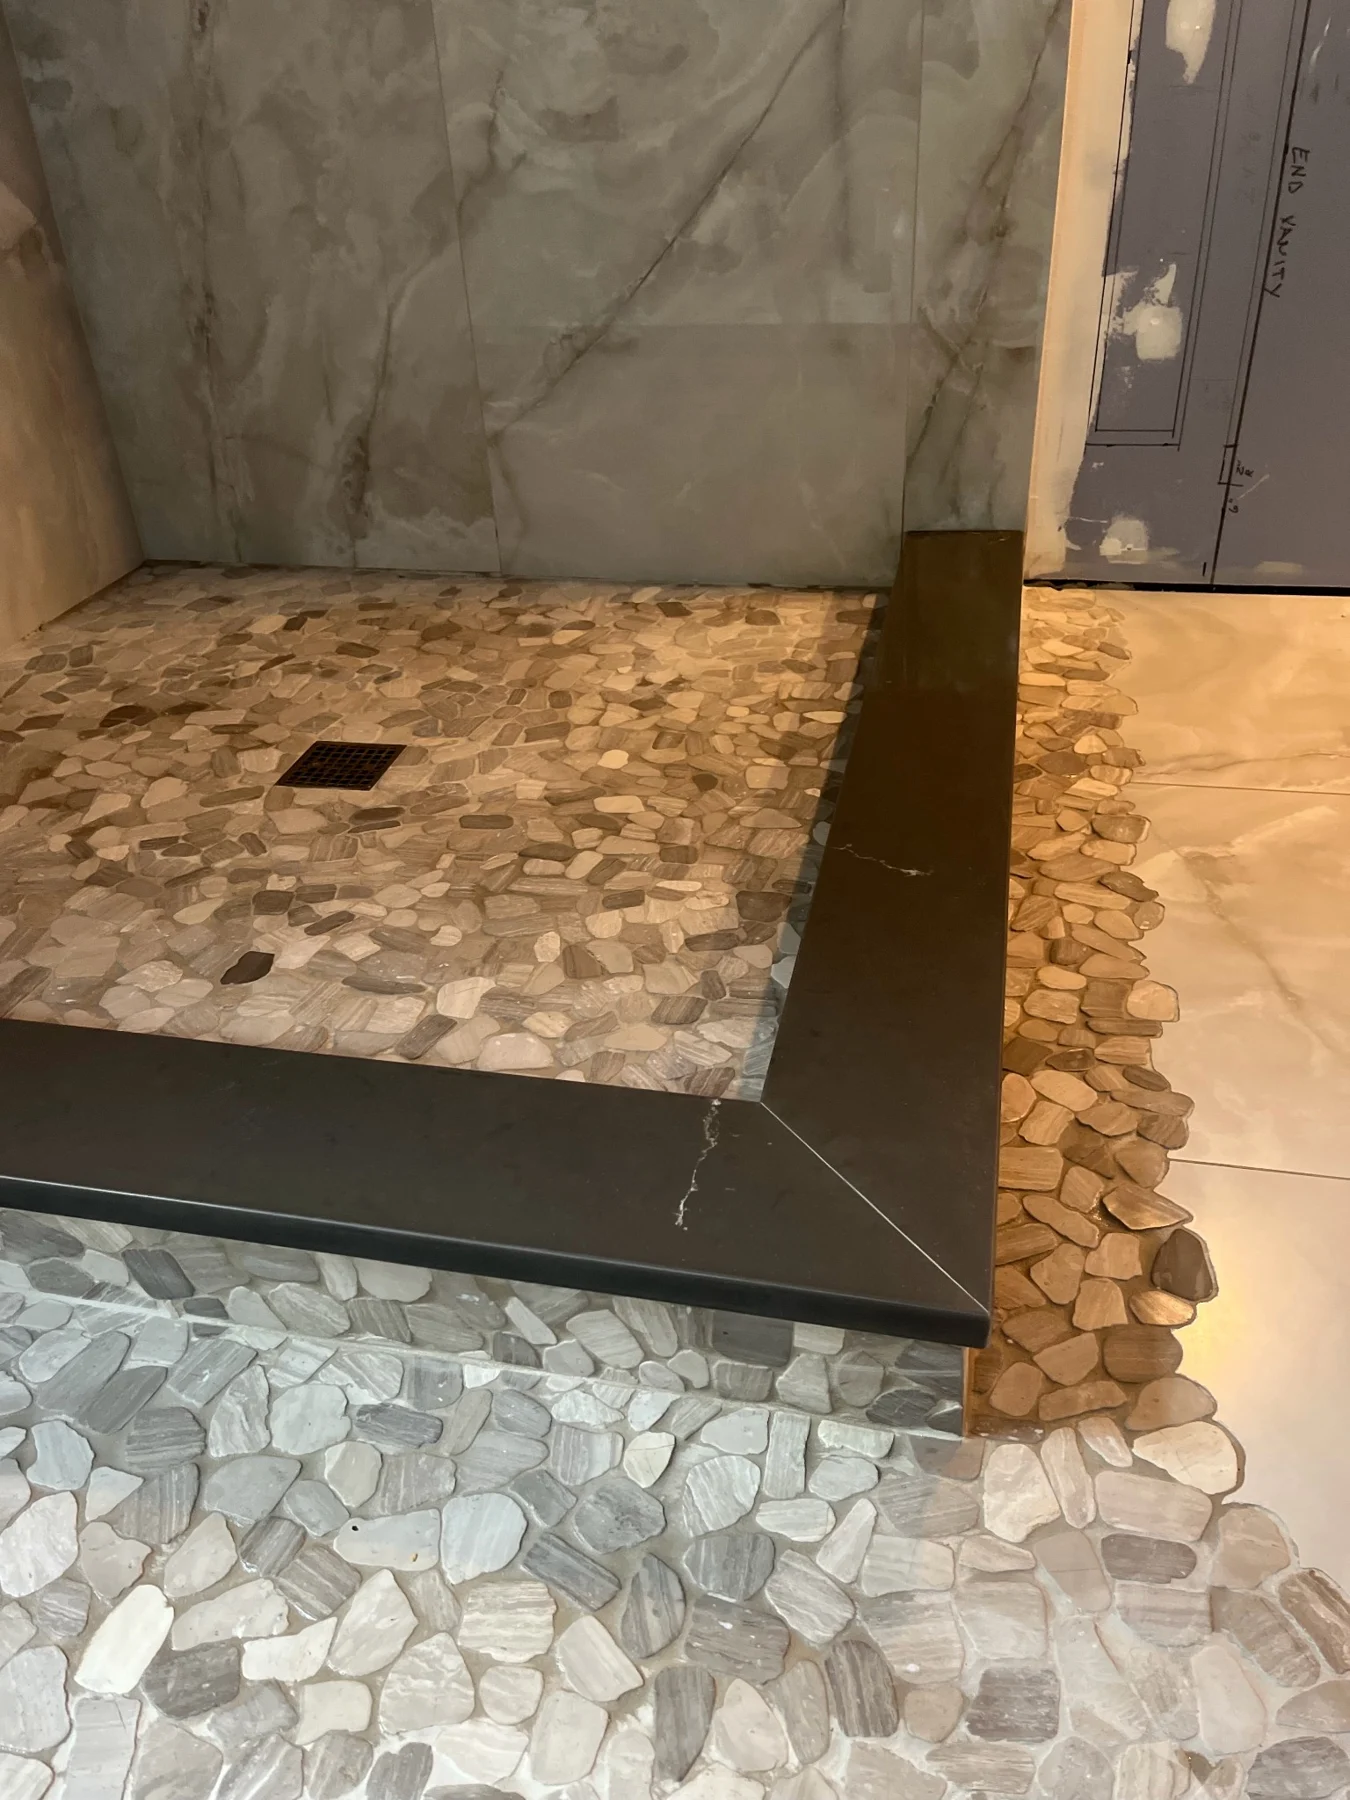
Shower setup
- Curb or flush-entry layout
- Drain location & floor pitch

Bathroom and shower tile installation, from floor preparation to finished edges.
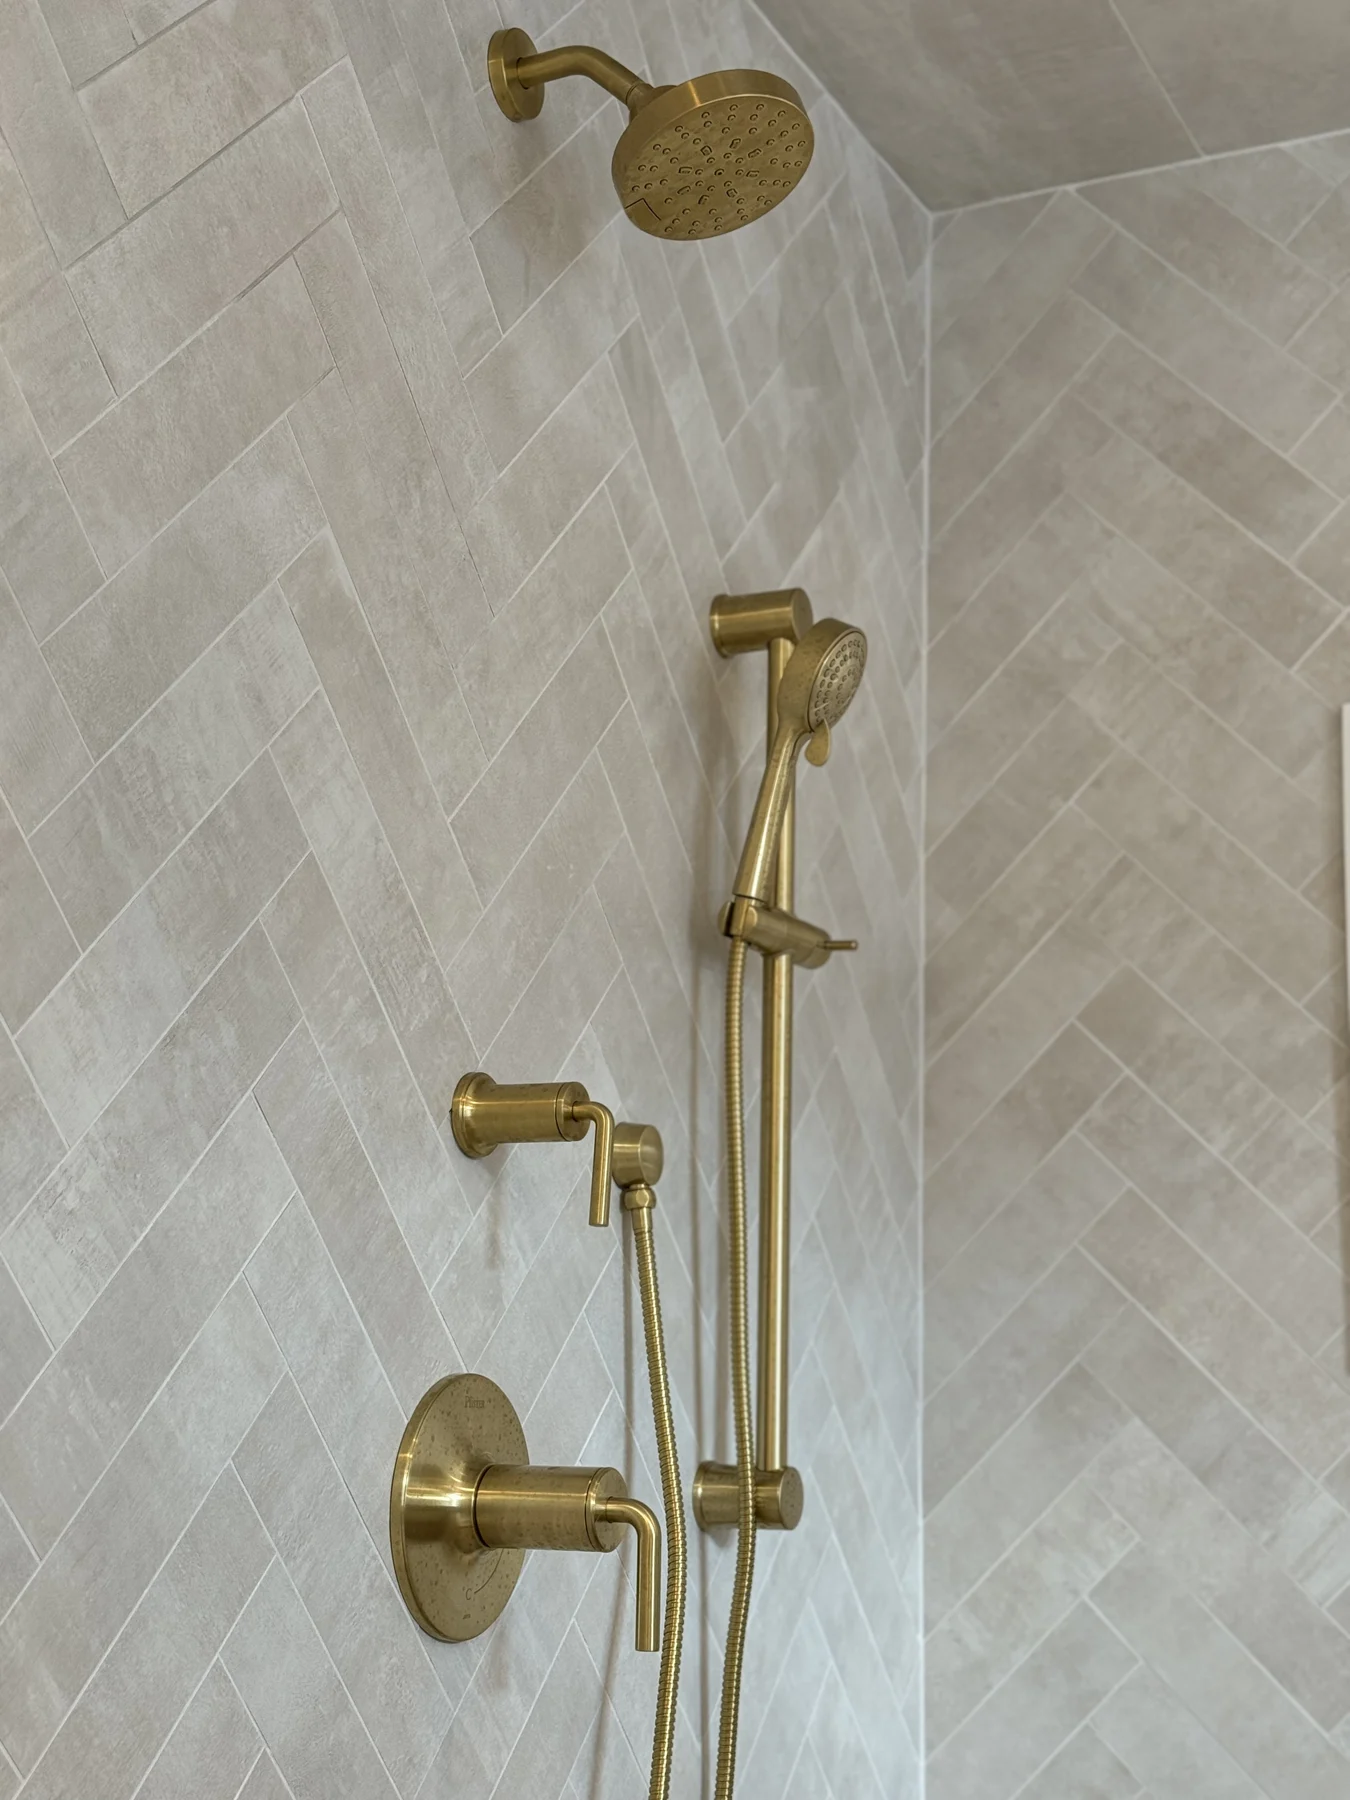
Portfolio example. Material specifications vary by project.
Explore the installation requirements, preparation details, and information that help define your bathrooms project.
Custom shower and bathroom tile installation on Long Island. Curbless entries, traditional curbs, mud-bed shower floors, niches, benches, and clean tile-to-drain details.
Precision installs curbless and curbed tile showers and muds floors to establish the required surface and pitch. The job starts below the tile: substrate condition, waterproofing, drain coordination, finished elevations, and a layout that works around every corner and penetration.
Precision installs both curbless showers and showers with a traditional curb. A curbless entry needs the shower floor, bathroom floor, drain, and waterproofing designed together. The finished entrance must be planned before the tile goes down; removing a curb from an existing layout does not automatically produce a workable flush entry.
For a new build, discuss recesses and finished floor elevations with the builder early. For a renovation, the existing framing, available depth, plumbing position, and adjoining floor can limit the options. A curbed shower has its own details: the curb face, top, inside return, glass position, and connections to the walls all need to be included in the scope.
Send a plan showing the entrance, shower dimensions, drain location, and glass layout. Mark whether the entry is intended to be flush or raised. This gives the installation team a practical starting point for discussing the assembly rather than pricing from a photograph alone.
Precision muds floors, including shower floor work where the specified assembly calls for a mortar bed. A mud bed is a formed mortar base; it is not the thin-set bonding layer used to attach tile. Its purpose, thickness, support, and relationship to the waterproofing depend on the selected installation system.
The shower floor must direct water toward the drain. Drain position influences the floor planes and the tile cuts. A point drain and a linear drain can require different layouts, especially when larger pieces are used on the shower floor. The drain connection, membrane, mortar bed, and tile thickness need to be reviewed together.
A flat bathroom floor and a pitched shower floor are different requirements. The transition between them is especially important at a curbless opening. Include the intended bathroom floor finish and any adjoining hallway or bedroom flooring so the total finished heights can be compared.
Tile and grout are finish materials; the waterproofing assembly manages water below them. Corners, wall-to-floor connections, drain interfaces, valve openings, niches, and benches must be addressed as connected details. Grout or stone sealer is not a replacement for that assembly.
The project scope should identify the waterproofing system, who installs it, and the required inspection or water-test stage before tile covers it. The selected system instructions govern compatible materials, connections, and timing. A mixed collection of products should not be treated as an approved system without review.
Niches and benches also affect the tile layout. Include their dimensions, locations, shelf materials, and exposed edge treatments in the drawings. Planning them around tile courses can reduce awkward slivers and keep joints aligned across the wall. Sloped horizontal surfaces and waterproof connections belong in the construction detail, not just the finish selection.
Precision works with 1/8-inch grout spacing where the actual tile and installation requirements allow it. The finished joint depends on tile size variation, edge profile, warpage, and layout. A narrow joint should be confirmed with the selected product rather than promised from a sample photo.
Grout joints between tiles and movement joints at changes of plane serve different purposes. Inside corners, perimeters, and adjoining materials need the joint treatment specified for the assembly. Filling every connection with rigid grout is not the same as completing a properly detailed shower.
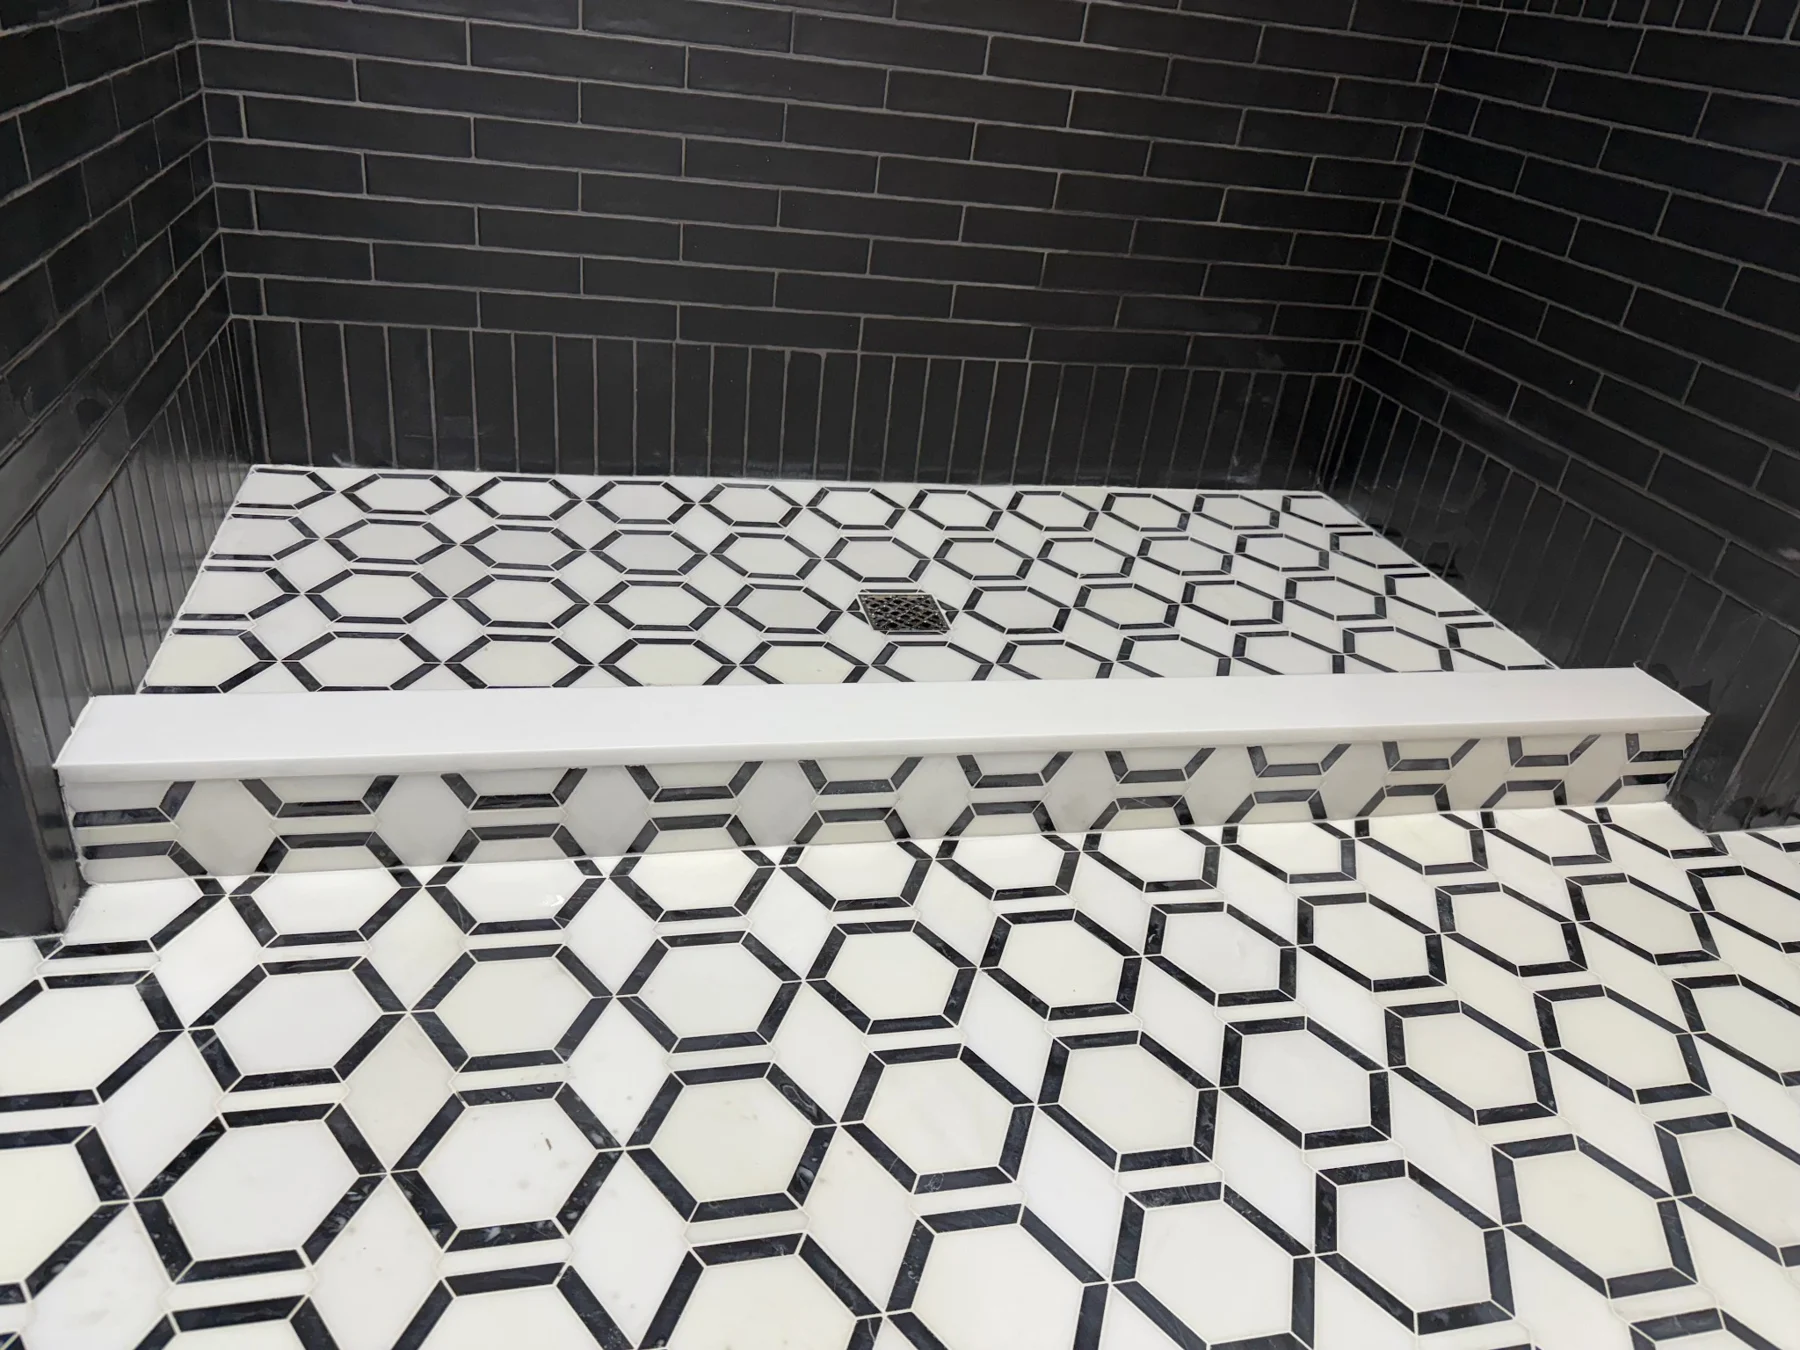
For exposed edges, identify the intended finish: a compatible trim profile, finished stone piece, or a suitable mitered return. Mitering depends on the material and edge condition; it should be priced and reviewed as a specific detail. Confirm the grout color, trim finish, and visible joint arrangement before installation.
A bathroom can be a quiet retreat, an expressive guest space, or a room designed around a busy household. The tile should respond to how the room is used as well as how it looks in a photograph. Consider the relationship between the floor, shower, tub, vanity, and the view from the doorway.
Some designs use a single visual language throughout. Others combine a patterned floor with quieter walls or reserve a distinctive material for one feature. Neither approach is automatically more refined. What matters is that the individual choices feel intentional when they are seen together.
Tell us which surfaces are changing and which will remain. A bathroom renovation can involve the entire room or a more focused tile scope. A clear starting description helps connect your design goals to the actual work being discussed.
A shower is often a prominent part of the bathroom, even when its palette is restrained. The direction of the tile, the relationship between walls, and the position of joints around fixtures all influence its appearance. A clear elevation is especially useful when the design depends on a particular arrangement.
Identify the intended tile height and all surfaces included in the scope. Show windows, controls, niches, benches, and other features that interrupt the field. If the design includes more than one material, mark the transition rather than relying only on a verbal description.
The finished tile is part of a broader shower assembly. Preparation and waterproofing responsibilities must be defined for the project. Share any existing specifications or information about completed work so the installation discussion reflects the actual conditions.
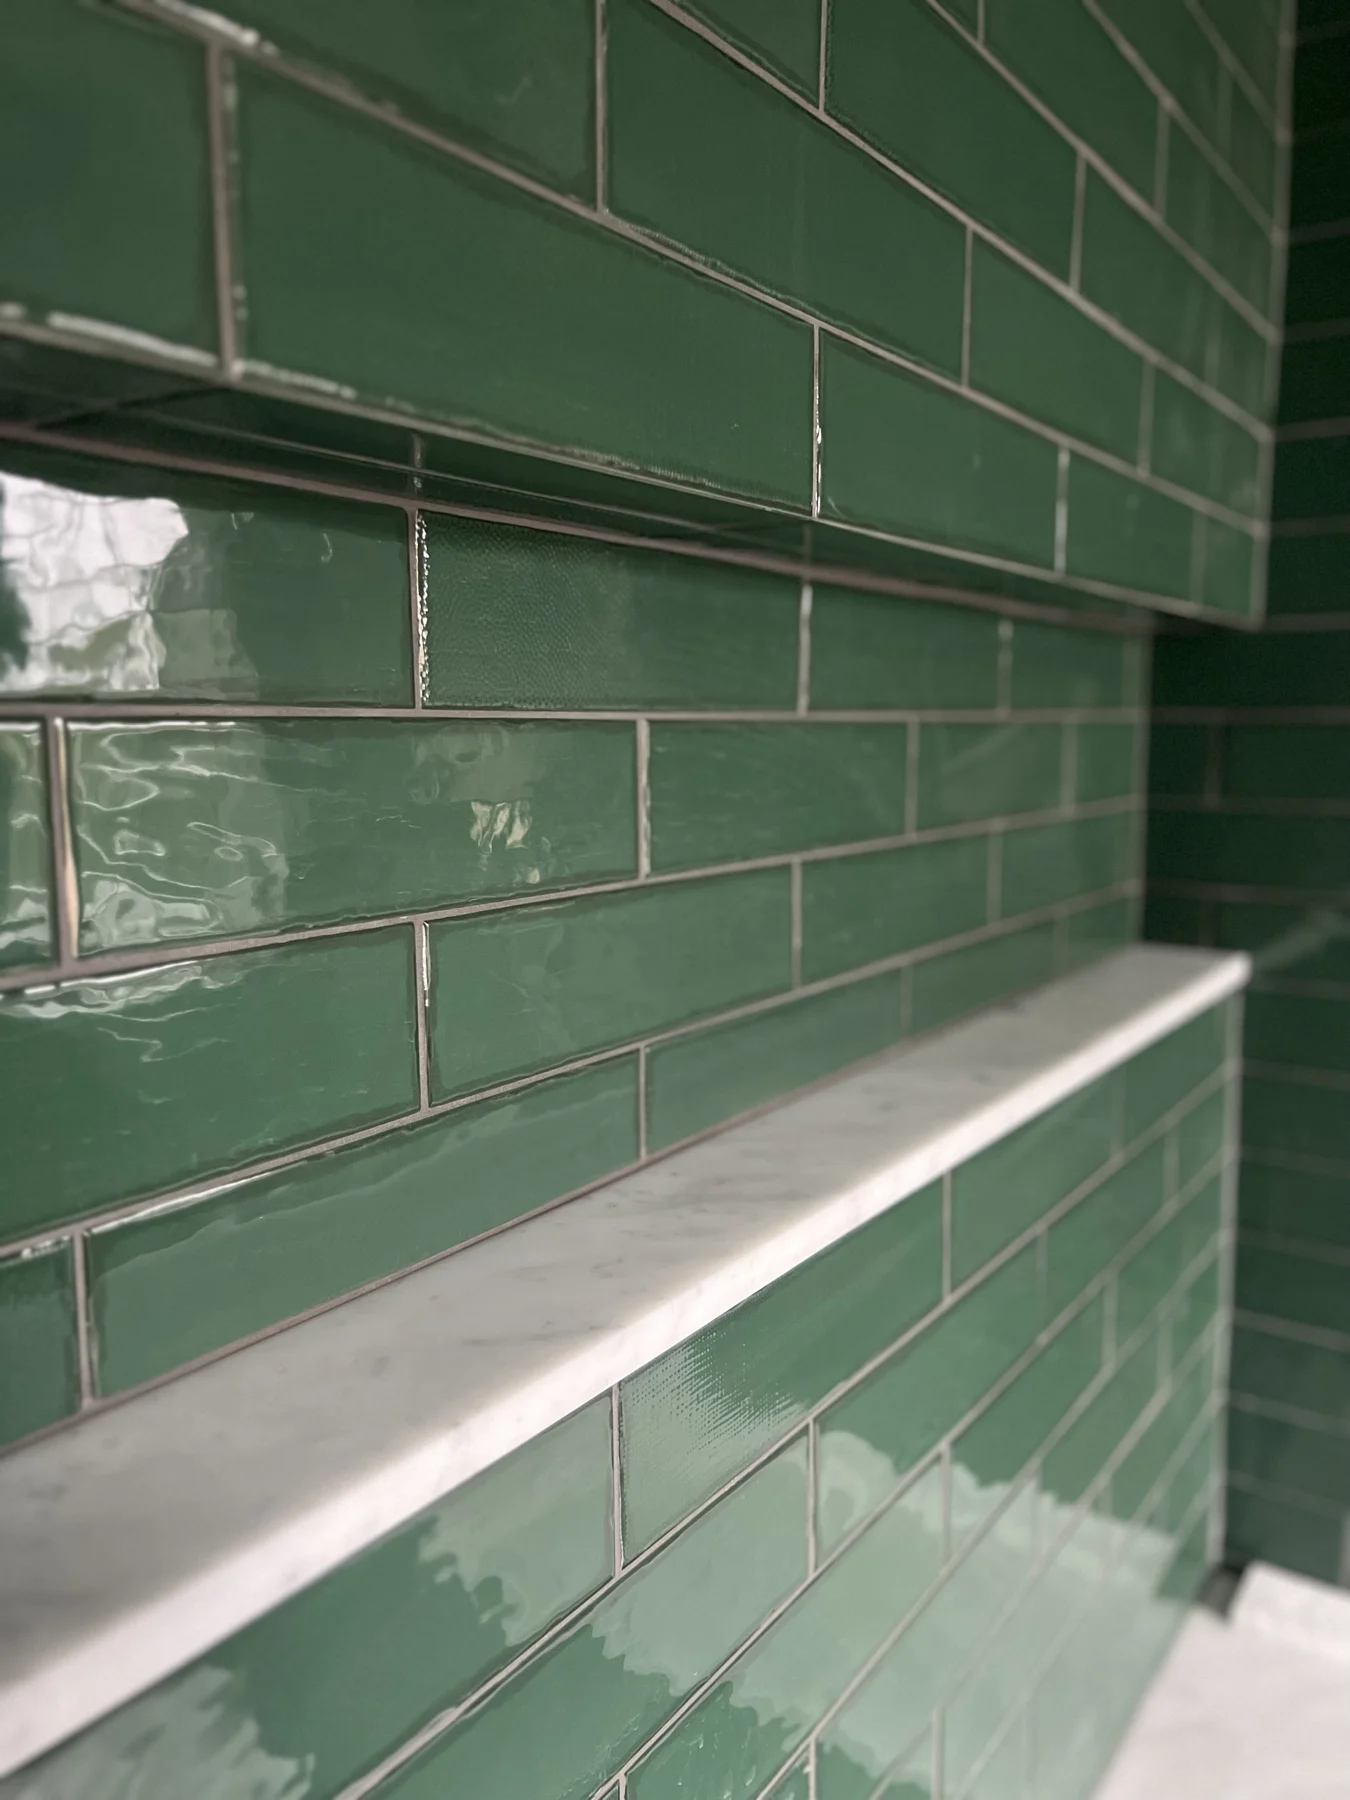
A niche should make sense as part of the room rather than appear as an afterthought. Its location, proportions, visible edges, and relationship to the surrounding tile can all affect the composition. The same is true of a bench, ledge, or other feature included in the design.
Bring these details into the conversation before assuming the layout is final. A reference image can communicate the desired effect, but the actual dimensions and fixture locations need to be considered. Mark any alignment that matters to you, such as a niche that relates to a joint line or a feature centered within a wall.
If the design is still evolving, identify the decisions that remain open. It is better to flag a provisional detail than to allow different members of the project team to work from different assumptions.
The floor can establish the personality of the room. A quiet field tile may support an expressive shower wall. A patterned floor can become the primary visual feature. A border or directional layout can give the room a sense of order when its proportions support that approach.
Consider the floor from the doorway and from the main positions within the room. Include the vanity footprint, tub position, door swing, and the transition to the adjoining space in the planning conversation. A design should not be evaluated only as an unobstructed rectangle if much of the floor will meet fixtures or cabinetry.
For an existing bathroom, share photographs of the current floor and the adjacent finish. Approximate measurements are useful for the initial inquiry; the final scope depends on confirmed selections, dimensions, and site conditions.
A bathroom can include ceramic, porcelain, decorative mosaics, large-format tile, and full marble slab features. The appearance of the materials is only one part of the selection. The intended application, product requirements, care expectations, and the relationship to the full assembly also need review.
Send product information when you have it. A name, size, finish, and supplier link help distinguish the actual selection from a visual reference. If several options are under consideration, share the alternatives and explain what appeals to you about each one.
You do not need to solve every material question before making contact. The initial conversation can establish what is selected, what needs further review, and which details are necessary to define the installation scope.
In a renovation, the conversation begins with what is already there. Existing finishes, concealed conditions, fixture locations, and the extent of demolition can influence the work. Photographs are useful, but they do not reveal every condition beneath a surface.
In new construction, the focus may be on drawings, selections, preparation responsibilities, and the sequence of other trades. Identify who is coordinating site readiness and which documents represent the current design. A room shown on a plan and a room ready for installation are different project stages.
For either type of work, the scope should identify what is included and what is being handled by others. That includes preparation, material supply, fixture-related work, and the transitions to finishes outside the tile installation.
Start with the town, room type, approximate dimensions, and the surfaces you want tiled. Tell us whether the project is a shower, bathroom floor, tub surround, or a full-room tile package. Add the preferred timing and the stage of your selections.
Include a wide photograph of each relevant wall and any drawings or inspiration. Identify niches, benches, borders, and special details. If tile is already selected, provide the product information and dimensions. If the work is part of a larger renovation, include the contractor’s contact and the anticipated sequence.
The bathroom inquiry path asks about the areas included and special details so the first conversation has a useful foundation. You can also contact Mike directly if you prefer to begin by describing the project.
Yes. Share the room, approximate dimensions, and the look you have in mind. Final pricing and installation details depend on the selected material and site conditions.
Include the room dimensions, shower layout, planned niches or benches, and any information about demolition, substrate preparation, or the waterproofing scope. Those responsibilities should be clearly defined before work begins.
Yes. Precision installs both curbless showers and traditional curbed showers. The drain, waterproofing, floor pitch, finished elevations, and selected tile are reviewed together for the individual project.
Yes. Precision muds floors where the agreed installation assembly calls for a mortar bed. Substrate conditions, available depth, and adjoining finished heights determine the preparation scope.
Yes, where the actual tile and installation requirements allow. Tile dimensions, edge variation, warpage, and layout determine whether 1/8-inch grout spacing is appropriate.
Watch the finished surfaces and hands-on installation details. Each clip includes a description of the work shown.
A detailed walkthrough of veined wall surfaces, the shower entry, mosaic shower floor and recessed wall details.
Dark herringbone wall tile, a contrasting shower floor and coordinated cuts around the shower controls.
A walkthrough of mosaic surfaces around the bathtub, deck and adjacent walls.