Check the tile
- Actual size, thickness & warpage
- Product requirements & joint width

Floor and wall tile installation for pieces measuring 24 inches and larger.
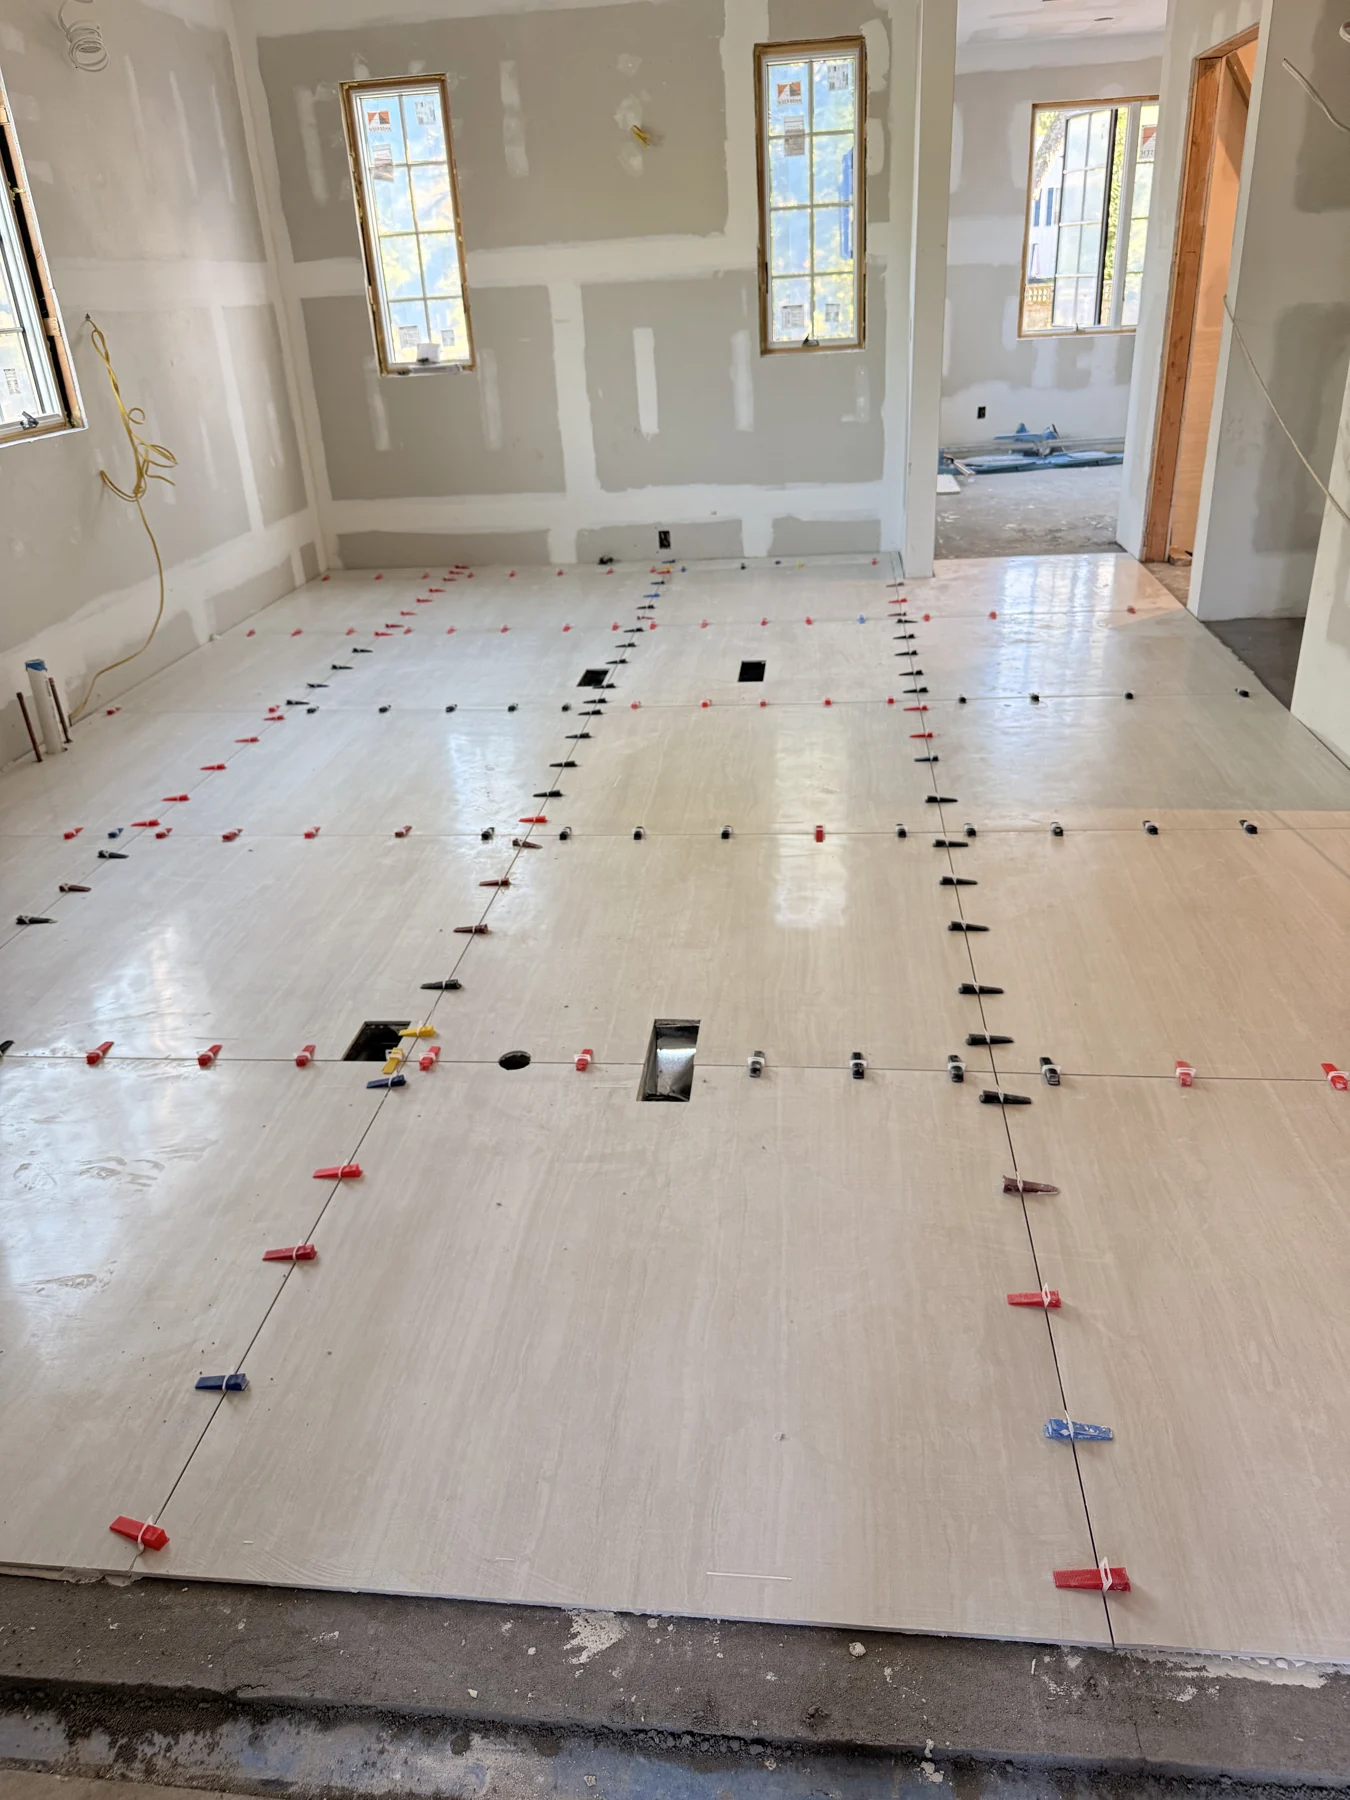
Portfolio example. Material specifications vary by project.
Explore the installation requirements, preparation details, and information that help define your large format project.
Installation of tile measuring 24 inches and larger for floors and walls. Surface preparation, planned cuts, controlled lippage, and grout-joint layouts matched to the actual tile.
A bigger tile covers more of the substrate and makes uneven edges more noticeable. Precision reviews the base, product dimensions, tile warpage, layout, and mortar requirements before setting. A clean finished surface starts with preparation, not just spacers or leveling clips.
Precision installs large-format tile measuring 24 inches and larger, including layouts with 1/8-inch grout joints where the product allows. Rectified tile has mechanically finished edges, but that does not make every piece identical or eliminate the need for joints.
Review the actual tile, not only the nominal size on the box. Dimensional variation, edge warpage, and the proposed offset affect the joint decision. Confirm the layout and grout width with the selected product information before approving a tight-joint installation.
The goal is an orderly grid with consistent-looking joints and well-planned cuts. Narrower is not automatically better. Where a product requires a wider joint, the installation should follow that requirement rather than forcing the material into an unsuitable spacing.
Large-format tile needs a suitable, sufficiently flat substrate. High spots and depressions can interfere with mortar contact and create uneven edges. The base should be assessed before tile setting is priced as a straightforward square-foot installation.
The setting material must suit the tile, substrate, and application. Large-and-heavy-tile mortars are a product category, not a license to correct any floor condition with extra mortar. Product limits, working time, and the intended assembly still apply.
Handling space also matters. A large piece must be moved, cut, positioned, and supported without compromising the work area. Include stairs, narrow doorways, finished access routes, and staging restrictions when requesting an estimate. These conditions can affect the sequence and labor involved.
A large-format layout should identify the primary reference line, perimeter cuts, door openings, and transitions before setting begins. A small shift in the starting grid can change the cuts across several rooms. Long sightlines need to be reviewed as a connected layout.
For wall installations, include ceiling heights, inside and outside corners, fixtures, and exposed ends. For floors, show the adjoining surfaces and the intended direction of the tile. A tile that spans a change in floor plane may require a different layout or a planned cut.
Review corner details, trim profiles, grout color, and any miters with the actual material. The cleanest result comes from a workable installation detail and accurate cuts, not from leaving edge decisions until the last pieces are set.
Precision installs large-format tiles measuring 24 inches and larger. That description is a starting point, not a complete specification. A long plank, a large square, and a substantial rectangular wall tile can all create very different visual effects even when each falls within the same service category.
Share the exact dimensions, thickness, manufacturer, product name, and intended application. A photograph of the packaging or a product link can be more useful than a description such as “large white tile.” The surface finish and proposed layout also matter to the conversation.
Larger formats can give a space a broad, composed appearance. They also bring attention to how the layout meets the room. Corners, doorways, fixtures, edges, and transitions become part of a composition that needs to be considered beyond a single sample tile.
A large tile is not automatically the right answer for every space, nor is it limited to very large rooms. The relevant question is how its proportions work with the surfaces and features around it. Consider the width of a shower wall, the distance between doorways, or the relationship between the floor pattern and a kitchen island.
An inspiration image can help communicate a mood, but it rarely communicates every dimension. Include the actual room measurements and identify the view you care about most. That may be the first view through the doorway, the wall behind a freestanding tub, or a continuous floor seen across several connected rooms.
The layout conversation can then focus on the real space: where full tiles might sit, where cuts will occur, and how the direction of the tile contributes to the room’s overall feel. Product requirements and site conditions still need individual review.
For flooring, think about the entire visible field rather than only the center of the room. Connected spaces, hallways, door openings, kitchen cabinetry, and adjoining finishes influence how a floor is experienced. A direction that looks balanced in one room may create a different relationship in the next.
Share a plan showing the rooms included, approximate floor areas, and the boundaries of the tile installation. Identify where the tile meets wood, carpet, stone, or another floor finish. Existing levels and the intended finished transitions should be part of the site discussion.
If the home will remain occupied, include that information early. Access, room sequencing, furniture, and movement through the home affect planning. The initial inquiry should describe those constraints without assuming a particular installation schedule before the project has been assessed.
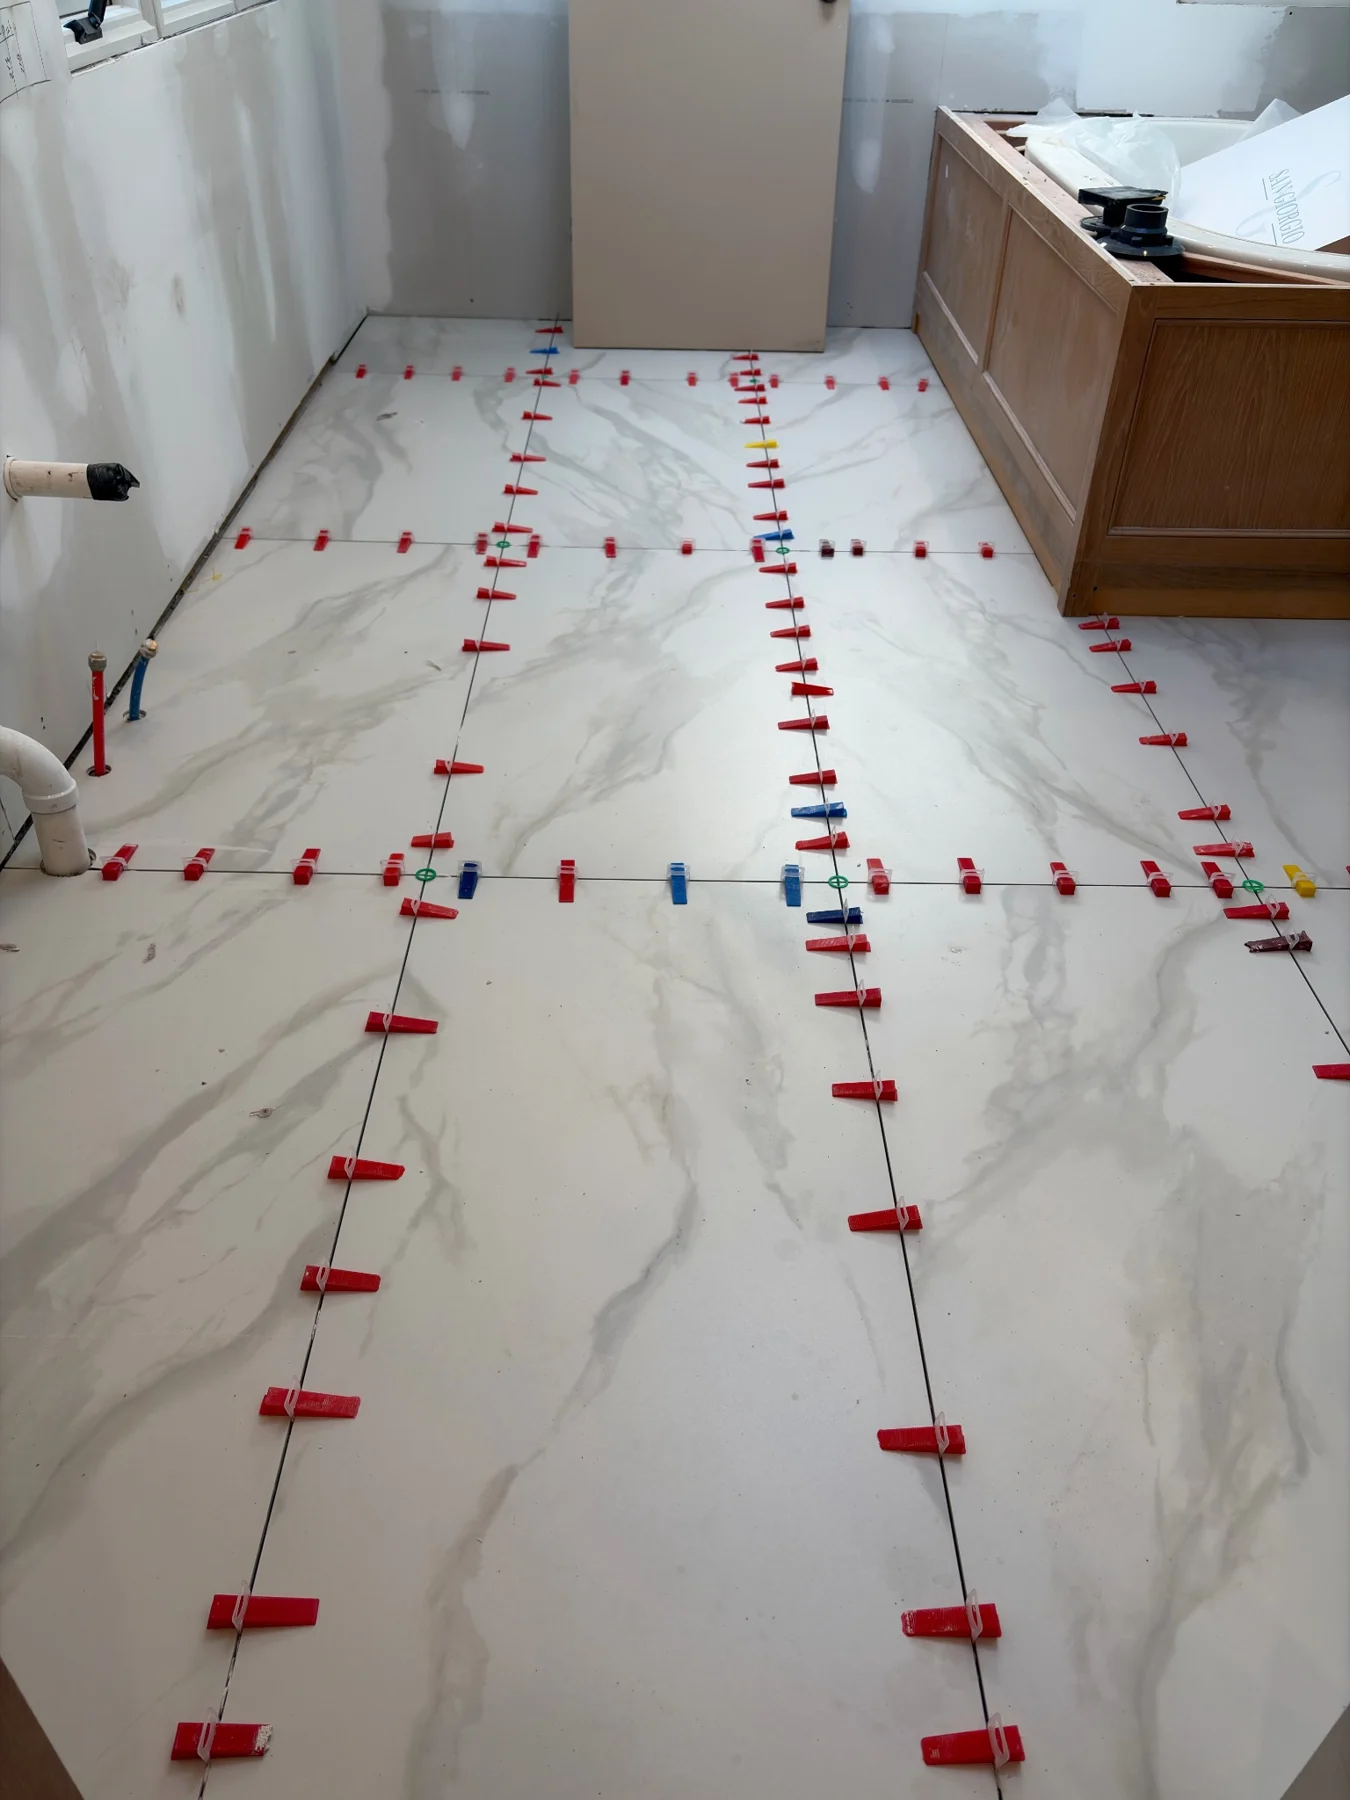
On walls, a larger tile format can create a strong architectural presence. It may also make the relationship between the tile, fittings, openings, and edges more visually prominent. A niche, window, shower control, or bench can interrupt the field in a way that deserves deliberate attention.
Provide elevations where available. Mark the tile height, the surfaces included, and the location of visible features. If the design depends on a particular joint position or the alignment of a pattern, identify that intention explicitly.
For a shower, the tile selection is one part of the full assembly. Preparation and waterproofing responsibilities need to be defined for the project. The conversation should establish what already exists, what work is planned, and which details need review before the installation scope is finalized.
The finished surface depends on more than the visible tile. Existing conditions, the supporting surface, material requirements, and the proposed application all contribute to the installation plan. A photograph alone cannot resolve every question about what lies beneath a finish.
Include information about the current substrate, previous flooring or wall finish, and any demolition already completed. If preparation has been specified by another professional, provide that information with the drawings. If the substrate condition is unknown, identify it as an item for assessment.
Preparation should be a visible part of the scope discussion rather than an implied promise. The project should establish who is responsible for each element, what is included, and how unexpected conditions will be addressed. Specific installation methods are confirmed for the selected product and assembly.
The dimensions of the tile affect more than its appearance. Larger pieces need a practical route into the building and to the work area. Stairs, tight turns, elevators, door openings, material storage, and the available work area can all be relevant to planning.
Tell us where the tile will be installed and how materials can reach that location. Include delivery information if the tile has already been ordered. For a new-construction project, identify the person coordinating material arrival and site access. For an occupied home, describe any restrictions that need to be respected.
These details help define the project review. They do not replace an assessment of the actual conditions, but they make it easier to identify questions before materials and installation dates are committed.
A large-format surface can feel quiet and expansive, but its edges still need a clear design intention. Consider the exposed side of a wall, the return into an opening, a shower niche, and the junction with another material. These are not separate from the design; they are where the design becomes most specific.
Bring examples of the appearance you prefer. Identify whether the intent is a strong framed edge, a restrained transition, or another detail shown in the drawings. Grout color and the visual emphasis of the joints also deserve discussion alongside the actual tile.
The final approach must suit the selected product and assembly. Avoid assuming that a detail photographed with one material can be transferred unchanged to another. A good reference communicates the desired effect while leaving room to review how it can be achieved in the actual project.
Begin with the town, room or rooms, approximate area, and desired timing. Add the product name, exact tile dimensions, thickness, and a link or photograph. Include the proposed pattern, drawings, and current site photographs if you have them.
Tell us whether the material is already on site, ordered, selected but not purchased, or still under consideration. Identify any known preparation work and the finish at adjacent surfaces. For a trade project, include the bid deadline, drawing revision, and the person responsible for scope clarification.
If you are still comparing formats, share the alternatives rather than making a premature final selection. The initial conversation can distinguish the design questions from the information needed to define the installation. Use the large-format inquiry path to keep those details together.
For this service, Precision uses large format to describe tile measuring 24 inches or larger. Send the exact product dimensions with your inquiry.
Tile dimensions and thickness, application, existing substrate, access, drawings, approximate quantities, and target installation timing.
Yes, where the actual tile and installation requirements allow. Tile dimensions, edge variation, warpage, and layout determine whether 1/8-inch grout spacing is appropriate.
No. Edge-control devices do not replace a suitable substrate or the required setting-material contact. Surface preparation remains part of the installation scope.
Watch the finished surfaces and hands-on installation details. Each clip includes a description of the work shown.
Follow the marking, cutting and edge finishing used to create a slotted grille from tile.
A close walkthrough of the installed floor surface, joints and perimeter details.