Prepare the base
- Existing substrate review
- Mud-bed preparation where specified

Tile floors for single rooms, renovations, and complete custom homes.
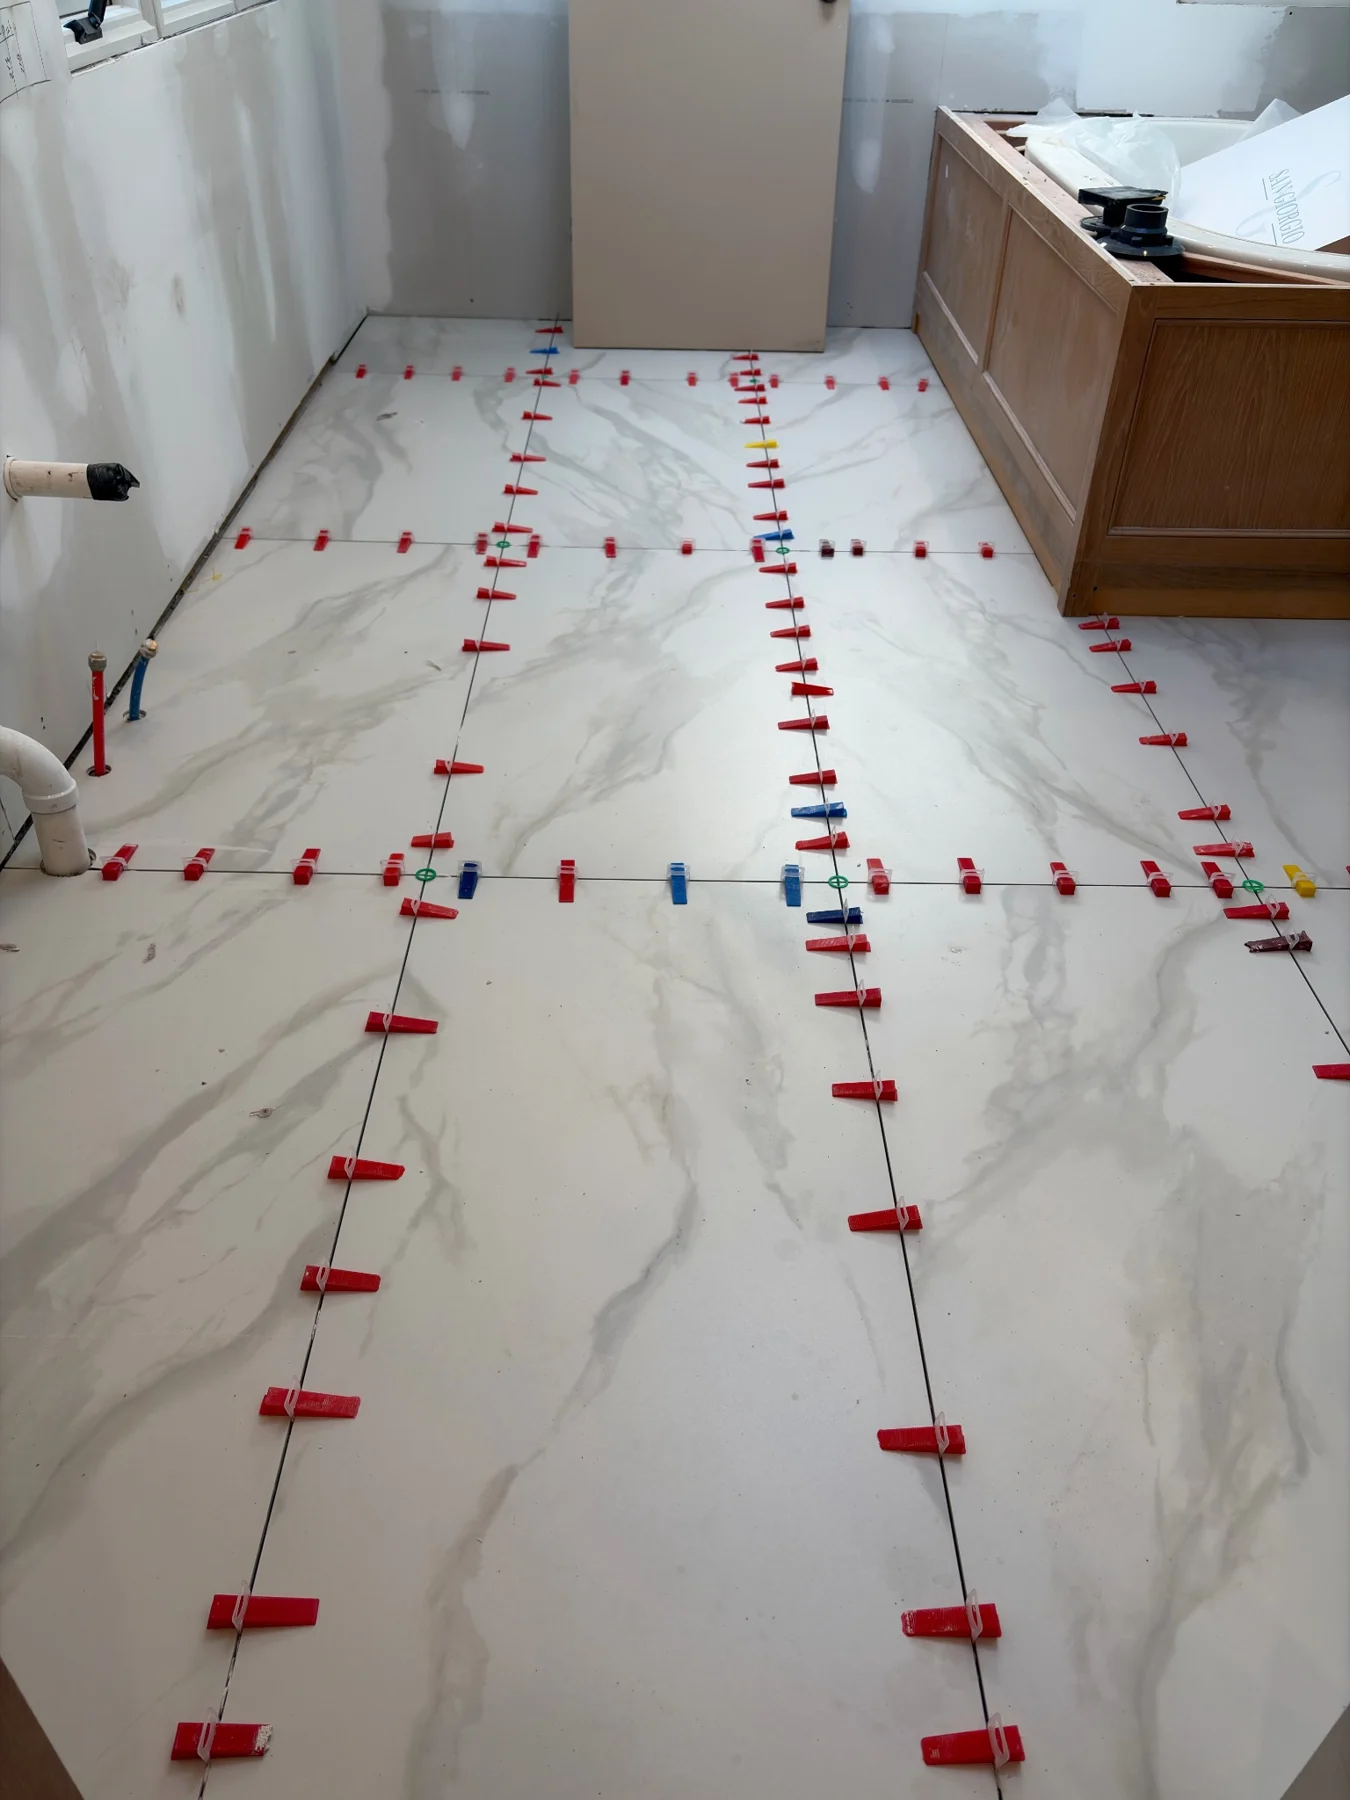
Portfolio example. Material specifications vary by project.
Explore the installation requirements, preparation details, and information that help define your floors project.
Tile floors for entries, kitchens, bathrooms, and connected living spaces. Mud-bed preparation, large-format layouts, patterned borders, and transitions to adjoining floors.
A straight tile layout needs a suitable base. Precision muds floors and plans the finished assembly around tile thickness, mortar, adjacent flooring, thresholds, and room elevations. Surface flatness, movement accommodation, and edge support belong in the scope before installation.
Precision muds floors to prepare a suitable base where the project calls for a mortar-bed installation. Mud work needs room within the overall floor assembly. Tile thickness, bonding mortar, bed thickness, substrate, and adjoining finish heights must be evaluated together.
An entry meeting hardwood, a kitchen meeting a hallway, and a bathroom meeting a shower can each require a different transition. Measure the existing conditions and show the intended finished elevations. A floor that looks level in a photograph may still need preparation before it can receive the selected tile.
For builders, include the floor build-up in the drawing set and identify who is responsible for structural conditions and substrate readiness. Mud-bed preparation is not a substitute for a structurally suitable floor. Scope decisions should be made before material is delivered and rooms are scheduled for installation.
Lippage is the height difference between adjacent tile edges. Tile warpage, substrate condition, joint width, and setting technique all affect it. Large-format tile makes these relationships especially visible across long sightlines and under low-angle lighting.
A suitable installation base is reviewed before setting begins. Bonding mortar is selected for the tile and substrate, with the product limitations respected. Trowel selection, mortar transfer, and support at tile edges are part of the installation discussion. Leveling clips can help control adjacent edges; they do not replace substrate preparation.
Specify the tile manufacturer, actual dimensions, finish, and proposed pattern. If a running-bond or offset layout is planned, confirm that arrangement against the product guidance. A full-size layout review is more useful than assuming every rectangular tile should be set at a half-tile offset.
A finished floor needs room to accommodate movement. The perimeter, changes in material, and any required movement joints must remain part of the installation plan. These locations are not simply extra grout lines to eliminate for appearance.
Thresholds need coordination with doors, casing, neighboring flooring, and the finished tile height. Identify whether the detail uses a stone threshold, a metal transition profile, or another specified finish. Review door clearances and any height difference before the final installation sequence is agreed.
For occupied homes, define the work zones and access routes. Tile, grout, and preparation products need the applicable cure time before traffic, protection, or further work. The schedule should account for those stages and the protection needed while other trades complete their work.
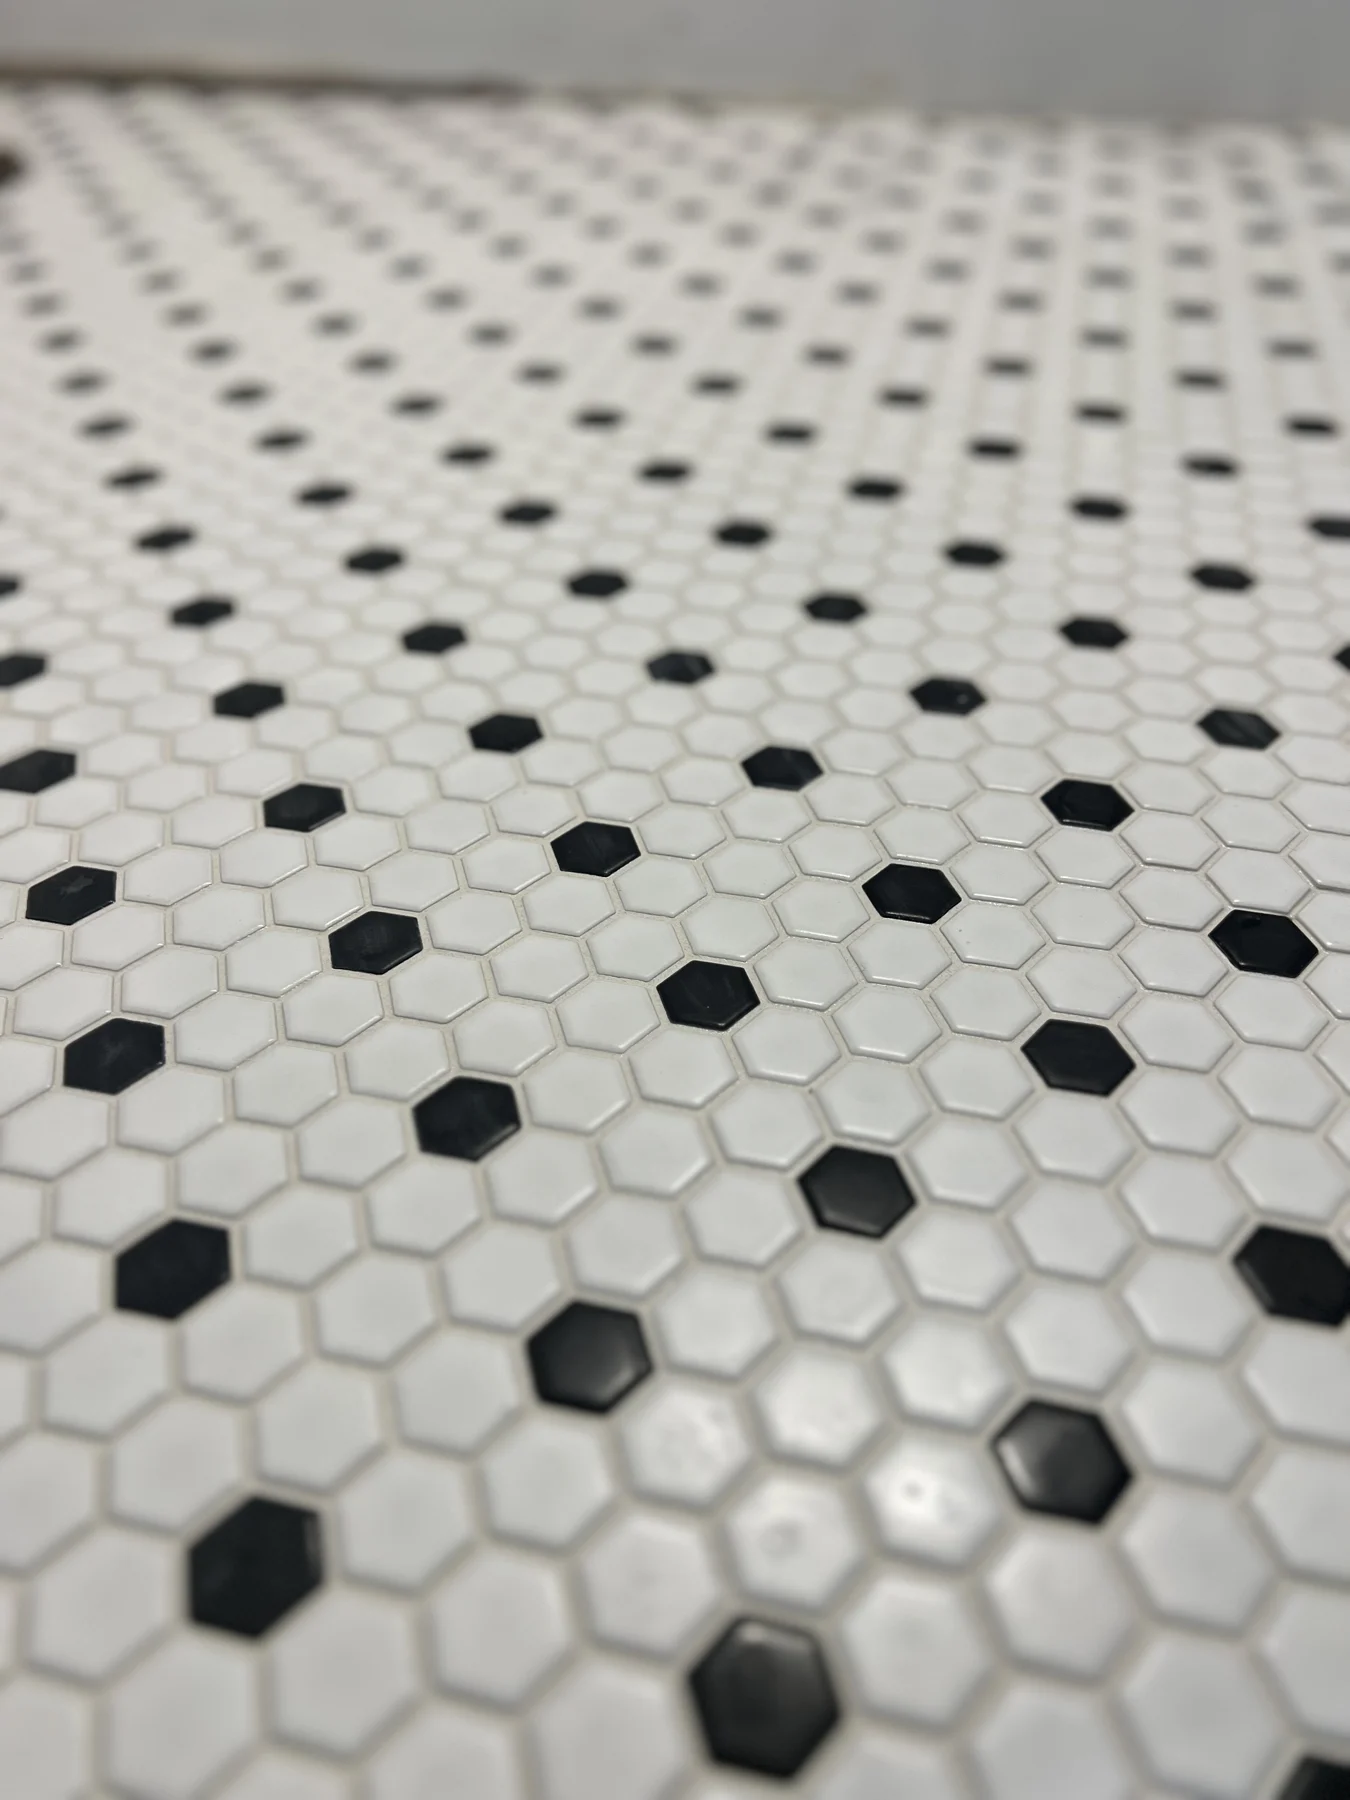
A tile floor is experienced through movement. It connects the doorway to the room, the room to the hall, and one living area to another. Its direction, format, and transitions help determine whether the home feels continuous or deliberately divided into distinct spaces.
Begin with the rooms included in the project and the finishes surrounding them. Identify where the tile starts and stops. If the design includes several connected areas, provide a plan that shows those relationships rather than treating each room as an unrelated rectangle.
The floor can be a quiet foundation or an expressive design feature. In either case, the installation review should consider the whole visible field, including the edges, doorways, cabinetry, and adjoining surfaces that shape the result.
An entryway introduces the material language of a home. A patterned layout, a framed field, or a restrained tile selection can each create a strong first impression when the proportions suit the space.
Consider the view through the front door and the relationship to the rooms beyond. A border should be evaluated against the actual walls and openings. A directional pattern should be considered in relation to the path through the space.
Share the entry dimensions, door locations, and the adjacent flooring. If a decorative design is planned, identify the part of the reference that matters most. The objective is to develop the idea around the actual entry rather than simply reproduce a pattern without its original context.
In a kitchen, dining area, and living space that share a visual connection, the tile layout can affect the way the entire area reads. Cabinetry, islands, columns, and doorways may interrupt the field even when the floor appears continuous in plan.
Provide a drawing or photographs that show the connected spaces. Identify which areas are part of the scope and which will retain their existing flooring. If the installation will be phased, explain the proposed sequence and any access requirements.
A coherent floor does not always mean the same pattern everywhere. It may mean a carefully considered transition, a consistent direction, or a deliberate change at an architectural boundary. Those intentions should be discussed before the scope becomes a simple square-foot total.
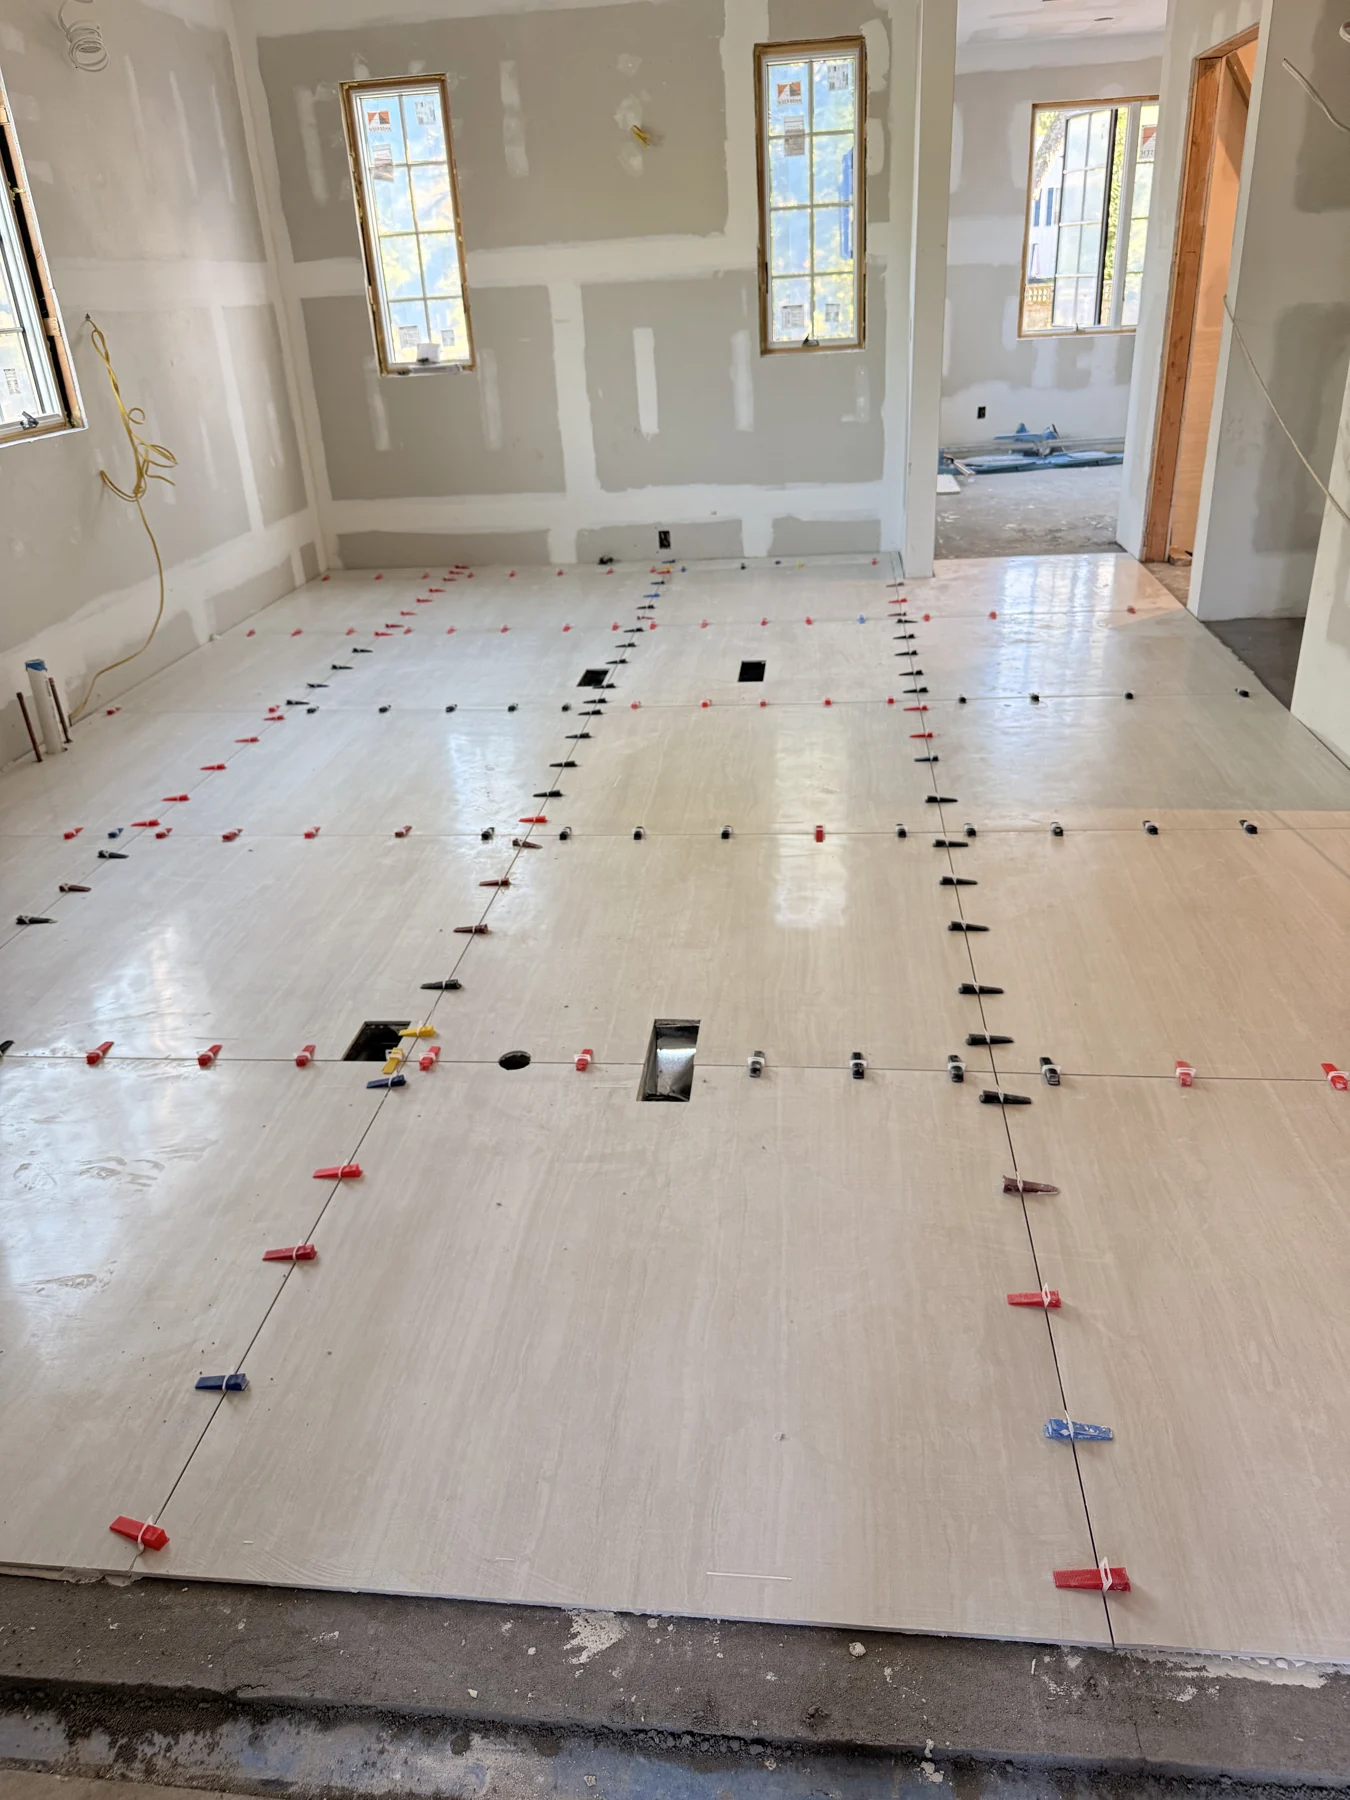
Large-format tile measuring 24 inches and larger can create a broad visual rhythm. Smaller formats, planks, or decorative patterns can create a different character. The dimensions and arrangement should be evaluated alongside the room, not only as a material sample.
Share the exact product and proposed pattern. Identify any border, inset, or direction that is important to the design. If the layout connects several rooms, include the entire area so the relationship between them is visible.
The final layout needs to reflect the selected product and the actual conditions. A reference image is useful for communicating a preference, but it is not a substitute for dimensions or a clear description of where the pattern begins and ends.
A flooring inquiry should describe the current surface and any work already planned. Tile, wood, concrete, and other existing conditions can lead to different questions during assessment. Photos help show the room but cannot reveal every condition below the visible finish.
Tell us whether demolition is included in another contractor’s scope, whether the substrate is exposed, and whether any preparation has already been specified. If the condition is unknown, identify that openly.
Preparation responsibilities, material supply, and the transitions to adjacent flooring should be defined as part of the project. A useful estimate conversation separates the known work from conditions that still require assessment rather than assuming that every floor starts from the same situation.
An occupied-home project has practical considerations beyond the tile selection. Which rooms must remain accessible? Where will furniture go? Are there children, pets, or household routines that affect access to the work area? These details belong in the initial conversation.
Explain how the home is currently used and whether the project can be phased. Identify the primary entry and any alternate routes through the house. The agreed sequence depends on the scope and site conditions, so describe the constraints without assuming a specific schedule.
The goal is to give the project team a realistic picture of the space. That information makes it easier to discuss the installation in the context of the household rather than as an isolated construction task.
Include the project town, room list, approximate square footage, existing finish, selected tile, and desired timing. Add photographs of the main areas and the transitions to adjacent flooring. If the home is occupied, explain the access needs.
For a trade inquiry, include drawings, finish schedules, quantities by area, and preparation responsibilities. For a homeowner inquiry, an approximate measurement and a clear description are enough to begin the conversation.
If you are choosing between a restrained field, a larger format, or a more decorative design, share the options. The initial discussion can identify the information needed to turn a visual preference into a defined installation scope.
Photographs of the adjoining rooms and information about existing floor heights help the team assess the transition. The final approach depends on the site and selected tile.
An estimate is helpful for the initial conversation. Final quantities, preparation, and pricing require a confirmed scope and measurements.
Precision Tile Installations is located in Dix Hills, New York. We serve Northport, Roslyn, Garden City, and surrounding Nassau and Suffolk County communities on Long Island.
Send the town, rooms and surfaces included, approximate quantities, tile selections, site photographs, and target timing. Include preparation, demolition, edge details, and drawings where available.
Watch the finished surfaces and hands-on installation details. Each clip includes a description of the work shown.
Follow the marking, cutting and edge finishing used to create a slotted grille from tile.
Contrasting rectangular floor fields and border strips arranged through the room.
On-site footage of mortar being worked around a pipe penetration inside a framed floor area.