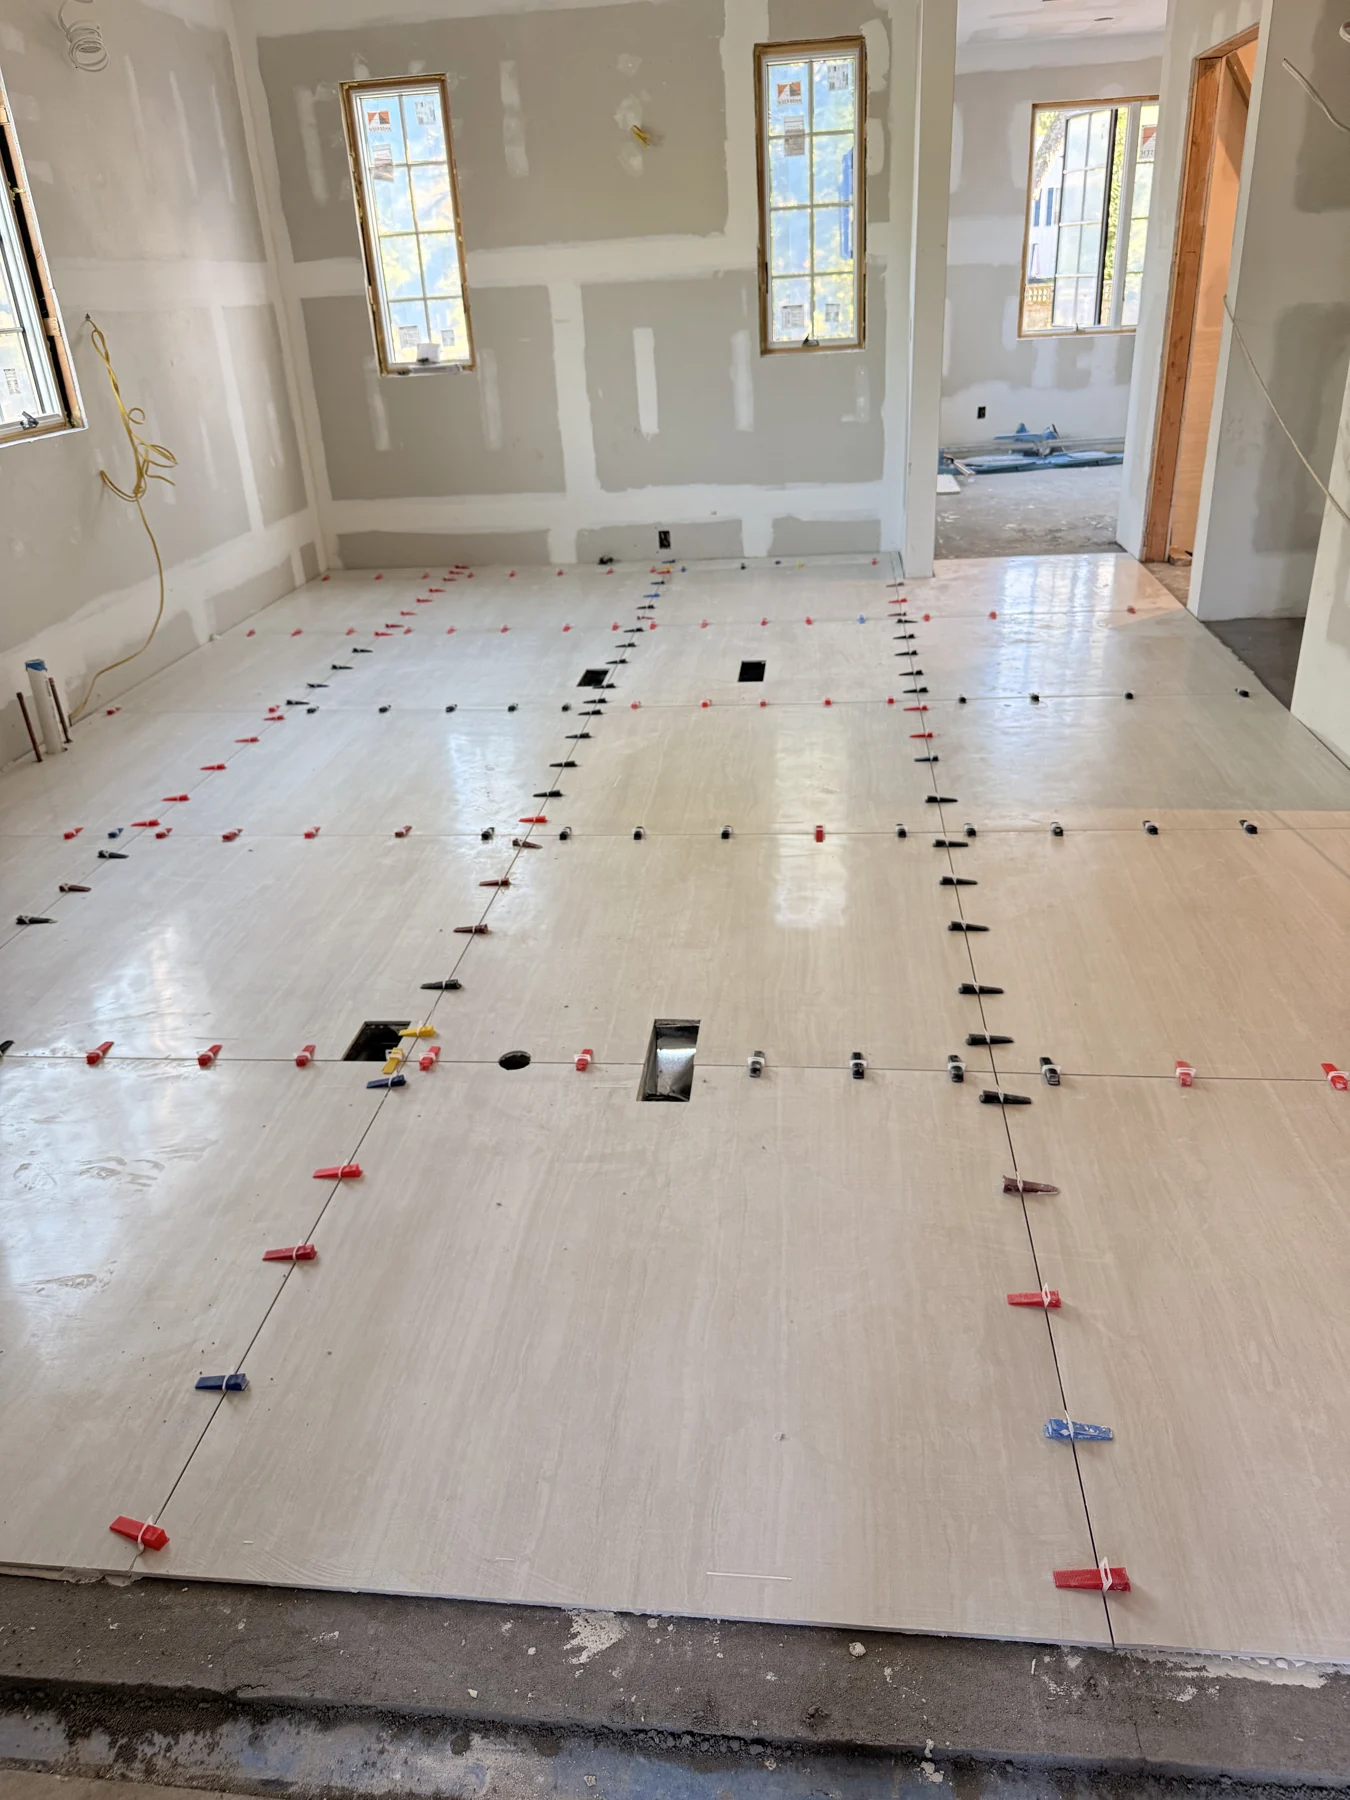
Build the base
- Review existing floor conditions
- Define the mortar-bed assembly

Mortar-bed preparation for tile floors and shower assemblies.
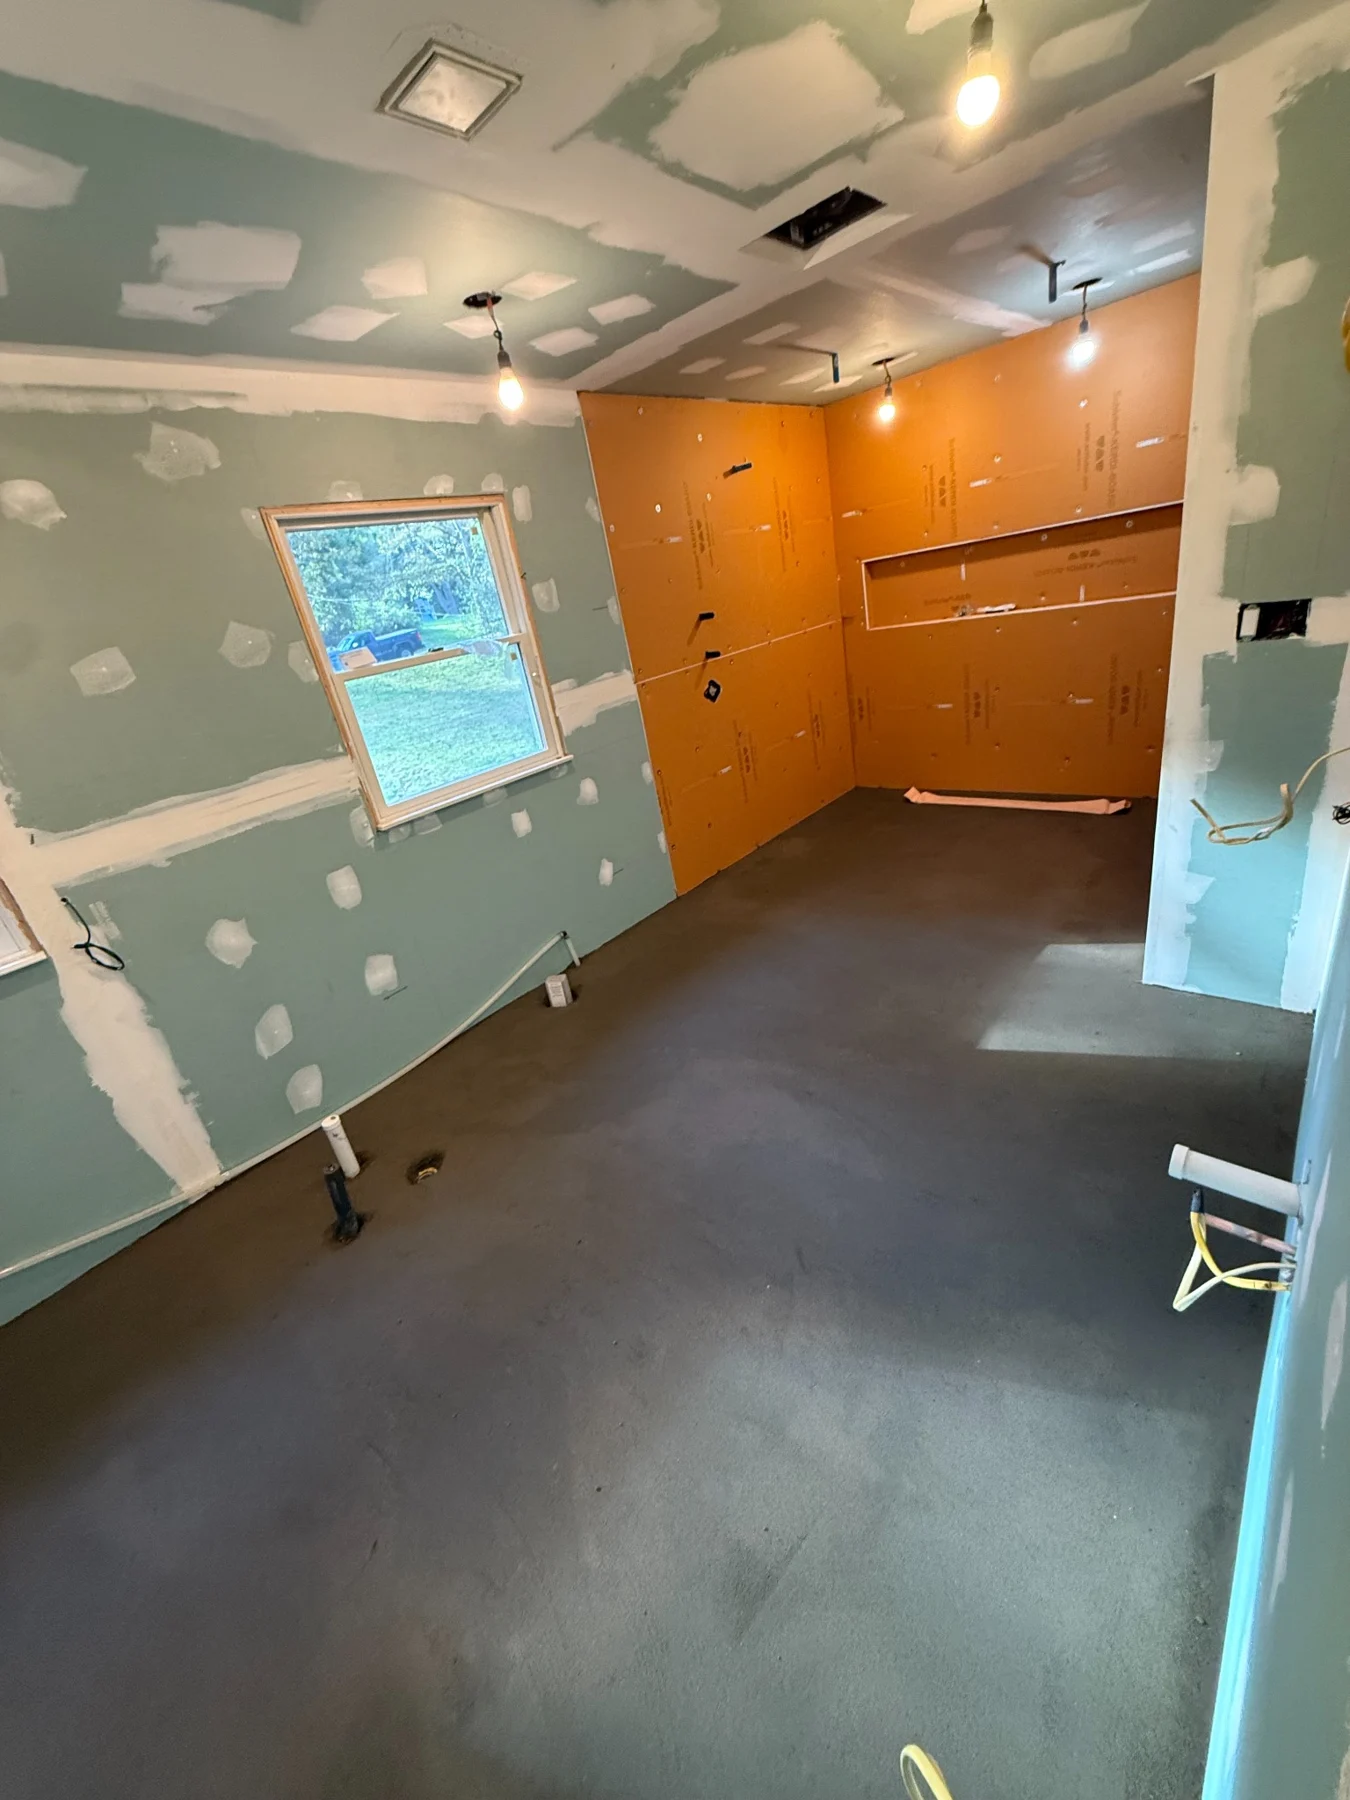
Portfolio example. Material specifications vary by project.
Explore the installation requirements, preparation details, and information that help define your mud floors project.
Mud-bed floor preparation for tile installations on Long Island. Review the substrate, floor build-up, finished elevations, and transitions before the tile is installed.
Precision muds floors as part of an agreed tile installation assembly. The preparation scope accounts for the existing substrate, available depth, tile thickness, adjoining finishes, and whether the surface needs to be flat or pitched toward a drain.
Precision Tile Installations muds floors where the project calls for a mortar-bed assembly. This creates a prepared base for the tile installation. The floor must be evaluated as a complete build-up: structure, substrate, mortar bed, bonding layer, tile, and adjoining finishes.
Mud-bed preparation is different from spreading extra thin-set while setting tile. The preparation stage establishes the base; the bonding material attaches the tile within its specified limits. These responsibilities should be identified separately in the estimate.
The work may be part of a bathroom renovation, a custom-home tile package, or another interior floor installation. Provide the room dimensions, existing floor condition, selected tile, and the intended finished height so the preparation can be scoped correctly.
The existing base affects what can be installed above it. Identify whether the floor is over wood framing, concrete, or an existing assembly that needs assessment. Describe known movement, cracking, moisture issues, and previous repairs.
A mortar bed does not correct an unsuitable structural condition by itself. The project team must establish that the floor construction can support the proposed assembly. Structural modifications and substrate repairs need a clearly assigned scope.
For renovation work, demolition may expose conditions that were not visible at the estimate stage. The preparation plan should allow those findings to be reviewed before the tile installation continues. Photographs are useful, but they cannot establish every concealed condition.
The finished elevation includes every layer in the installation. Record the tile thickness, intended bed assembly, adjoining flooring, and any threshold details. A difference at one doorway can affect the entire room layout.
Coordinate the floor with door clearances, base trim, cabinets, and fixtures. Where the tile meets hardwood, carpet, stone, or another tile installation, identify the transition material and the intended appearance. A flush connection should be designed from actual dimensions.
In a new home, provide floor sections and finish schedules before preparation begins. In an occupied renovation, identify which adjoining floors will remain. These details make the difference between a general allowance and a defined floor-preparation scope.
A floor that needs to be flat and a shower base that needs drainage pitch have different requirements. The mud work must reflect the intended use and the selected assembly. Do not assume that level is the correct target for every surface.
For a shower, identify the drain type and location, entry condition, and the waterproofing approach. The mortar base, drain connection, and surrounding floor elevations need to be coordinated. Curbless entries are particularly dependent on this planning.
The final tile layout must work with the floor planes. Larger tile, mosaics, and different drain configurations create different cutting and layout considerations. Confirm the product and shower design before treating the preparation as a standard floor area.
Preparation work needs an agreed sequence. The room must be ready, the required materials available, and the responsible trades coordinated. Include access to the work area and any restrictions on staging or moving materials through finished spaces.
The selected preparation and setting products determine the applicable cure and access requirements. The schedule should leave room for those stages before tile setting, grouting, protection, or other trades resume work. A requested completion date does not change a product requirement.
For multi-room projects, define the work zones and how the floor will be protected between phases. Tell us whether the home is occupied and which access routes must remain available. Those constraints affect the practical installation plan.
Send the project town, approximate floor area, existing substrate, selected tile dimensions and thickness, and the adjoining finish heights. Include photographs of doorways and transitions, not just the center of the room.
If the preparation is for a shower, add the entry type, drain location, and the intended assembly. For contractor inquiries, include drawings, floor sections, quantities, and the party responsible for demolition and structural readiness.
The estimate should identify what preparation is included and what remains subject to site review. Precision serves Dix Hills, Northport, Roslyn, Garden City, and surrounding Nassau and Suffolk County communities. Use the mud-floor inquiry option to share the details of your job.
Yes. Precision Tile Installations muds floors where the project calls for a mortar-bed installation. The assembly and preparation scope are reviewed for the site.
No. A mud bed forms the base in a specified assembly. Thin-set mortar is the bonding layer used to attach tile. They serve different purposes.
No. A suitable structural base is required. Framing, substrate condition, load, available depth, and the intended assembly need to be reviewed before the preparation scope is agreed.
Watch the finished surfaces and hands-on installation details. Each clip includes a description of the work shown.
On-site footage of mortar being worked around a pipe penetration inside a framed floor area.