Clear information at the start helps align the design intent, pricing scope, and sequence of work.
Material and layout decisions
Preparation and installation details
Practical information for your project
Give the drawings a single source of truth.
Include the project name, town, drawing revision, and relevant plans and elevations. Identify the areas included in the tile scope and any alternates that should be priced separately.
Identify the finish, not just the room.
A finish schedule should identify the proposed tile, format, pattern, grout intent, and important edge details. Link to product information where available, and flag selections that are still provisional.
Define the interfaces.
Call out responsibilities for demolition, substrate preparation, waterproofing, material supply, and coordination with adjoining finishes. An explicit scope makes it easier to identify assumptions before work is scheduled.
Share the dates that matter.
Provide the bid deadline, anticipated site readiness, target installation window, and any phased handovers. If the schedule is still moving, say so and include the latest planning assumptions.
Material selection, substrate preparation, layout, and coordination requirements for your tile project.
01 / PROJECT PLANNING
Organize the package by room and surface
A room-by-room structure makes a tile package easier to review. Identify the floor, walls, shower, niche, feature inset, backsplash, or other tiled surface separately when different selections or details apply.
Use consistent room names across drawings, finish schedules, quantities, and correspondence. A selection labeled only “bathroom tile” can become ambiguous when the project includes several bathrooms with different designs.
The goal is to let someone move from the plan to the selection to the relevant detail without guessing. A clear package communicates the design intent as well as the amount of work.
02 / PROJECT PLANNING
Distinguish quantities from scope
A square-foot total is useful, but it does not describe every installation requirement. Patterns, borders, openings, exposed edges, niches, transitions, and preparation can affect the work without being fully represented by a single quantity.
Include quantities by room or surface where available, and identify whether they are measured, estimated, or provisional. Connect each quantity to the relevant selection and drawing reference.
If the project is being priced before every decision is final, make the assumptions visible. A quantity should support the scope, not create the impression that all details have been resolved simply because a number is present.
03 / PROJECT PLANNING
Define the material status
Identify whether each selection is approved, ordered, delivered, or still under consideration. Include the manufacturer or supplier, product name, dimensions, thickness where relevant, finish, and intended application.
Large-format tile and marble slabs need specific information rather than category labels alone. For slabs, include fabrication status and the parties responsible for templating, fabrication, delivery, handling, and installation.
A change in selection should be communicated as updated project information. Similar appearance does not guarantee that the installation scope, quantities, preparation, or logistics remain unchanged.
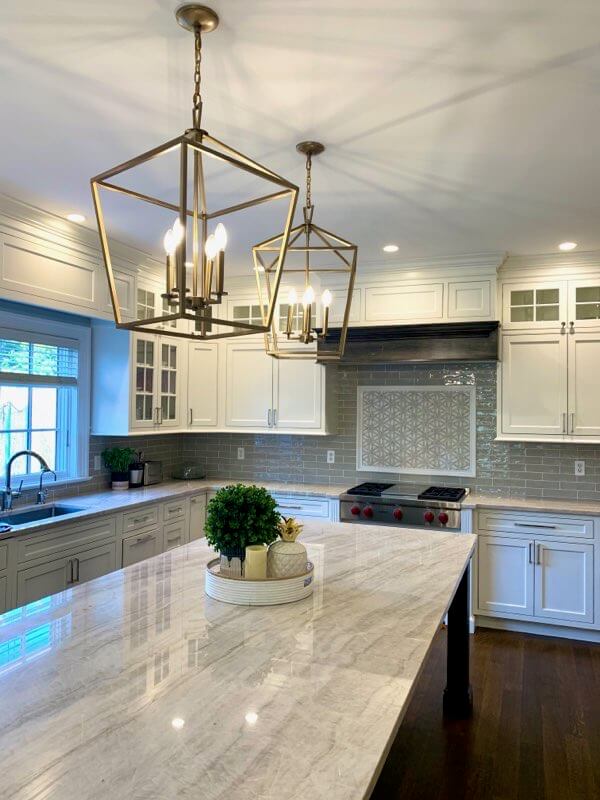
From the Precision Tile portfolio · Explore the composition and finish details.04 / PROJECT PLANNING
Make interfaces between trades explicit
Tile installation often meets work controlled by other professionals. Preparation, waterproofing, plumbing fixtures, cabinetry, counters, doors, adjoining floors, and fabricated stone can all be part of the larger project sequence.
Identify who is responsible for each relevant element and what will be complete before the installation area is ready. If a responsibility remains undecided, flag it rather than leaving it implicit.
The scope should also identify the contact for resolving questions. Clear ownership of decisions helps prevent conflicting instructions from reaching the installation team at different stages of the project.
05 / PROJECT PLANNING
Separate base scope and alternates
A pricing package can include several options, but they should be organized so the base project remains clear. Label alternate materials, additional rooms, decorative features, or different extents of work separately.
Explain which decisions are expected to be made after pricing and which are already approved. If the alternates affect preparation, fabrication, or timing, identify those relationships for review.
This structure makes the response easier to understand and compare. It also reduces the risk that an attractive idea shown in the package is assumed to be included when it was only intended as an option.
06 / PROJECT PLANNING
Provide a useful schedule context
A bid deadline and an installation window are different pieces of information. Include both where relevant. Also explain the current project phase and the anticipated readiness of the areas included in the scope.
For phased projects, identify the sequence and any access restrictions. For occupied homes, describe the practical constraints that affect how the work area can be used. For material already ordered, include the available delivery information.
The schedule discussion should reflect the actual project rather than a single desired finish date. Clear context allows the next conversation to focus on the dependencies and open questions that matter.
YOUR PROJECT. YOUR NEXT STEP.
Request an installation estimate.
Send the project location, dimensions, tile selection, and preparation requirements. Include drawings and site photographs if available.