The details that make a tile installation feel complete.
Look past the field of tile. A finished room is often defined by the way its smallest moments have been resolved.
Material and layout decisions
Preparation and installation details
Practical information for your project
Where the pattern begins.
A centered feature, a balanced border, or a deliberate starting line gives a layout its order. Consider which view matters most as someone enters the room, and how the layout works from that position.
Where one surface meets another.
Doorways, corners, niches, and the transition to a different finish are part of the design. Include them in the discussion early so the final appearance is considered alongside the material choice.
The role of grout.
Grout color can emphasize the geometry or let the tile read as a continuous surface. Compare options with the actual tile and lighting. Final joint details depend on the product and installation requirements.
A good reference is specific.
Instead of sharing only a room you love, point out the particular detail: a niche, an edge, a pattern, or a transition. It gives the project conversation a clearer focus.
Material selection, substrate preparation, layout, and coordination requirements for your tile project.
01 / PROJECT PLANNING
The first sightline
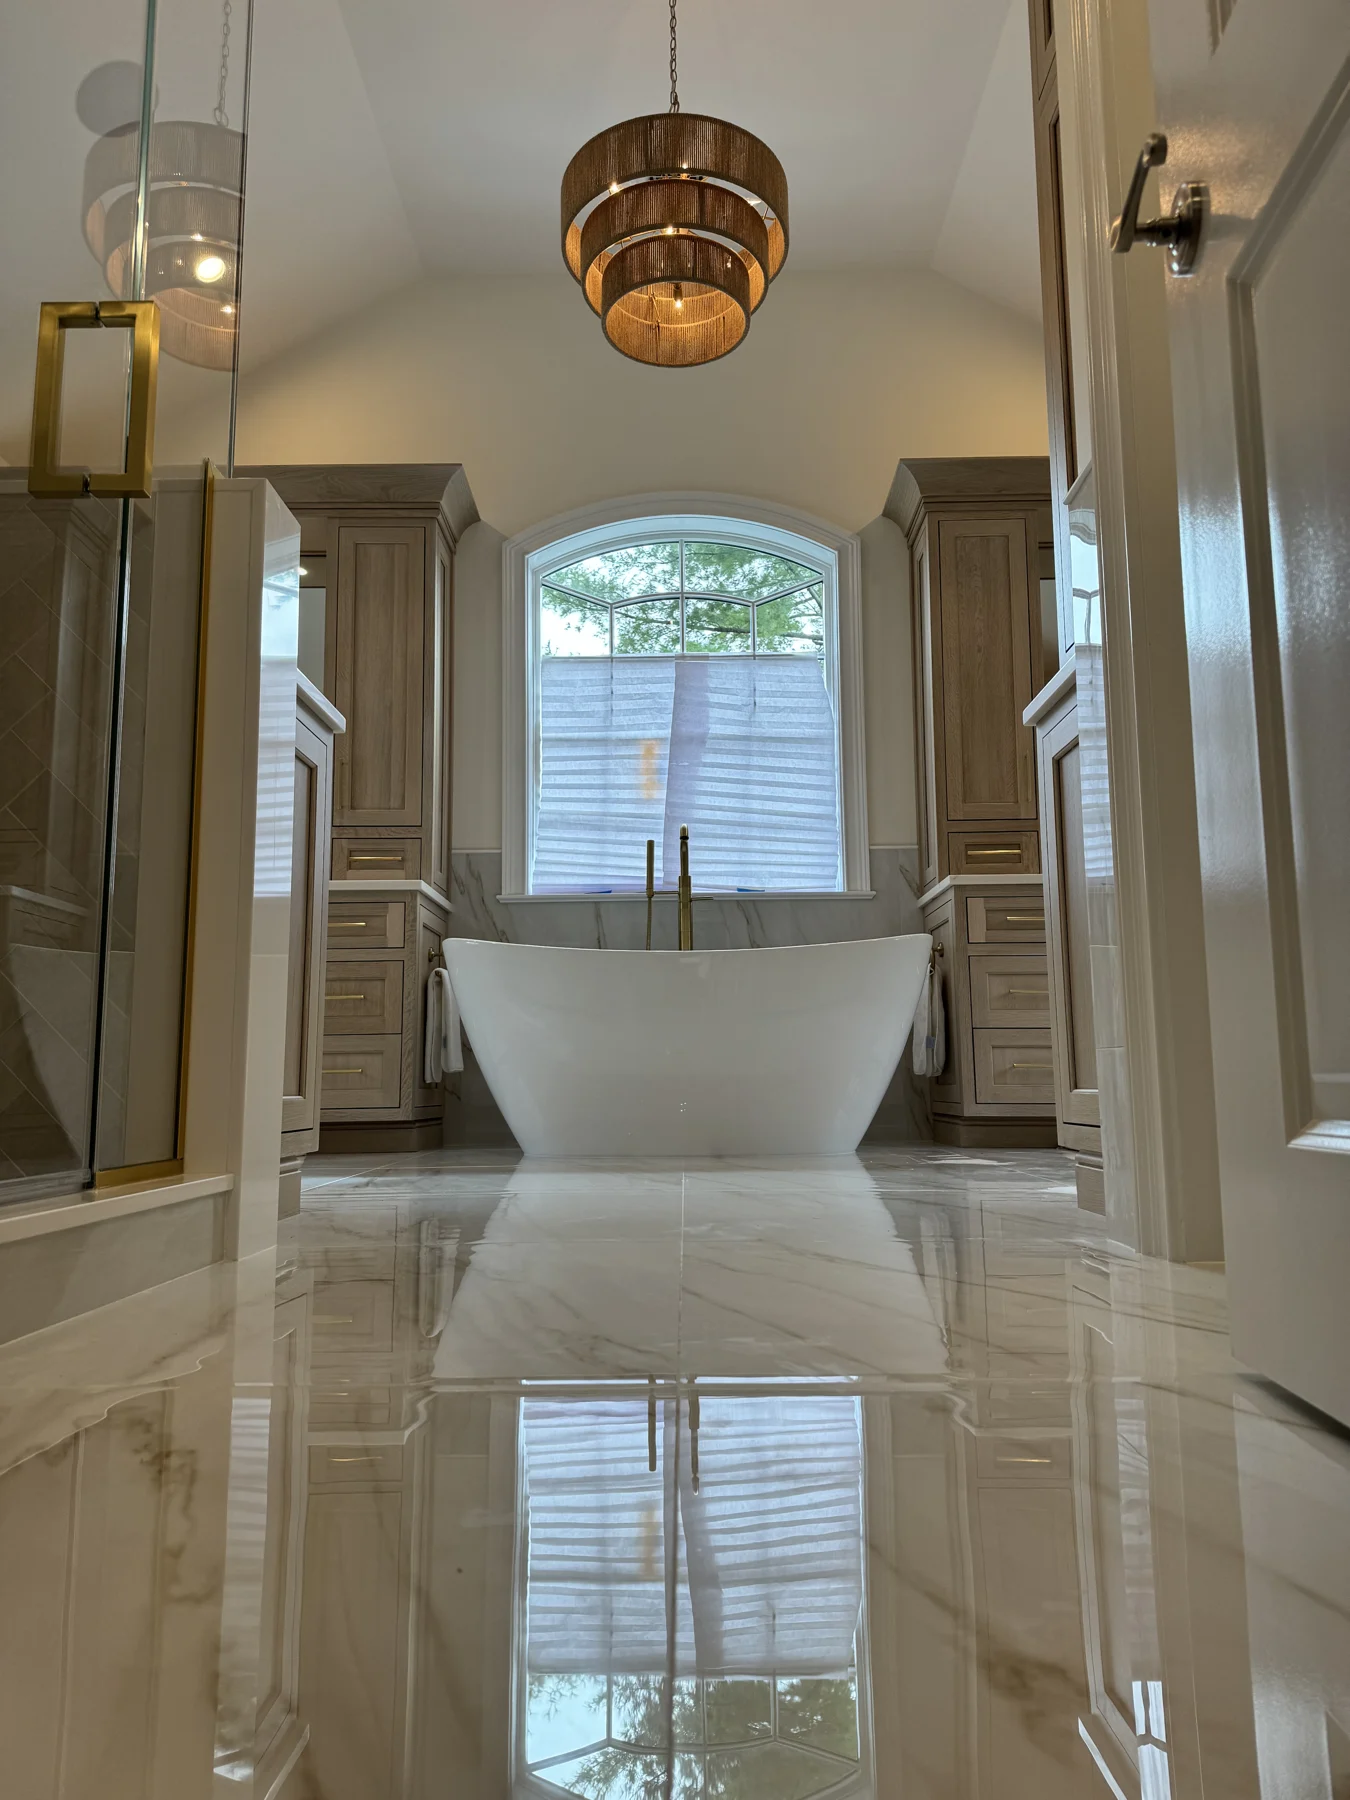
A room is often experienced from one dominant viewpoint: the doorway into a bathroom, the approach to a fireplace, or the view across a kitchen. That sightline can help establish which relationships deserve particular attention.
Look at the pattern from that position. Consider what is centered, what is framed, and where the strongest material movement sits. A layout that looks balanced as an abstract diagram may feel different when fixtures and cabinetry are included.
Identify the viewpoint in your project information. It gives the scope review a specific reference and helps explain why a particular alignment or feature matters to you.
02 / PROJECT PLANNING
The meeting of two materials
A transition can be quiet and still be important. Tile may meet wood flooring, painted drywall, cabinetry, a countertop, or another stone surface. The relationship affects both the appearance of the room and the scope that needs to be defined.
Show those junctions in photographs or drawings. Identify the materials involved and any finished levels or edge intentions already specified. If another trade controls part of the detail, make that responsibility visible.
The aim is to avoid treating the tile boundary as an afterthought. It is one of the places where the installation connects most directly to the rest of the interior.
03 / PROJECT PLANNING
A niche as part of the composition
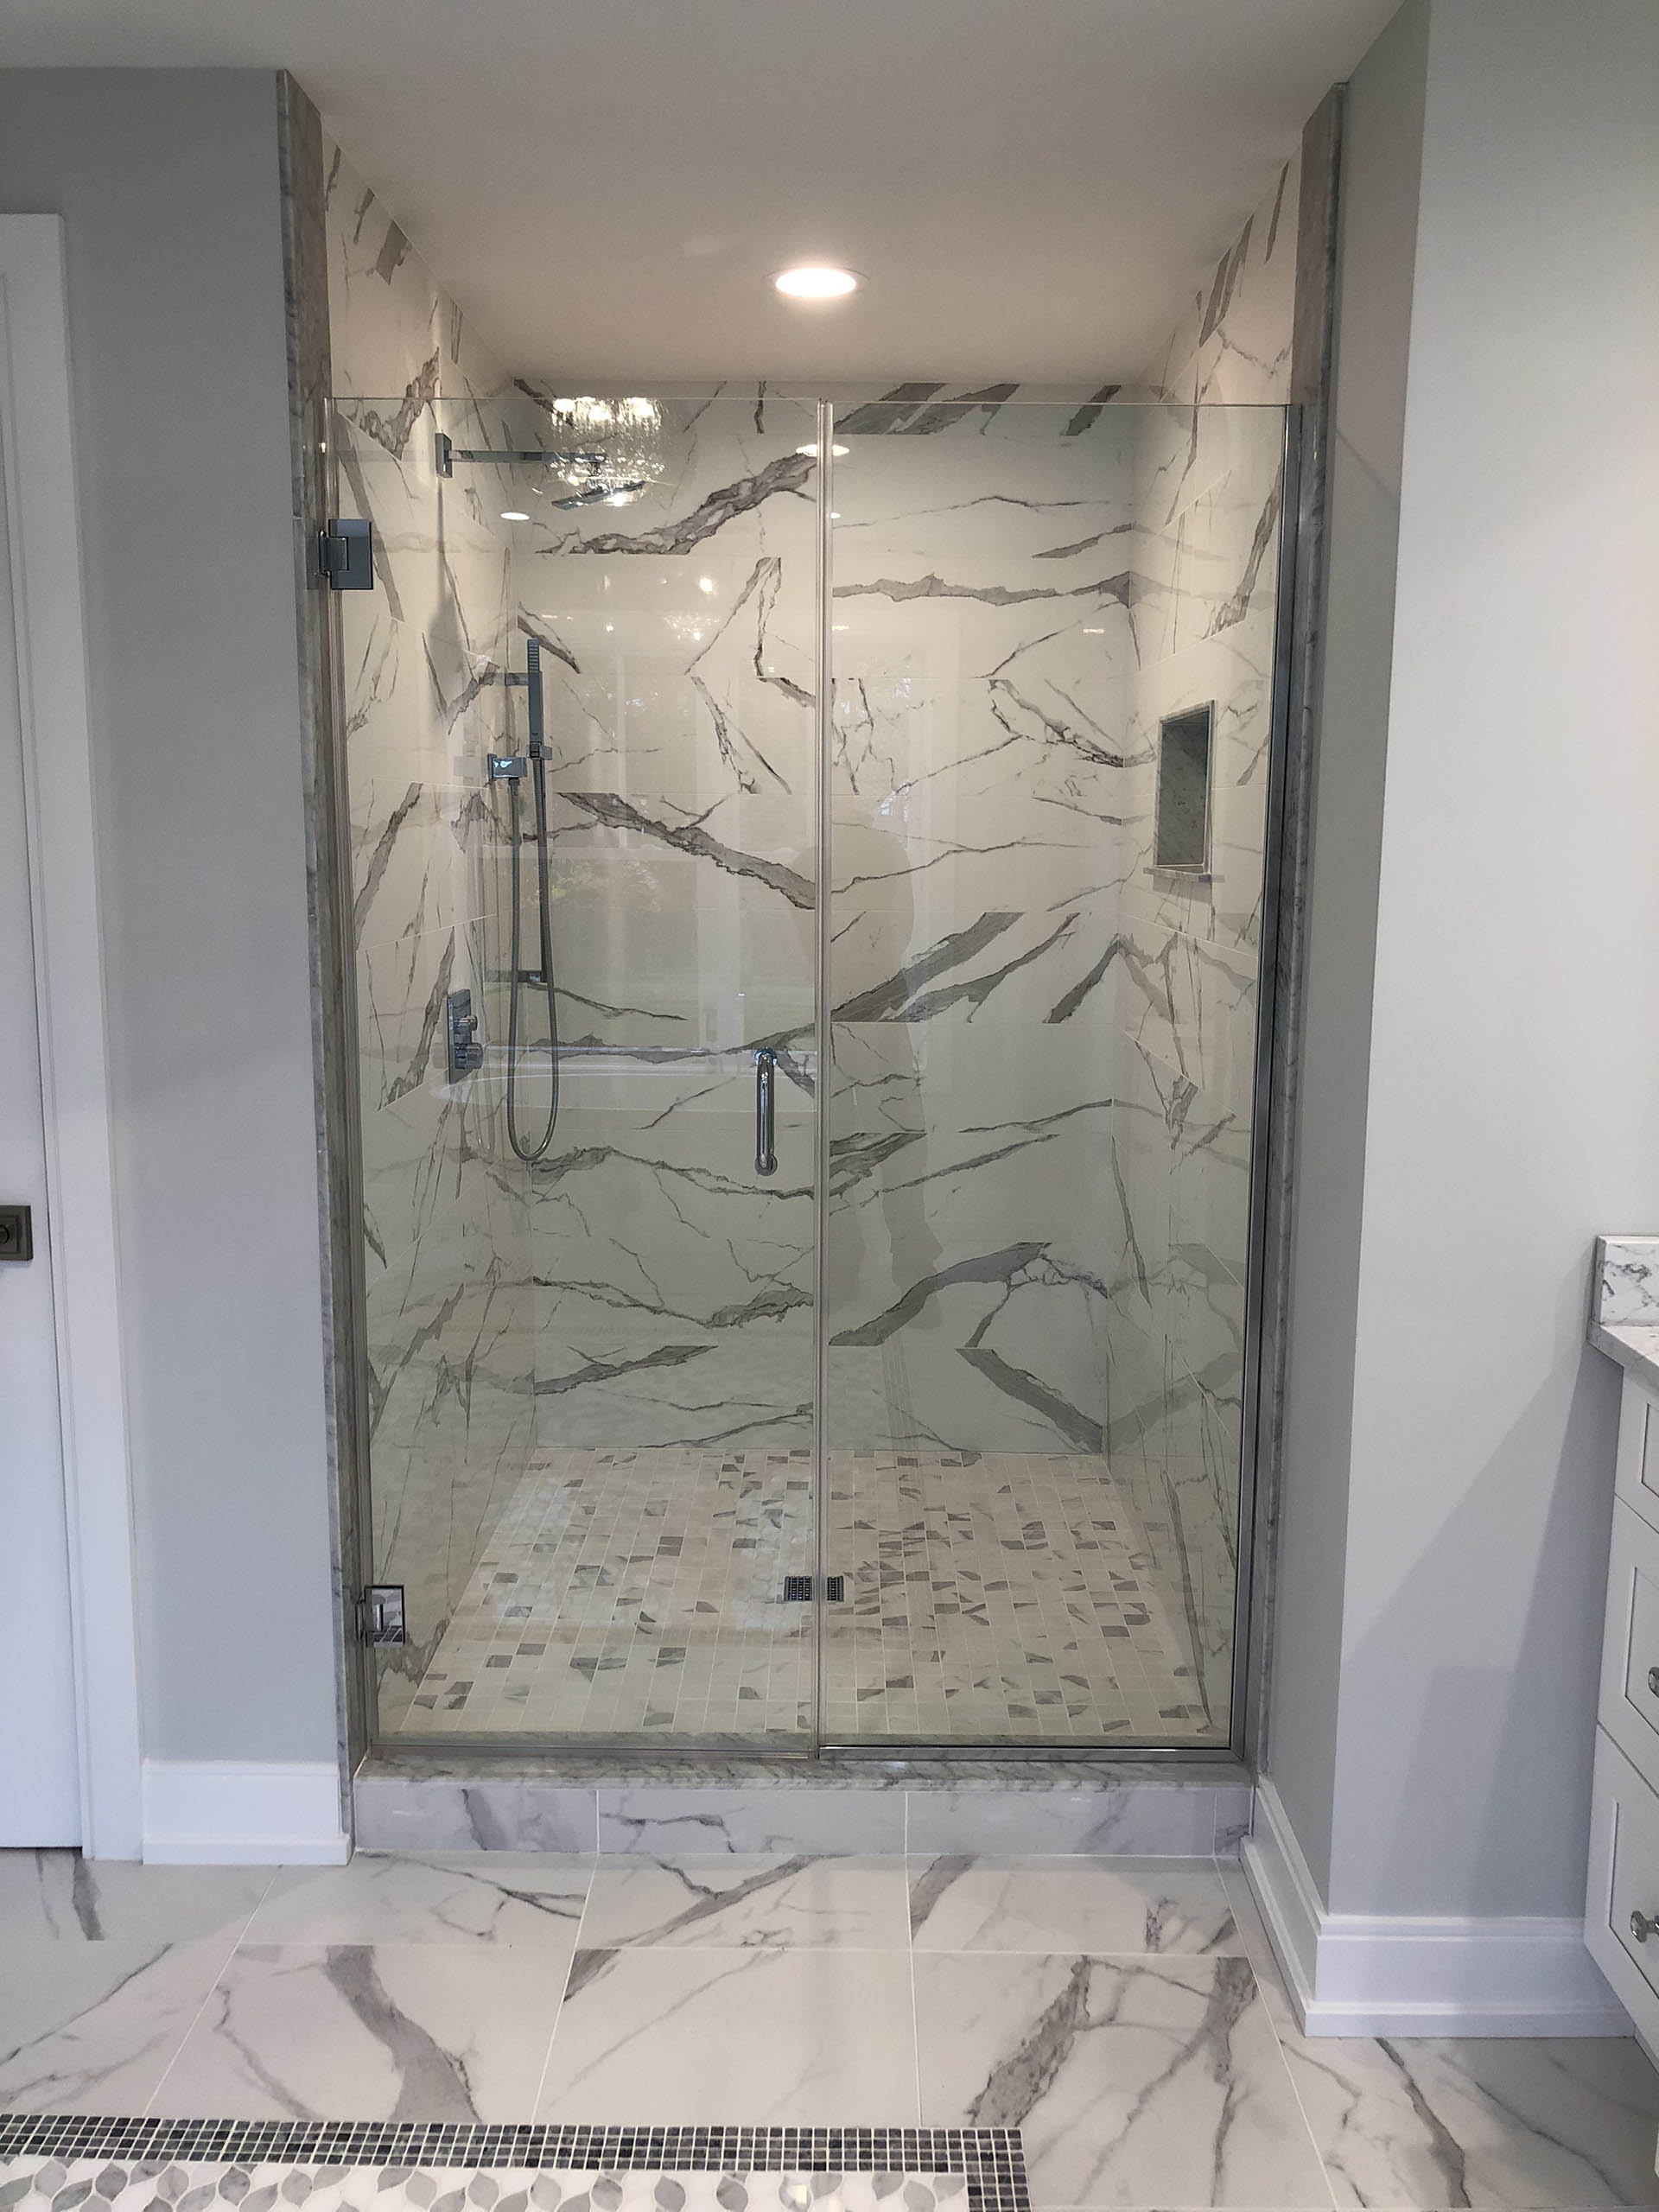
A shower niche can be useful and visually integrated, but its proportions and location should be considered alongside the surrounding tile. Its relationship to joints, fixtures, and other features can influence how it reads in the finished room.
A reference image may show the effect you like, but the actual wall dimensions and selected tile need their own review. Mark the intended location and identify any particular alignment or finish detail.
If the niche is still being designed, say so. The important distinction is between an idea being explored and a detail that the project team is treating as approved.
From the Precision Tile portfolio · Explore the composition and finish details.04 / PROJECT PLANNING
The rhythm of a repeated pattern
A repeated pattern creates expectations. The eye follows the rhythm and notices where it changes, meets an opening, or terminates at an edge. This can be a source of character, but it also makes the actual room boundaries relevant to the design.
Provide product dimensions and a clear view of the surface. Identify where the pattern should be most visually important. A kitchen feature behind a range may have a different emphasis from a continuous floor across several rooms.
The purpose is not to eliminate every cut or interruption. It is to make the layout a considered response to the space rather than assume the reference image contains the answer for a different room.
05 / PROJECT PLANNING
The visual role of grout
Grout is often discussed late in the selection process, yet it can influence how strongly the pattern is seen. A closer color relationship can create a quieter field; a stronger contrast can emphasize geometry. The choice should be considered with the actual tile and the room’s lighting.
Product and assembly requirements still govern the appropriate installation details. A desired visual effect does not replace those requirements. Bring the aesthetic preference into the conversation alongside the relevant product information.
If the selection is undecided, identify it as an open decision. It is easier to discuss the intended appearance before the project team has made different assumptions about the final result.
06 / PROJECT PLANNING
The details that deserve a drawing
Some intentions are difficult to communicate through a sentence alone. A border, inset, niche alignment, marble arrangement, or transition between finishes may benefit from an elevation or marked-up photograph.
The drawing does not need to be elaborate to be useful. It should identify the relevant dimensions, materials, boundaries, and relationships. If a designer or architect has provided a detail, include the current version and the contact for clarification.
A well-chosen drawing makes the design intention more concrete. It connects the detail you care about to the information needed to discuss the actual installation scope.
YOUR PROJECT. YOUR NEXT STEP.
Request an installation estimate.
Send the project location, dimensions, tile selection, and preparation requirements. Include drawings and site photographs if available.