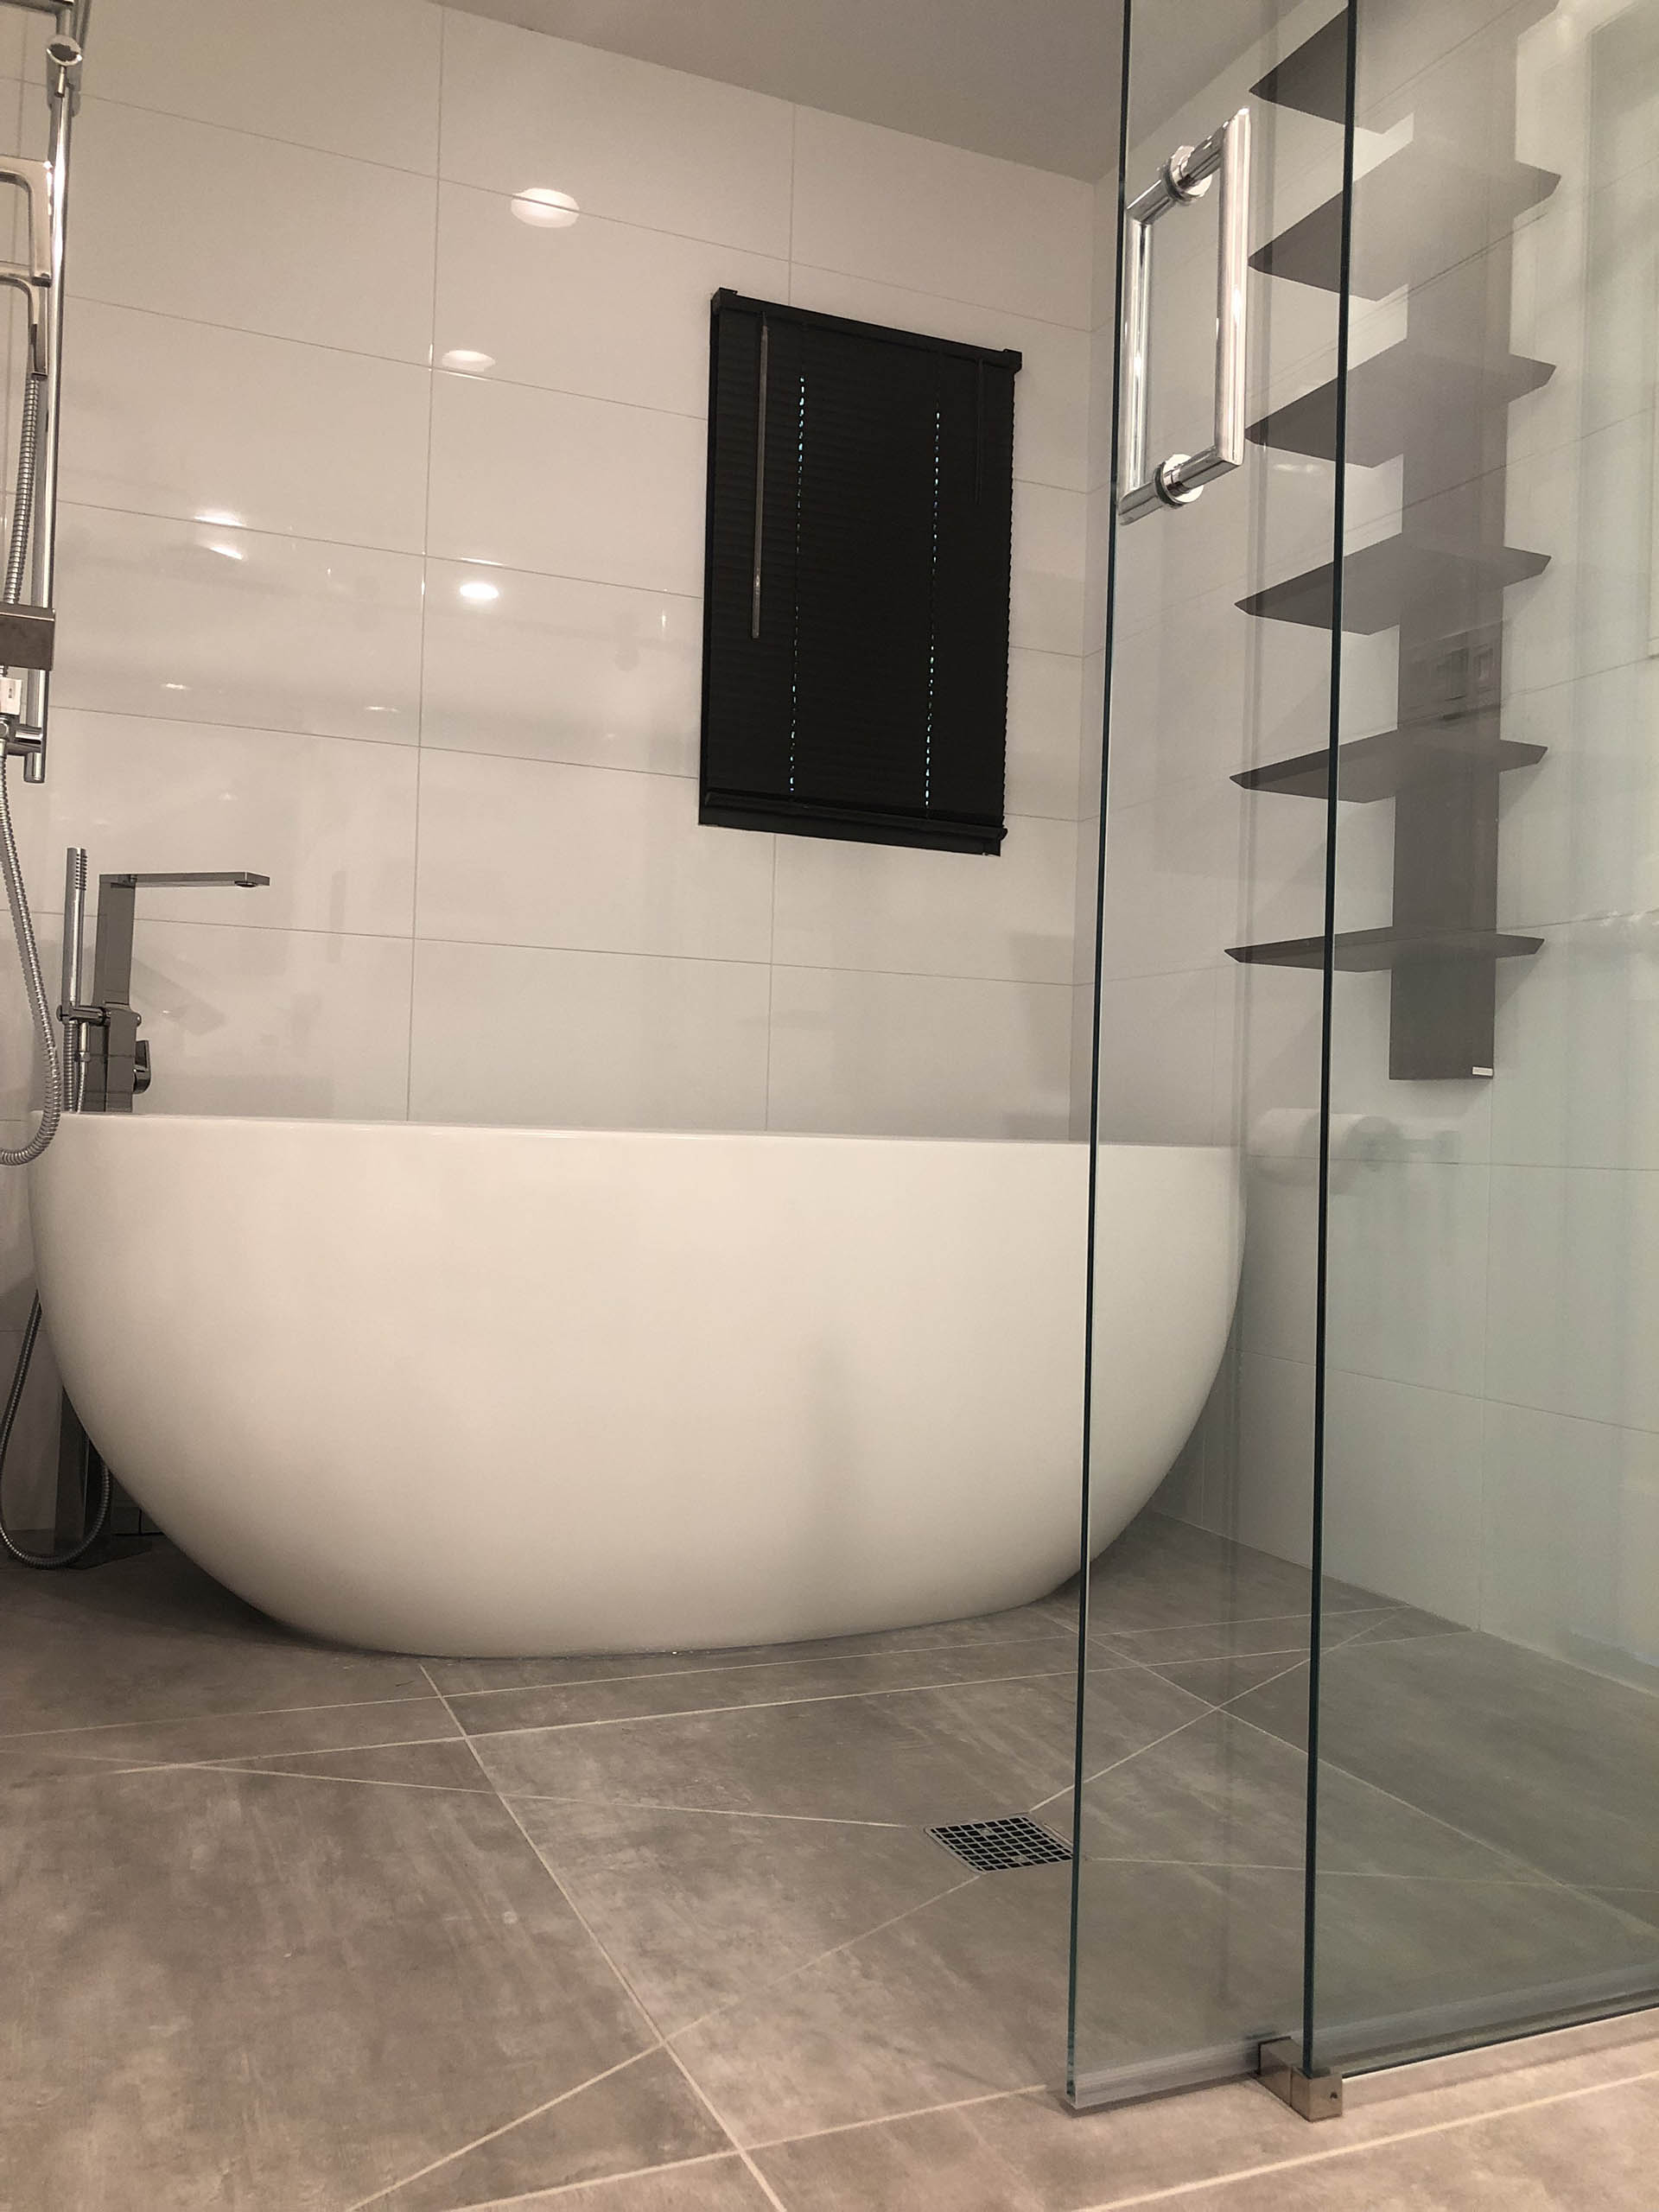
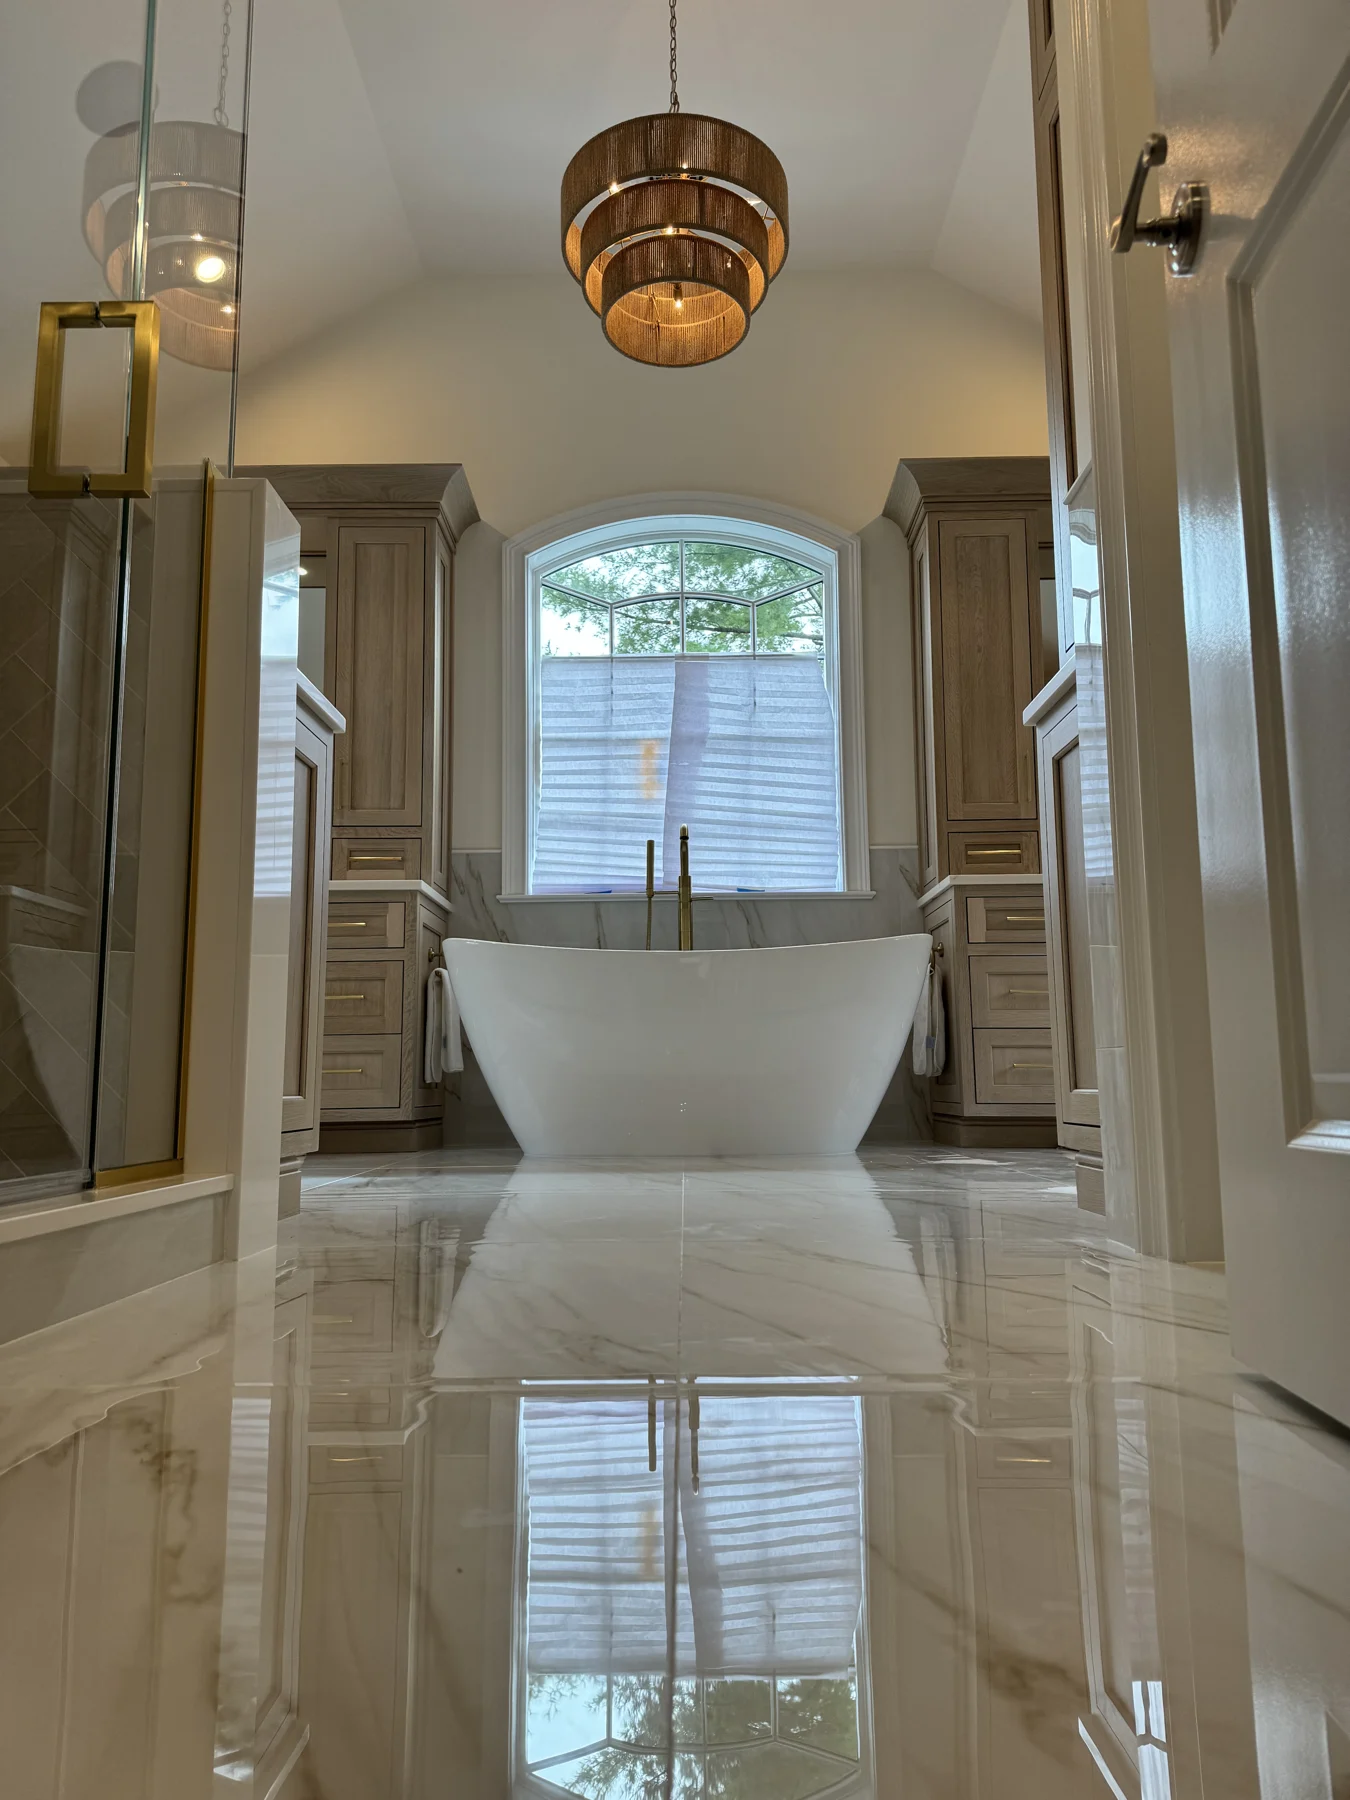
The most useful place to begin is with the space itself: how it is used, what surrounds it, and the details that need to meet.
Material and layout decisions
Preparation and installation details
Practical information for your project
Begin with the whole room.
Collect a wide photograph, rough dimensions, and the finishes that will stay. In a kitchen, that includes cabinets, counters, and hardware. In a bathroom, include the fixtures, lighting, and the relationship between the floor and shower walls.
Think about scale and direction.
A tile sample is only one piece of a larger composition. Ask how the format and pattern will meet corners, doorways, and the edges of the room. The layout can change the feel of a material as much as its color.
Bring the practical questions forward.
Before ordering, discuss the proposed application, the current surface, the preparation scope, and the project schedule. Product suitability and installation requirements need to be checked for the specific material and location.
Prepare a useful project brief.
Share the room, project town, approximate size, timing, and any drawings or tile links. You do not need every answer to start the conversation, but these details help make the next step more productive.
Material selection, substrate preparation, layout, and coordination requirements for your tile project.
01 / PROJECT PLANNING
Separate the feeling from the product
A useful selection process begins by describing the feeling you want before committing to a specific tile. Calm, expressive, warm, restrained, textured, or architectural are different intentions. A reference image may communicate that feeling even when the product in the photograph is not appropriate for your own room.
Identify what draws you to the reference. Is it the scale of the tile, the color relationship, the pattern, or the way one feature stands out? Write those observations down. They help prevent the selection process from becoming a search for a product name without a clear reason for choosing it.
Then connect the intention to the actual room. Dimensions, existing finishes, fixtures, and the way the space is used will shape the choices that make sense.
02 / PROJECT PLANNING
Build a complete finish picture
Tile is rarely the only material in a room. A kitchen includes counters, cabinets, hardware, lighting, and often a separate floor finish. A bathroom includes fixtures, cabinetry, mirrors, and several surfaces that may each have a different role.
Bring the relevant selections together rather than evaluating each in isolation. A quiet tile can appear more active beside a strongly patterned counter. A distinctive marble slab may need surrounding materials that give it visual space. A decorative floor can establish a rhythm that the wall finishes should acknowledge.
You do not need to make every choice at once, but it helps to know which decisions are fixed and which remain flexible. That distinction can guide the next step in the scope review.
03 / PROJECT PLANNING
Consider the boundaries before ordering
The edges of a tiled area are part of the design. Look at doorways, outside corners, exposed wall ends, niches, windows, and the junction with another floor finish. Identify the places where the field of tile is interrupted or brought to a stop.
A sample does not show those conditions. An elevation, room photograph, or simple marked-up plan can help make them visible. If a particular edge or alignment is important, include a reference and explain the intended result.
The selected product and assembly determine which details are appropriate. The design intention should be clear before assumptions are made about how every boundary will be finished.
From the Precision Tile portfolio · Explore the composition and finish details.04 / PROJECT PLANNING
Understand what is still provisional
A project can begin before every material is final. What matters is that provisional choices are identified. A tile under consideration is not the same as a purchased product. A preferred pattern is not necessarily an approved layout.
Keep product information with each option. Include dimensions, finish, manufacturer or supplier, and the intended application. If the choice changes, communicate the new information rather than assuming that a similar appearance means an identical scope.
This is especially useful when comparing larger formats or considering full marble slabs. The visual direction and the installation requirements need to remain connected throughout the selection process.
05 / PROJECT PLANNING
Ask better questions about the actual space
Instead of asking only whether a tile looks good, ask how it will meet the room. Where will the main visual field be seen? What happens at the doorway? How does it relate to the vanity or kitchen island? Which surface is intended to lead, and which should remain quiet?
Then ask the scope questions. What is known about the existing substrate? Who is responsible for preparation? What product information is needed? Which selections or dimensions must be confirmed before the work can be defined?
These questions do not require you to become an installer. They help make the project review more specific and reduce the number of important details left to assumption.
06 / PROJECT PLANNING
Prepare a selection brief
Create a short room-by-room list. For each space, identify the surface, approximate dimensions, material options, desired pattern, and the finishes it will meet. Add a photograph or drawing and a small number of references.
Label what is final, what is ordered, and what is still being explored. Include the project town, stage, and preferred timing. If a contractor or designer is coordinating the work, identify that contact.
The result does not need to be elaborate. It needs to explain the actual project clearly enough that the next conversation can focus on the right questions. That is a stronger start than choosing a material first and discovering its relationships to the room later.
YOUR PROJECT. YOUR NEXT STEP.
Request an installation estimate.
Send the project location, dimensions, tile selection, and preparation requirements. Include drawings and site photographs if available.